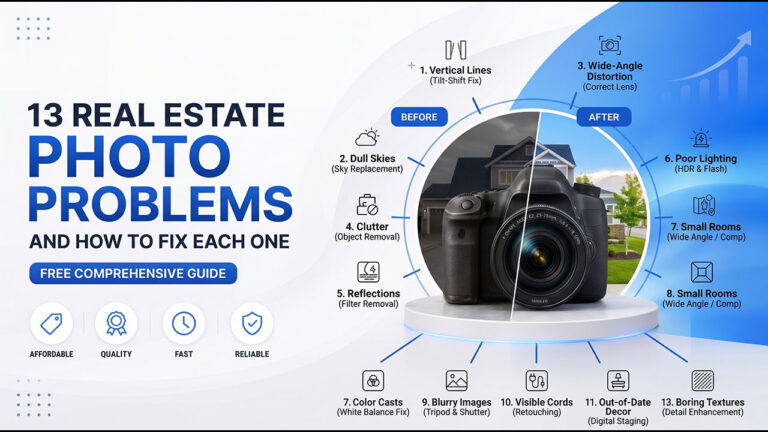
You shoot a beautiful home. Then you open the photos on your laptop and something feels off. The room looks dark. The windows glow like white patches. The walls have a strange yellow tint.
Sound familiar? These are some of the most common real estate photo problems, and almost every photographer runs into them. The good news is that each one has a clear fix. Some you can solve on site with better shooting habits. Others need proper real estate photo editing after the shoot.

This guide covers 13 real estate photo problems, why they happen, and how to fix each one. Whether you shoot listings yourself, run a photography business, or sell homes, you will know what to look for. You will also know when it makes sense to hand the files to a post-production real estate photo retouching agency like Clipping Area.
1. Dark and Dim Interiors
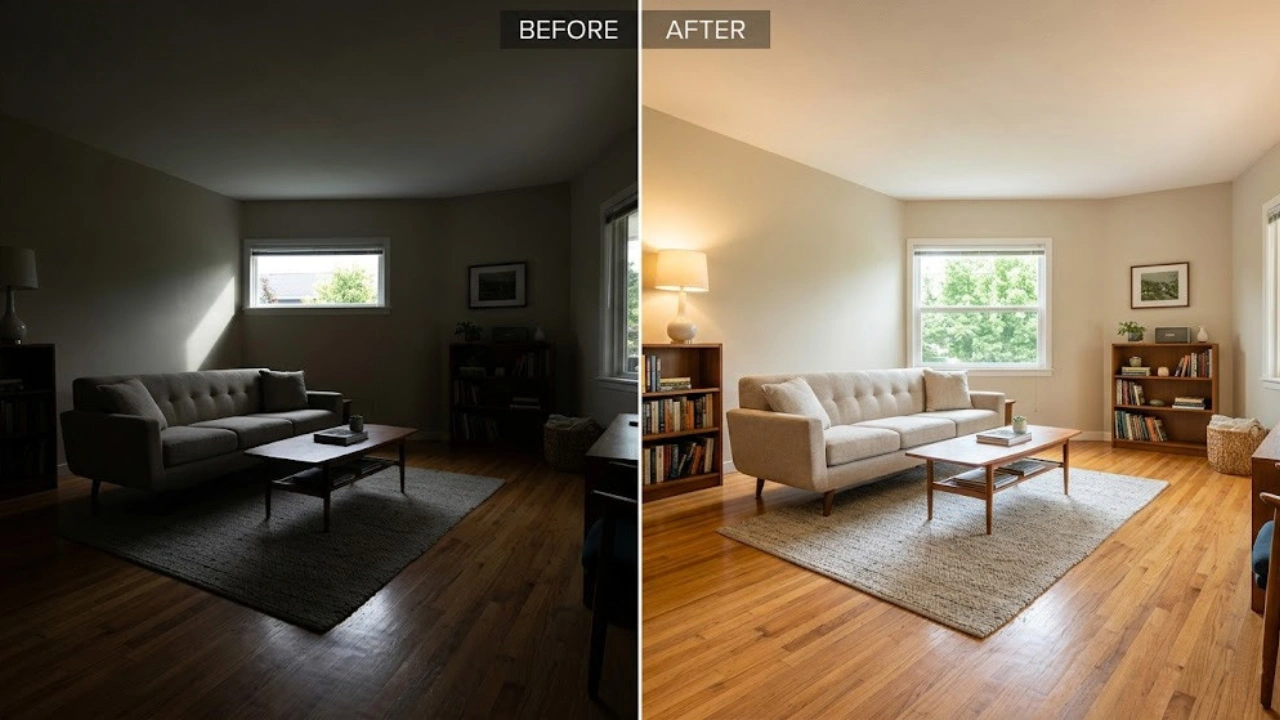
Rooms look gloomy. Corners disappear into shadow. Buyers can’t tell how big the space really is.
Why it happens: Small windows, cloudy weather, or a camera set to protect the bright window while ignoring the room. Some photographers also skip turning on the lights to save time.
How to fix it: On site, use a tripod and shoot bracketed exposures. That means three to five shots of the same frame at different brightness levels. Turn on every lamp and ceiling light. In editing, blend the brackets into one clean image. Lift the shadows gently and keep the whites clear.
Don’t push one dark file too far. It brings in grain. If grain shows up, use noise reduction to clean it. A skilled real estate photo retoucher can turn a gloomy set into bright, natural rooms without making them look fake.
2. Blown-Out Windows
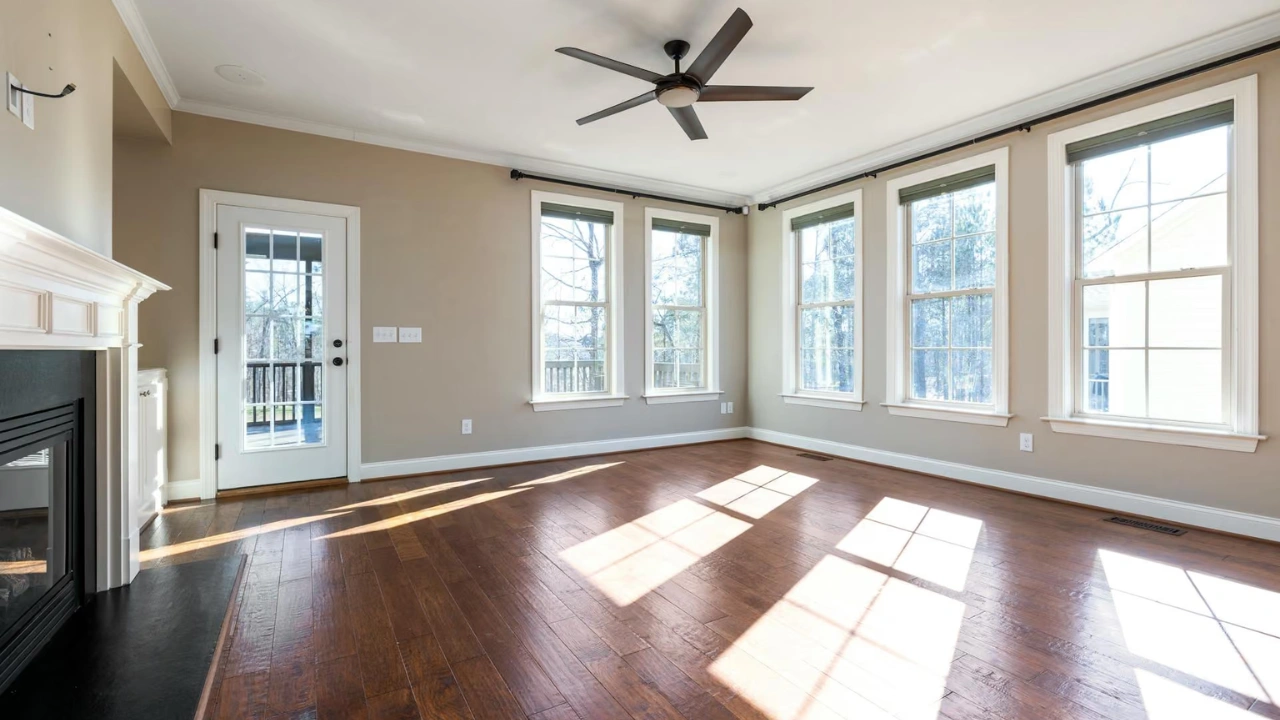
The windows are pure white. The view outside is gone. The room looks fine, but the window looks like a hole in the wall.
Why it happens: Your camera can’t handle the big brightness gap between a dim room and a sunny yard. It picks one and loses the other.
How to fix it: Use a technique called a window pull. Shoot one frame exposed for the room and another exposed for the window. Then blend them so both look right. You can also use flash and ambient light together while shooting.
In editing, mask the window and bring in the darker frame so the garden, street, or skyline returns. Done well, this is one of the best upgrades a listing photo can get. It’s also one of the most requested services in real estate photo retouching, because buyers love seeing the view.
3. Color Casts and Bad White Balance
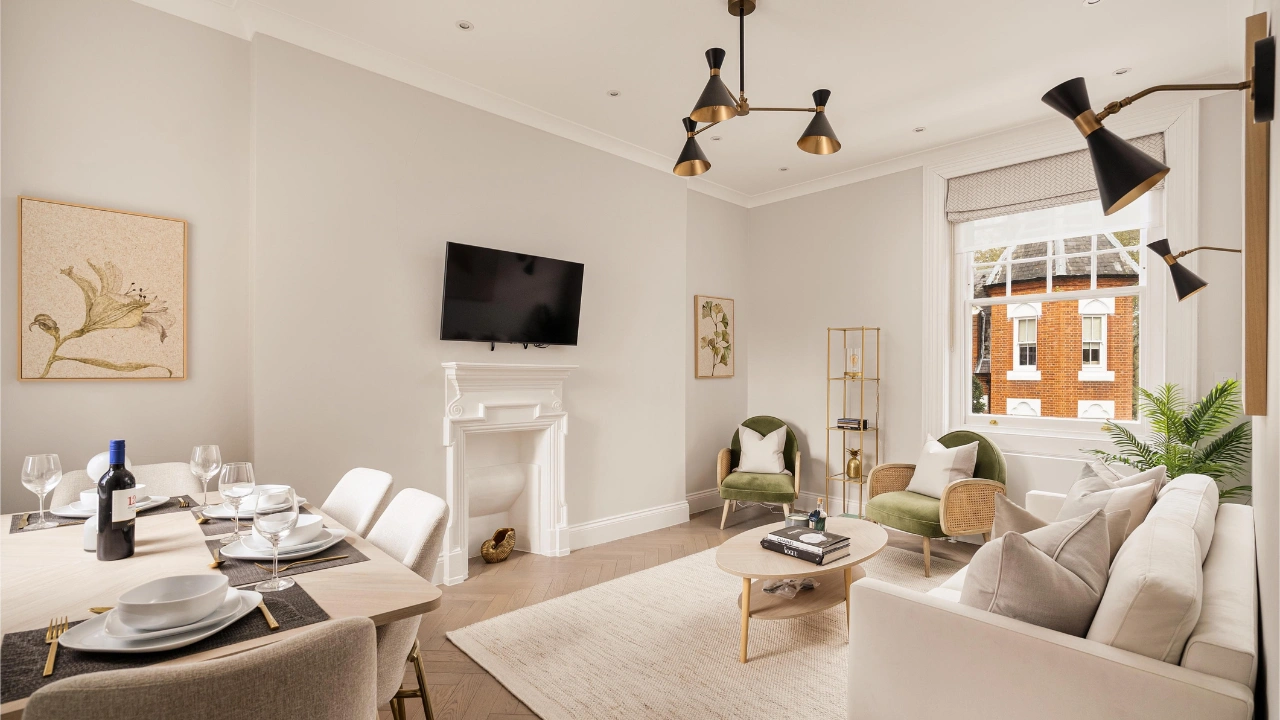
Walls look yellow. Ceilings look blue. A green tint creeps in from the grass outside. White trim doesn’t look white.
Why it happens: Mixed lighting. Warm bulbs, cool daylight, and colored reflections all hit the camera at once. Auto white balance gets confused.
How to fix it: Shoot in RAW so you have room to correct color later. Turn off lamps that clash with daylight, or swap to bulbs with the same color temperature. A gray card helps you set white balance fast.
In editing, fix the overall white balance first. Then use local adjustments for spots that still look off, like a green wall reflection or a warm corner. Check the whites. Ceilings, trim, and appliances should look neutral. Good color correction makes a home feel clean and fresh.
4. Crooked Lines and Leaning Walls
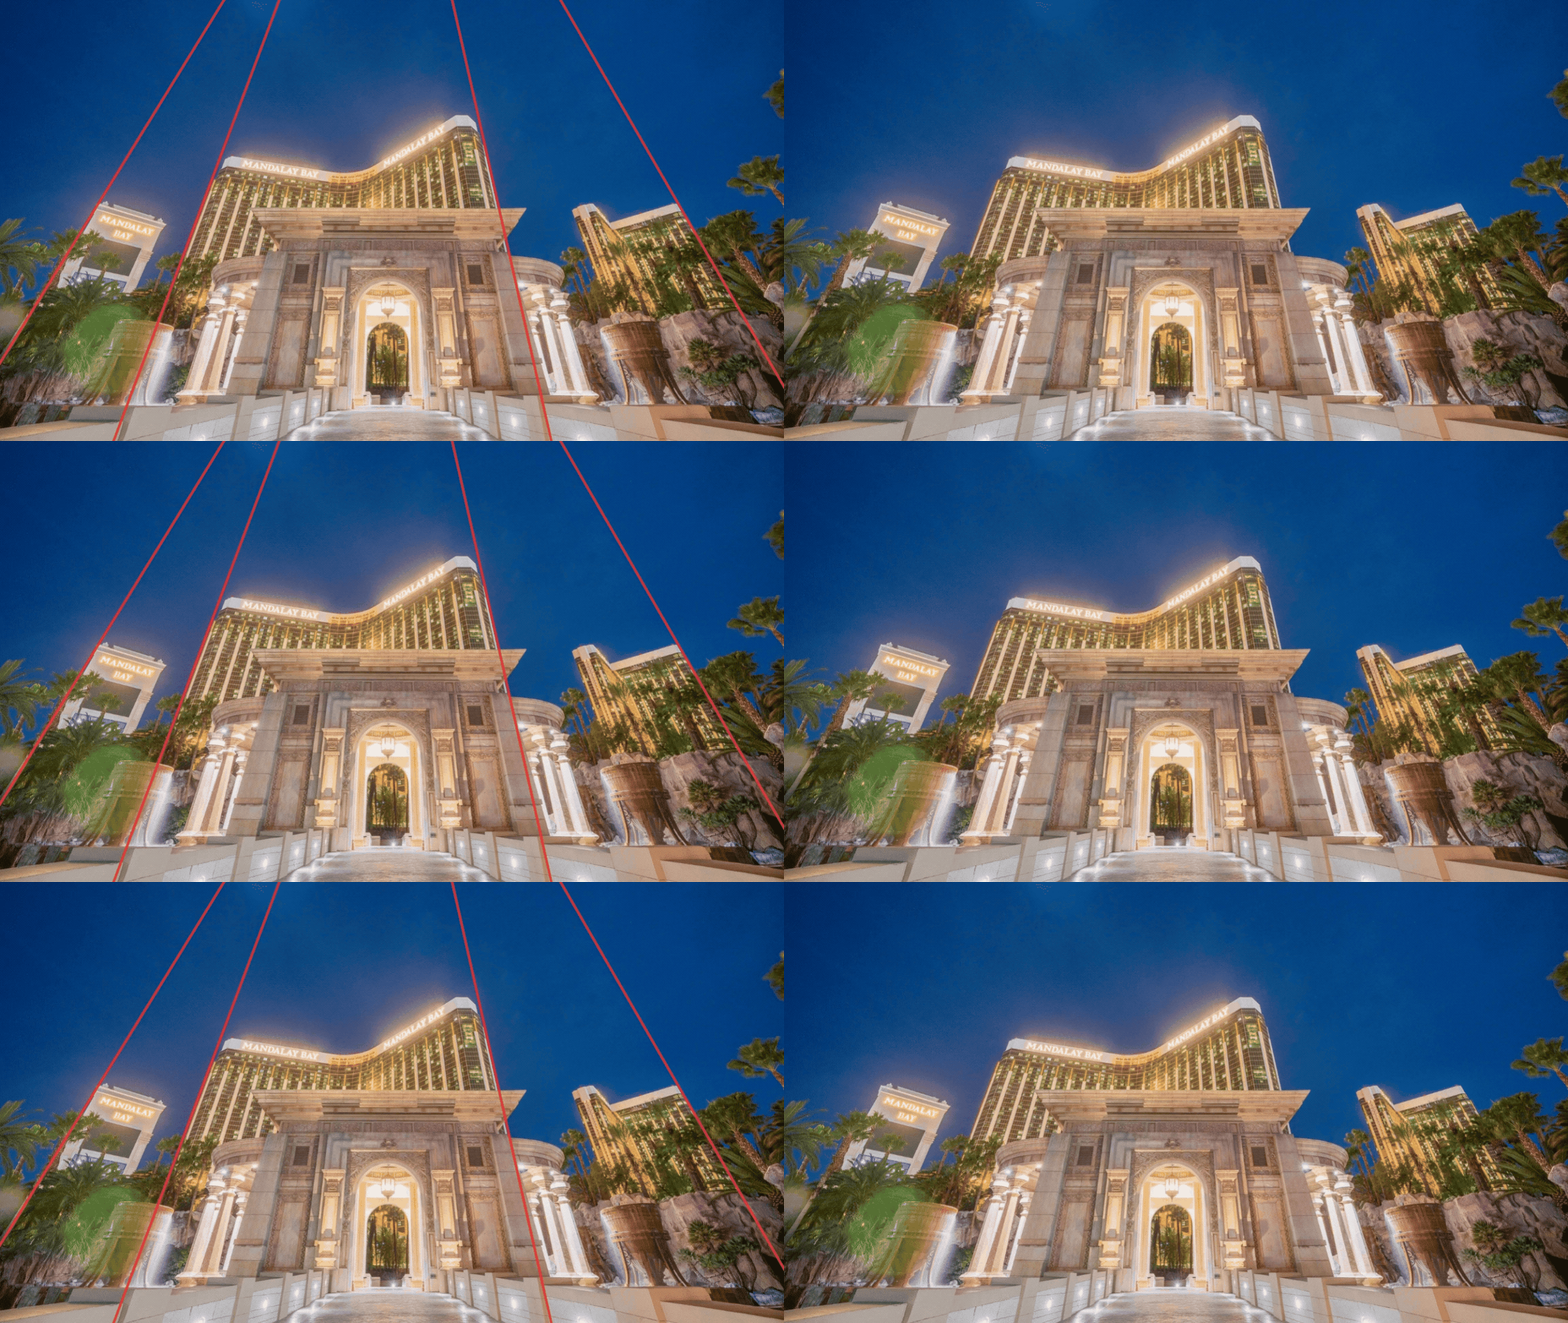
Walls tilt inward. Door frames lean. The whole room looks like it’s falling over.
Why it happens: The camera was tilted up or down during the shot. That bends vertical lines and makes them lean toward the center.
How to fix it: Keep the camera level. Shoot from about chest height and turn on the grid in your viewfinder or screen. Keep the lens parallel to the walls.
In post-production, use perspective correction. Straighten every vertical line so walls stand upright. Then check the horizontal lines, like countertops and window sills. Fix any leftover tilt. Straight lines make a room look calm and well built. Crooked lines make buyers feel uneasy, even if they can’t say why.
5. Lens Distortion and Stretched Rooms
Furniture near the edges looks stretched. Corners look bent. The room seems bigger than it really is.
Why it happens: Ultra-wide lenses bend and stretch the edges of a frame. Shooting too close to walls makes it worse.
How to fix it: Pick a wide lens that isn’t extreme. Around 16mm to 24mm on a full-frame camera works well for most rooms. Stand in a corner and keep key furniture away from the frame edges.
In editing, apply a lens correction profile and manually fix any stretched areas. Be careful not to make rooms look bigger than they are. Buyers walk in and feel cheated when a photo promised more space. Honest photos build trust, and trust gets more showings.
6. Dull, Gray Skies
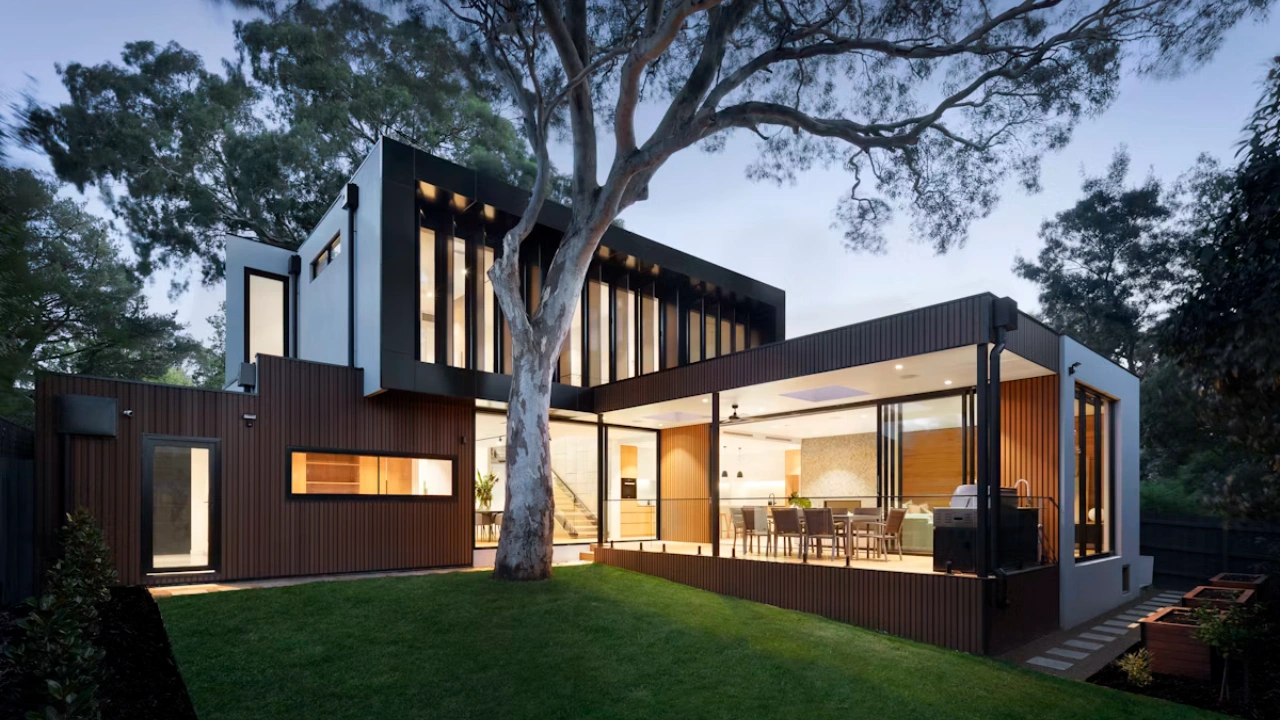
The house looks fine, but the sky is flat and gray. The whole exterior feels lifeless.
Why it happens: You shot on an overcast day, or the schedule didn’t allow for better weather. Most photographers can’t wait for perfect skies on every job.
How to fix it: Plan exterior shots for clear light when you can. Early morning and late afternoon give softer, warmer tones.
When the sky still disappoints, use sky replacement in post-production. Pick a sky that matches the lighting on the house. If shadows fall to the left, the sun should sit on the right. Keep the sky soft blue with light clouds. Avoid dramatic sunsets on a daytime shot, because they look fake. Also check edges around rooflines and trees so nothing looks cut out.
7. Patchy or Brown Lawns
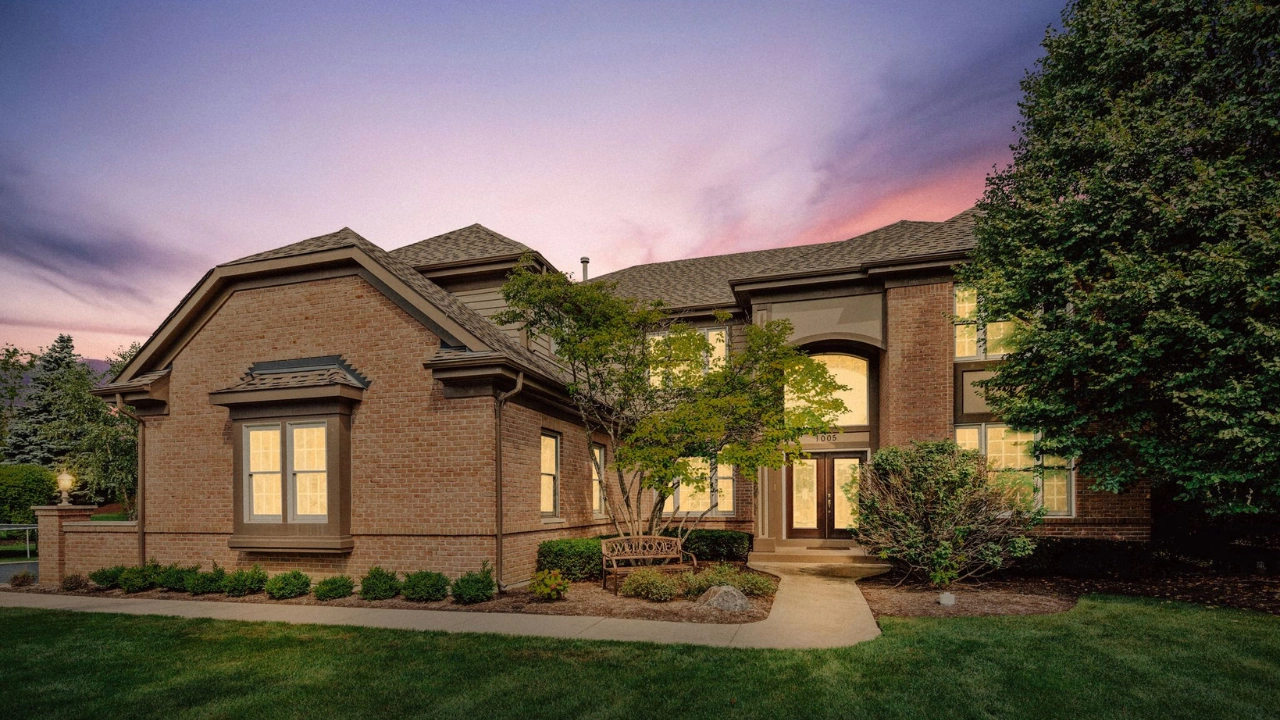
The grass is dry, bare, or uneven. Even a great home looks neglected when the lawn looks rough.
Why it happens: Season, drought, or plain lack of care before the shoot.
How to fix it: Ask the owner to water and mow a few days before the photo session. It helps more than you’d expect.
In editing, use grass enhancement. A retoucher can even out the color, fill small bare spots, and bring back a healthy green. Keep it believable. A lawn should look like a well-kept version of what’s really there. Many MLS boards have rules about edits that mislead buyers, so check local guidelines. Fix the mood of the photo, not the facts of the property.
8. Clutter and Distracting Objects
Trash bins by the driveway. Cables behind the TV. Toothbrushes on the sink. Family photos on every wall. Buyers notice all of it.
Why it happens: Homes are lived in. Owners forget or run out of time before the shoot.
How to fix it: Send owners a short prep list before the visit. Ask them to clear counters, hide cords, put away personal items, and move cars. A few minutes of cleanup saves hours of editing.
For what’s left, use object removal in post-production. Remove temporary items like bins, hoses, cars, and clutter. Don’t remove permanent things buyers will see in person, such as power lines, damage, or a neighbor’s building. That crosses the line from cleanup to misleading.
9. Reflections in Mirrors and Glass
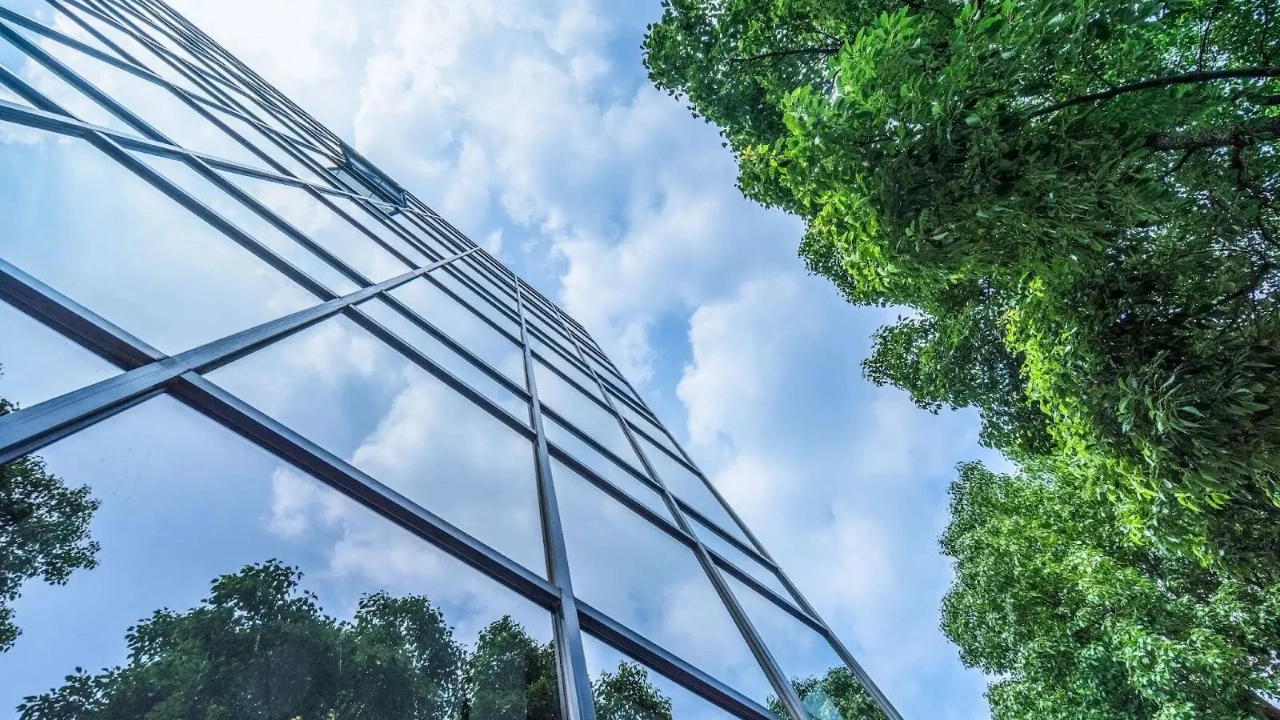
You can see the photographer, the tripod, or a light stand in the mirror. Sometimes it’s a window or a glass shower door.
Why it happens: Mirrors and glass show whatever stands in front of them, including you.
How to fix it: Shoot from an angle instead of straight on. Move the camera slightly to the side so it doesn’t appear in the reflection. If that isn’t possible, take a second frame from a different position.
In editing, blend the two frames or clone out the reflection by hand. Black TV screens and dark fireplace glass also show reflections, so clean those too. This is detail work, and it takes patience. It’s also the kind of task that separates average listing photos from polished ones.
10. Empty Rooms That Feel Cold
Bare floors and blank walls make it hard to picture daily life. Buyers can’t tell if a room fits a bed or a desk.
Why it happens: Vacant homes and new builds often have no furniture at all.
How to fix it: Use virtual staging. A designer adds furniture, rugs, art, and decor to the photo digitally. It costs far less than renting real furniture, and it works fast.
Keep the scale right. Furniture that’s too big or too small ruins the effect. Match the style to the likely buyer, so a family home gets a warm, simple look. Label staged images clearly as virtually staged. It keeps your listing honest and protects you from complaints.
11. Flat Exteriors That Don’t Grab Attention
The front of the house looks fine in daylight, but it doesn’t stand out in a sea of online listings.
Why it happens: Midday light is harsh and flat. It removes shadows and depth.
How to fix it: Shoot at dusk if your schedule allows. Turn on all the interior and exterior lights first. The warm glow in the windows makes a home look inviting.
If you can’t shoot at dusk, use virtual twilight editing. A retoucher turns a daytime photo into an evening one. The sky shifts to deep blue and orange tones, windows glow, and outdoor lights turn on. Twilight photos often become the hero image of a listing, because they stop the scroll.
12. The Over-Edited HDR Look

Halos glow around windows. Edges look crunchy. Colors look neon. The room feels like a video game.
Why it happens: Heavy HDR tone mapping or too much sharpening. Some editors push every slider to the limit.
How to fix it: Ease off. Use exposure blending with careful masks instead of heavy tone mapping. Keep contrast natural and colors true to life.
Zoom in to 100% and check the edges around windows, doors, and furniture. If you see glowing outlines, dial the effect back. Compare the photo to how the room really looks. The goal is a clean, bright image that feels real. Buyers can spot a fake look fast, and it makes them doubt the rest of the listing.
13. Inconsistent Photos Across a Listing
One photo looks warm. The next looks cool. Brightness jumps from room to room. The gallery feels messy.
Why it happens: Different lighting in each room, changing camera settings, or editing each photo on its own with no shared style.
How to fix it: Keep your camera settings as steady as possible during the shoot. In editing, start with one base look for white balance, contrast, and color. Then adjust each photo slightly for its own room.
Review the full set side by side before you deliver it. Scroll through it like a buyer would. If one image sticks out, fix it. Working with one dedicated editing team also helps a lot, because the same eyes shape every image. That’s how busy photographers and agencies keep a steady, professional look across hundreds of listings.
Quick Checklist Before You Deliver Photos
Run through this list on every listing:
- Are the rooms bright and clean, with no muddy shadows?
- Do the windows show a view instead of white blobs?
- Are the whites neutral, with no yellow or blue tint?
- Are all vertical lines straight?
- Do the rooms look true to size?
- Is the sky natural and matched to the lighting?
- Are lawns, clutter, and reflections handled?
- Does the full gallery look like one consistent set?
If you answer yes to all eight, the listing is ready to publish.
When to Hand Your Photos to a Retouching Team
You can fix many of these problems yourself. But editing takes time. A single listing can need 20 to 40 photos, and each one may need window pulls, color fixes, perspective correction, and object removal. That adds up fast.
Many photographers and real estate agencies choose to outsource post-production so they can spend more time shooting and less time editing. It also brings steady quality and faster turnaround.
Clipping Area is a post-production photo retouching agency. Our team handles real estate photo editing every day, including window pulls, color correction, sky replacement, virtual twilight, object removal, and virtual staging. You shoot the property. We polish the files and send them back ready to publish.
Frequently Asked Questions
What is real estate photo editing?
It’s the post-production work done on property photos after the shoot. It includes exposure blending, color correction, perspective fixes, sky replacement, object removal, and virtual staging. The goal is to make listing photos look bright, clean, and true to life.
Is it okay to change a property photo?
Yes, when the edits improve quality without misleading buyers. Fixing light, color, and distortion is standard. Removing temporary clutter is fine. Hiding damage or changing permanent features is not. Always check your local MLS rules.
How many photos does a listing need?
Most listings work best with 20 to 40 photos, depending on the size of the home. Include every main room, key exterior angles, and any standout features.
How long does real estate photo retouching take?
It depends on the number of images and the type of edits. Basic corrections can be done quickly, while virtual staging or twilight conversions take more time. A reliable editing partner will share turnaround times up front.
Final Thoughts
Great listing photos don’t happen by accident. Most problems come from lighting, angles, and small details that are easy to miss on site. The fixes are simple once you know what to look for.
Start with the basics. Shoot bracketed exposures, keep the camera level, and prep the home. Then use smart real estate photo editing to handle the rest. Do that consistently, and your listings will look sharper, feel more inviting, and get more attention online.



