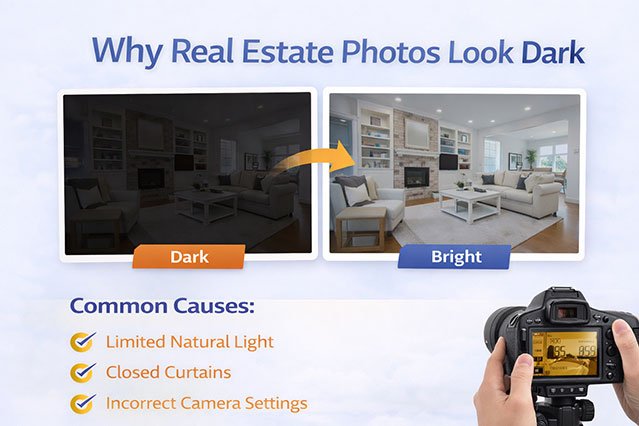
Editing real estate photos involves several key steps to enhance the image quality and ensure the property looks its best. Here’s a guide on how to edit real estate photos effectively:
-
Adjust Exposure and Brightness: Use editing software like Adobe Lightroom or Photoshop to adjust the exposure and brightness, ensuring the image is well-lit and not too dark or overexposed.
-
Correct White Balance: Adjust the white balance to ensure the colors look natural, removing any color cast, especially from artificial lighting.
-
Straighten the Image: Use the cropping tool to straighten any tilted images, ensuring vertical lines, like walls and windows, are aligned properly.
-
Enhance Colors: Increase the vibrancy to make the image pop, but be careful not to overdo it. Natural colors are key to making the space look inviting.
-
Remove Clutter: Use the healing brush tool to remove any distractions or clutter from the image that could divert attention from the property.
-
Sharpen the Image: Apply sharpening to make the details stand out, but avoid making the image too grainy.
-
Adjust Contrast and Saturation: Fine-tune the contrast and saturation to make the image more appealing, giving it a professional, polished look.
-
Use HDR Editing for Interior Shots: For interior photos, using HDR techniques can help balance the exposure between bright windows and dark interiors.
By following these steps, you can enhance real estate photos, ensuring they capture the property in its best light and help potential buyers see its full potential.


