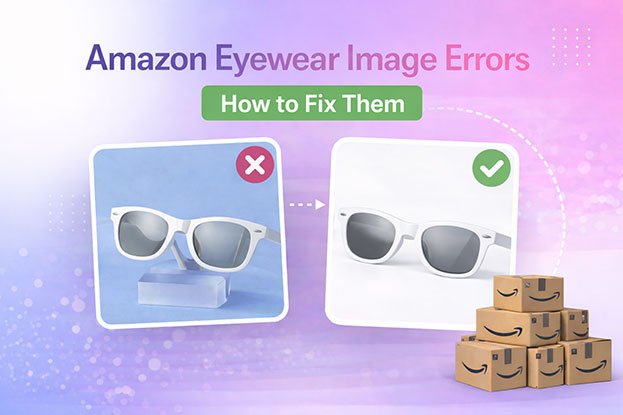
Eyewear is one of the trickiest product types to photograph well. Glass reflects light. Frames come in dozens of finishes. Lens tints shift color depending on the angle. A photo that looks fine on a laptop screen can still get flagged, or worse, quietly hurt your conversion rate without ever getting rejected.
This guide walks through what Amazon actually requires for eyewear listings, sunglasses, eyeglasses, and prescription frames alike, and where sellers usually run into trouble.
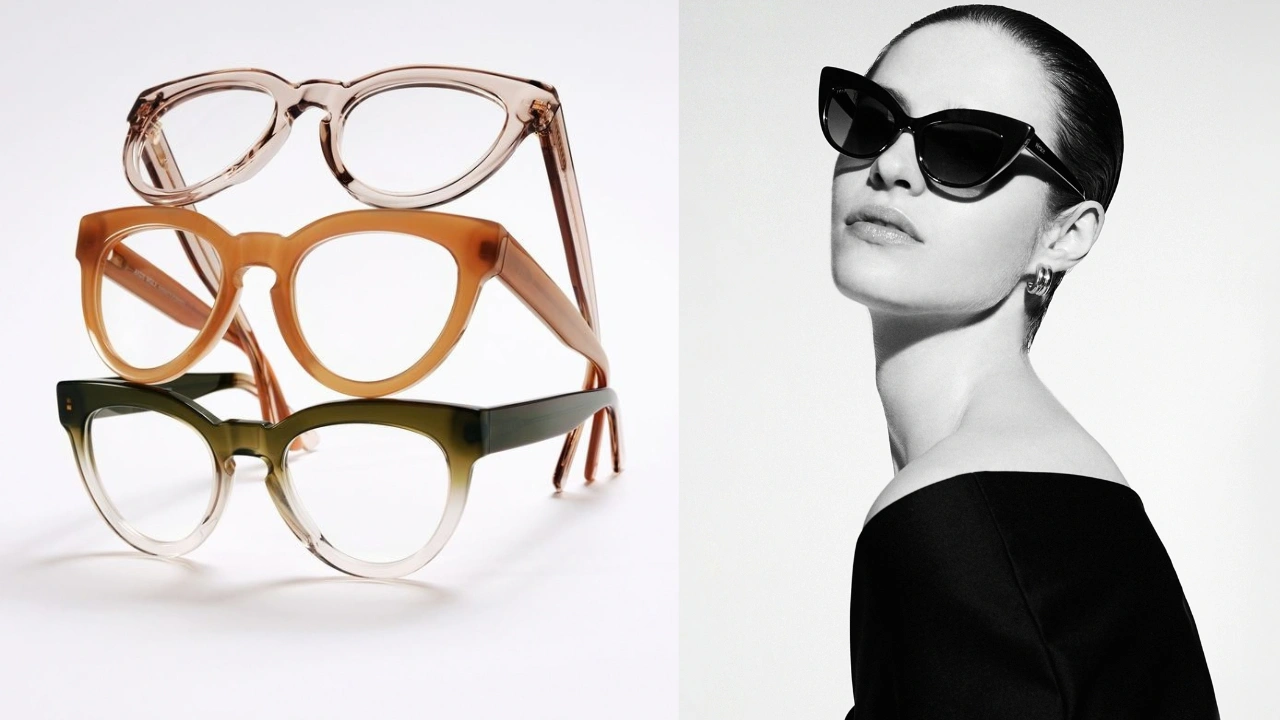
Why Eyewear Photos Are Harder Than Most Categories
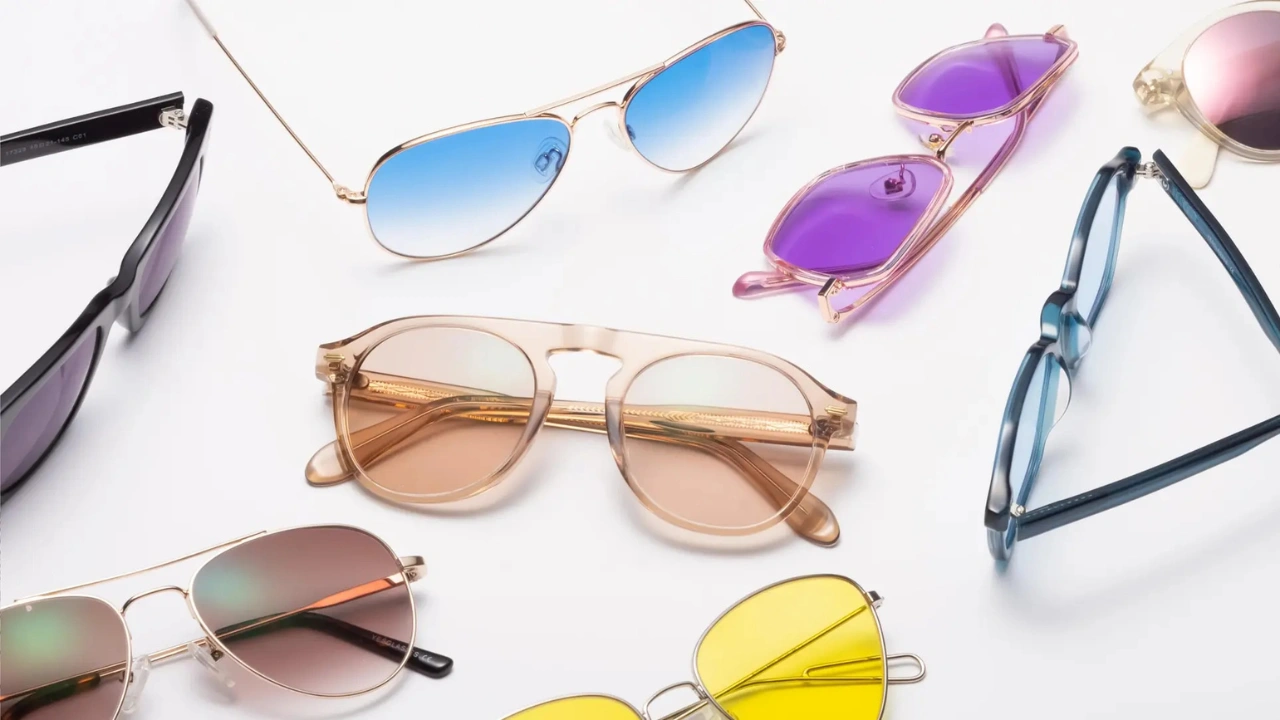
A t-shirt lies flat. A phone case has one obvious angle. Eyewear doesn’t work that way.
Lenses reflect studio lights. Metal frames pick up glare from every direction. Curved surfaces bend light in ways that are hard to predict until you’re already looking at the photo on a screen.
On top of that, color accuracy matters more with eyewear than with almost anything else. A frame that looks tortoiseshell brown in the photo but arrives as dark amber creates a customer who feels misled, even if the mismatch was unintentional.
None of this means eyewear photography is impossible. It just means the margin for error is smaller, and Amazon’s rules reflect that.
It also means small mistakes are more visible. A slightly off-white background is easier to miss on a plain t-shirt than on a pair of clear acetate frames, where the contrast between the product and a gray backdrop is obvious at a glance.
Getting the Studio Setup Right Before You Shoot with Sunglass Fashion
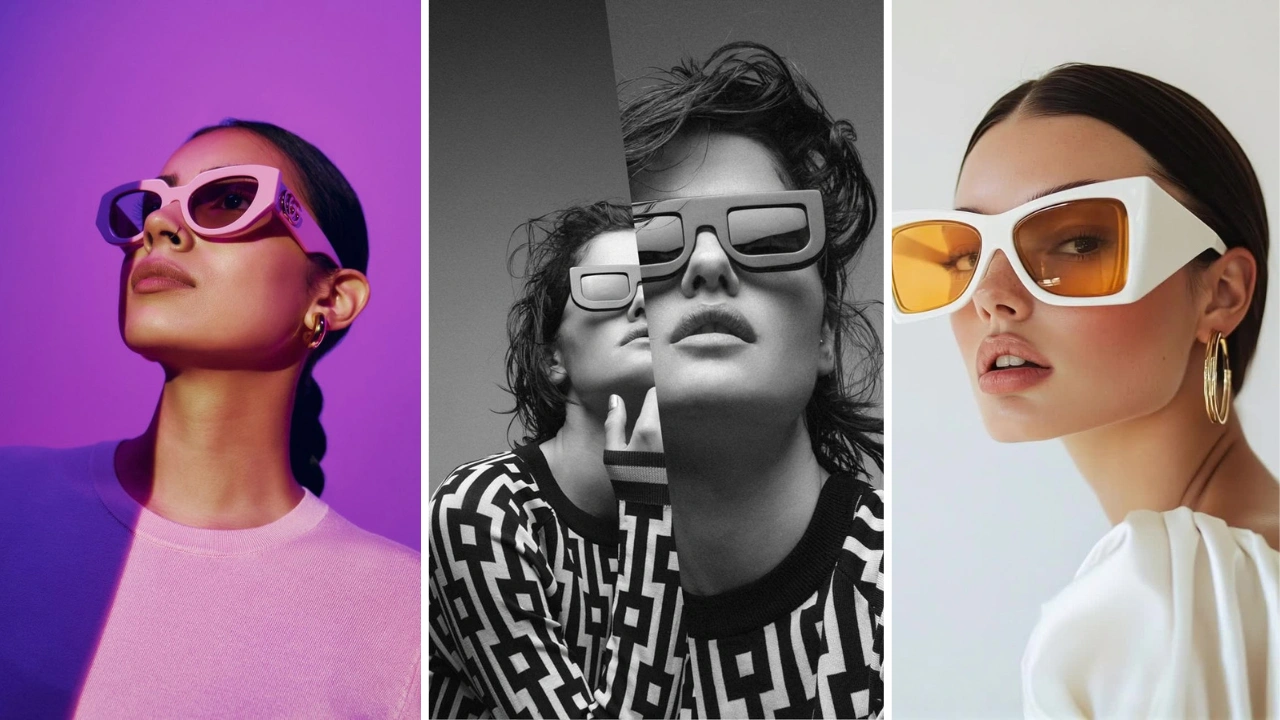
A lot of eyewear photo problems start before editing ever comes into play. A few setup habits make everything downstream easier.
Diffuse the light source. A single hard light is what causes that one bright streak across a sunglasses lens. Softboxes, diffusion panels, or even a simple white bounce card spread the light out and reduce harsh glare.
Use a stand, not your hand. Handheld shots almost always introduce a slight tilt. A small acrylic stand or product clip keeps the frame level and consistent across every shot in a series.
Shoot at eye level with the product, not above it. Shooting down at an angle distorts the frame’s proportions and makes symmetrical products look uneven.
Keep the white background evenly lit. Shadows pooling at the base of the backdrop are the most common reason a “white” background fails Amazon’s check. Lighting the backdrop separately from the product helps avoid this.
None of this needs to be perfect on the first try. Editing exists specifically to clean up the gap between a good studio setup and a fully compliant, polished final image.
Amazon’s General Image Rules (These Apply to Eyewear Too)
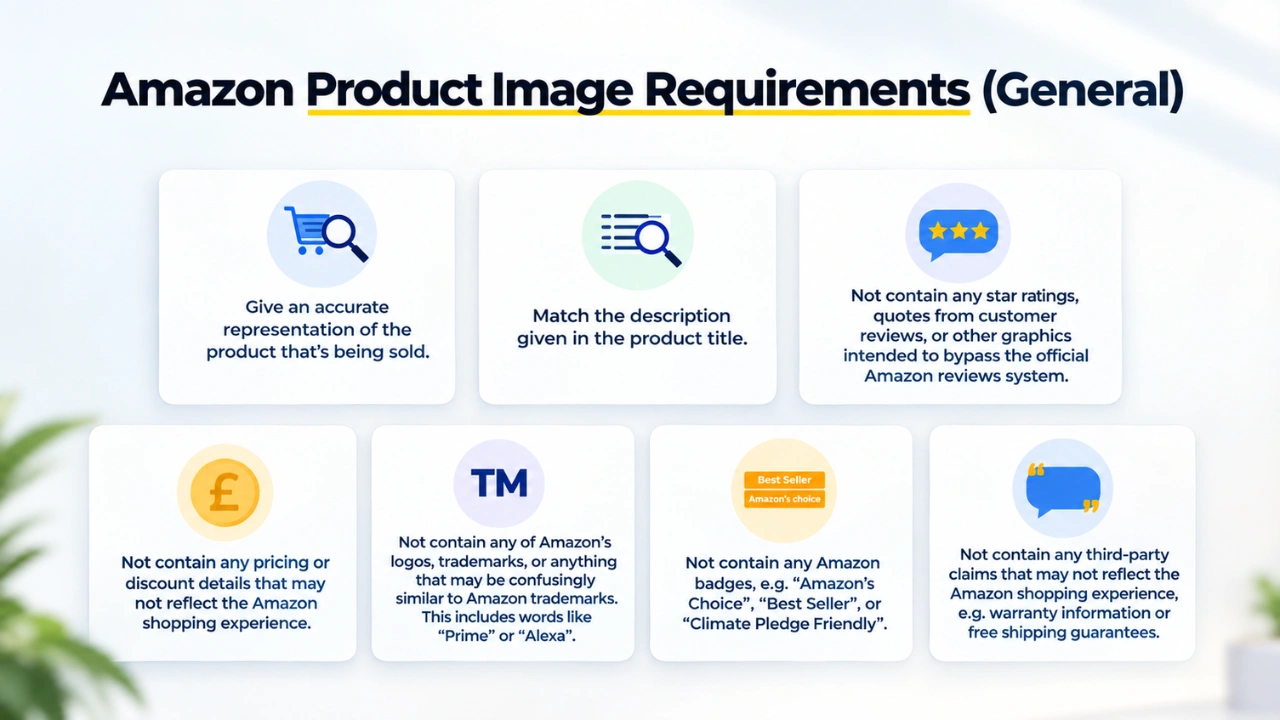
Before getting into eyewear-specific issues, here are the baseline rules every product image needs to follow.
Requirement Amazon’s Rule Main image background Pure white (RGB 255, 255, 255) Minimum image size 1000 pixels on the longest side Recommended file type JPEG Product fill Product should fill about 85% of the frame Text, logos, watermarks Not allowed on the main image Props, hands, mannequins Not allowed on the main image Number of images allowed Usually up to 9, depending on category
These rules aren’t unique to eyewear. They apply across most Amazon categories. But eyewear sellers tend to run into them more often, simply because the product is harder to photograph cleanly.
A quick note on image editing: Amazon allows retouching that cleans up the photo, like fixing the background, correcting color, and removing dust or lint. What it doesn’t allow is anything that changes what the product actually looks like. You can’t stretch a frame to look slimmer. You can’t shift the lens tint to a color the product doesn’t come in. The line is simple: editing should make the photo more accurate, not less.
Secondary Images: What They Should Show
The main image carries the most weight, but the secondary slots do a lot of the selling. For eyewear, the strongest listings usually include:
A three-quarter angle, showing the temple arms and frame depth
A side profile, useful for showing arm length and hinge design
A folded view, since many shoppers check how compact the frame is for storage
A close-up of the hinge, logo, or any branded detail
An on-face lifestyle shot, showing fit and proportion on a real person
A size comparison image, since frame dimensions are hard to judge from a flat photo alone
Sellers who skip the folded and side-profile shots tend to get more sizing-related questions and returns, simply because shoppers can’t judge scale from a single front-facing photo.
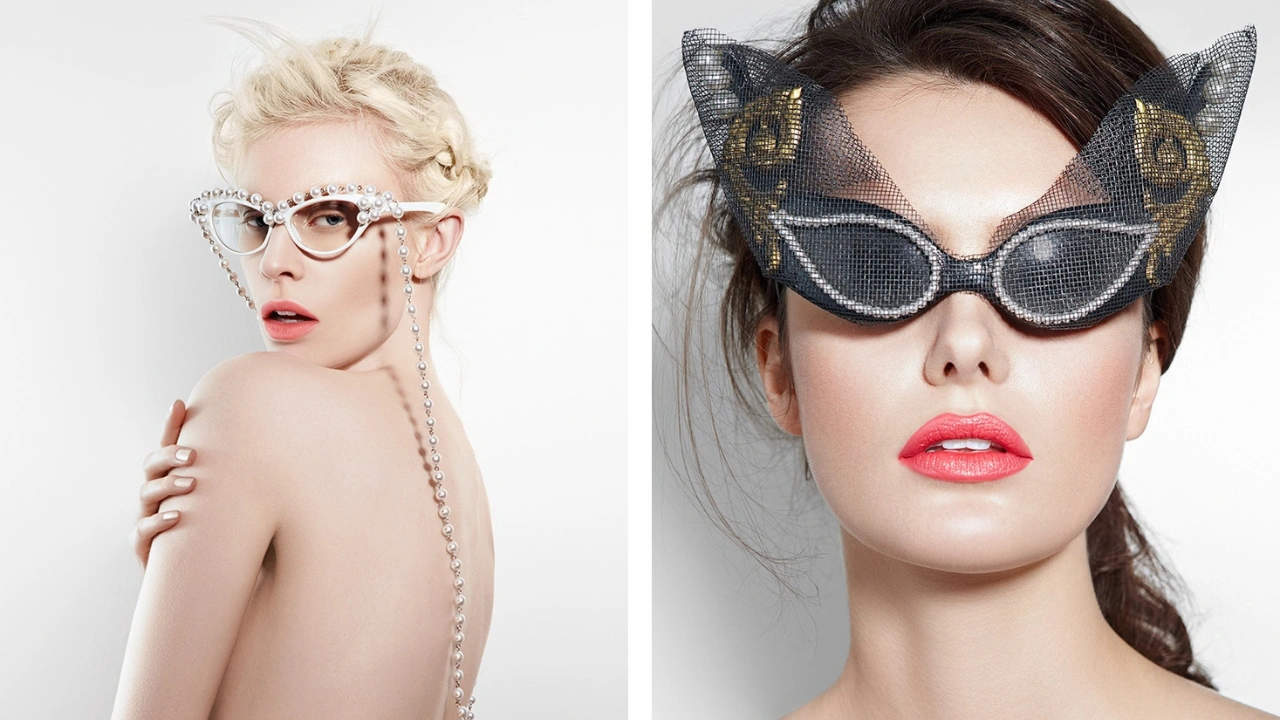
Amazon doesn’t publish a separate eyewear-only rulebook, but the category has practical requirements that come from how eyewear actually gets evaluated by shoppers and by Amazon’s own quality checks.
The main image needs a true front-facing angle
Eyewear listings should show the product straight-on, centered, with both lenses visible and even. A slightly angled or tilted shot might look “more natural” to the photographer, but it reads as sloppy to a shopper comparing five similar frames in a search grid.
Reflections need to be controlled, not eliminated entirely
You can’t remove 100% of reflection from a glass or acrylic lens. That’s physics, not a photography mistake. What you can control is whether the reflection is a soft, even highlight or a harsh white blowout that hides the lens color entirely.
A common issue: sunglasses lenses photographed under a single overhead light show one bright reflective streak that makes the lens tint impossible to judge. Shoppers can’t tell if they’re buying grey lenses or green ones.
Frame color has to match the real product
This is the single biggest source of eyewear returns tied to photography. Tortoiseshell, olive, and dark brown frames are especially prone to color drift under studio lighting. What looks like a rich amber tone in the photo can arrive looking almost black, or the reverse.
Amazon doesn’t have a pixel-level test for “does this frame color match reality,” but return rate data feeds into how listings get ranked over time. A pattern of color-related returns is a signal Amazon’s system picks up on, even without a direct rule violation.
Lens tint needs to read accurately, not just look attractive
Polarized lenses, gradient tints, mirrored coatings. Each of these photographs differently, and each one is easy to get wrong. A gradient lens shot at the wrong angle can look like a solid tint. A mirrored lens can look almost black if the reflection isn’t managed.
Symmetry matters more here than in most categories
Because eyewear is worn on the face and both sides need to look identical, even a slight tilt or uneven arm position stands out immediately. Shoppers notice asymmetry in eyewear faster than in almost any other product type.
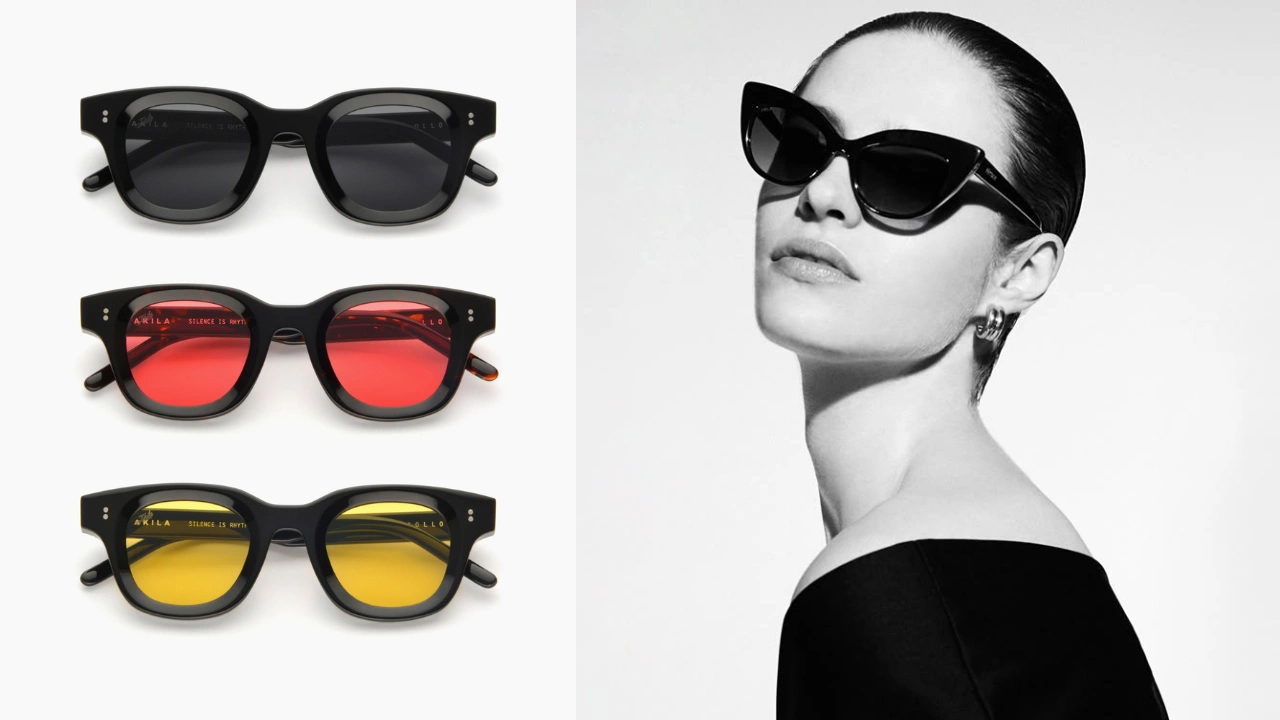
The two categories share the same baseline rules, but the details that matter most aren’t identical.
Focus Area Sunglasses Eyeglasses Biggest photo risk Lens reflection and tint accuracy Frame color and lens glare from clear lenses Extra shot worth including Angled shot showing lens gradient Close-up showing frame material and finish Common return reason Lens color looked different than expected Frame color or size didn’t match expectations
Sunglasses live or die on lens color accuracy. Eyeglasses live or die on frame color and how well the clear lenses avoid looking like flat glare in the photo.
Common Problems Sellers Run Into (And Why They Happen)
These are the issues that come up again and again with eyewear listings.
The background looks gray instead of white. This usually happens with a white sweep under uneven studio lighting. It looks fine on the photographer’s monitor but fails Amazon’s white background check because the shadows pull the color code away from true white.
Sunglasses have a distracting reflection. A single bright streak across the lens, usually caused by one overhead light source without proper diffusion, makes it hard for shoppers to judge the actual lens color.
The product looks slightly tilted. Even a two or three degree tilt is enough to make a symmetrical product look off. This is common with handheld shots or when the frame isn’t secured on a stand.
Frame color looks different from the real product. Warm studio lighting pushes browns and ambers toward orange. Cool lighting pushes them toward grey. Either way, the photo doesn’t match what arrives in the customer’s hands.
There’s too much empty space around the product. Eyewear is small compared to most products photographed for Amazon, and it’s easy to leave too much white space in the frame instead of filling it to the recommended 85%.
The main image doesn’t look “clean” even though it’s technically compliant. This is the gap between passing Amazon’s rules and actually looking professional. Faint shadows, slightly soft focus, or uneven lens reflections can all make a technically valid photo look amateur next to a competitor’s listing.
A catalog has inconsistent image sizes and crops across products. This happens naturally when different frames get photographed at different times, sometimes by different people. The result is a storefront that looks disjointed even though each individual listing is compliant.
A seller needs hundreds of images edited before a launch. This is less a photography problem and more a logistics problem. Manually editing each image one at a time doesn’t scale when you’re launching 200 SKUs at once.
Prescription frames photograph differently than sunglasses. Clear lenses catch glare in a way tinted lenses don’t. A clear lens shot under the wrong light can show a blue-white streak across the whole surface, which hides the frame’s edge detail and makes the listing look unfinished.
How Editing Solves These Problems
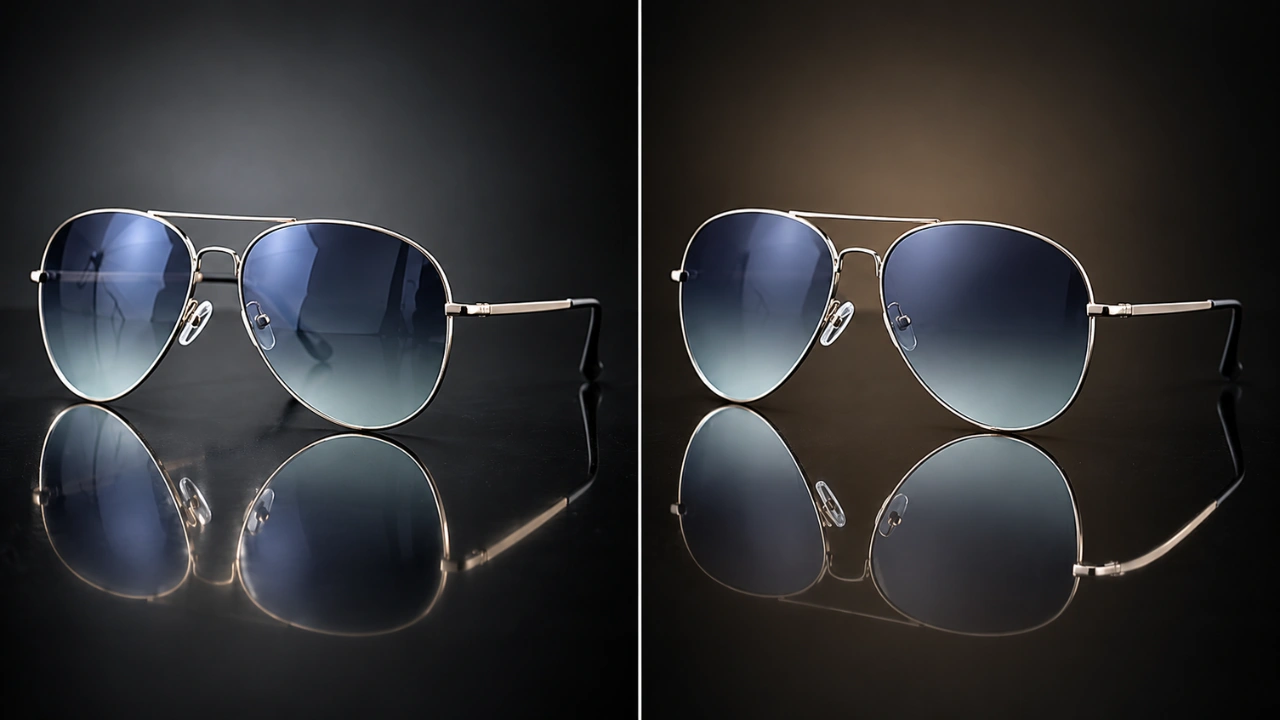
Most of the issues above don’t require a reshoot. They get fixed in post-production.
Background correction. Pulling a slightly gray or uneven background to true RGB 255 white, without losing the natural shadow that keeps the product looking grounded rather than flat.
Reflection reduction. Taming harsh lens glare so the tint and color read clearly, while keeping enough natural reflection that the lens still looks like glass or acrylic, not a flat painted surface.
Straightening and alignment. Correcting minor tilt so the frame sits level and both lenses appear even, which matters more for eyewear than almost any other product category.
Color correction. Matching the frame and lens color in the photo to the actual product, which is the single most effective fix for reducing color-related returns.
Cropping and fill adjustment. Repositioning the product so it fills the frame correctly instead of floating in excess white space.
Batch editing for consistency. Applying the same correction settings across an entire catalog, so fifty different frame styles all share the same lighting, background tone, and crop ratio.
This is the kind of work Clipping Area handles for eyewear brands and Amazon sellers who need product photos edited to spec, whether that’s a handful of images or a full catalog before a launch. The focus is always on making the photo match the real product accurately, not just making it look nicer.
Pre-Upload Checklist for Eyewear Images
Run through this before uploading any eyewear photo to Amazon:
Background is a true white, not gray or off-white
Image is at least 1000 pixels on the longest side
Product fills roughly 85% of the frame
Frame is centered and level, not tilted
Both lenses look even and symmetrical
Reflections are soft, not a harsh white blowout
Frame color matches the real product under natural light
Lens tint reads accurately, not too dark or too light
No hands, stands, or props visible in the main image
All products in the catalog share consistent lighting and crop style
Frequently Asked Questions
What’s the minimum image size for Amazon eyewear listings? At least 1000 pixels on the longest side. This is what enables Amazon’s zoom feature, which matters a lot for eyewear since shoppers want to check frame texture and lens detail up close.
Can the main image show the eyewear at an angle? It’s best to keep the main image straight-on and centered. Angled or lifestyle shots work well in secondary image slots, but the main image should show the product clearly and symmetrically.
How do I stop reflections from ruining my sunglasses photos? Reflections can’t be eliminated completely on glass or acrylic lenses. Diffused lighting during the shoot helps, and post-production editing can further reduce harsh glare while keeping the lens looking natural.
Why does my frame color look wrong in photos even though the lighting seemed fine? Color drift often comes from the color temperature of the studio lights, not an obvious mistake. Warm lights push colors toward orange, cool lights push them toward blue. Color correction after the shoot fixes this.
Do I need professional editing if I already have decent photos? It depends on the goal. If the photos are technically compliant but the frame color, reflections, or crop aren’t quite right, targeted editing usually solves it without a full reshoot.
What’s the difference between Amazon’s main image rules and its general image editing requirements? The main image rules are strict and specific: pure white background, minimum resolution, no props. The broader image editing requirements are more about honesty, the edited photo has to represent the real product, not an idealized or altered version of it.
How many images should an eyewear listing actually use? Most eyewear listings benefit from using close to the full nine-image limit. Front view, angled view, side profile, folded view, a detail shot, and an on-face shot cover most of what shoppers want to check before buying.
Bottom Line
Amazon’s baseline image rules (white background, minimum resolution, clean framing) apply to eyewear the same way they apply to everything else. What makes eyewear harder is everything past that baseline: controlling reflections, matching frame color accurately, and keeping every product in a catalog visually consistent.
Get those details right, and your listings look like they belong next to established brands instead of standing out for the wrong reasons.
If your eyewear photos need cleanup before an Amazon launch, whether that’s a few dozen images or several hundred, Clipping Area edits background, color, alignment, and reflections to match Amazon’s requirements and the actual product.
Good eyewear photography is less about expensive equipment and more about catching the small details other sellers skip. Get those right, and your listings hold up next to any established brand in the category.



