A fashion lookbook is often the single most expensive asset a brand produces in a season. Yet most lookbook shoots still get planned on the fly. A photographer gets booked, a few models get cast, and the shot list gets written the night before. The result usually looks like a pile of pretty pictures, not a collection.
A strong lookbook fashion photoshoot workflow fixes that. It turns a shoot day into a repeatable system, one that covers everything from the first planning call to the final retouched image. This guide walks through that full workflow, step by step, so your next lookbook shoot produces a consistent, usable set instead of a stack of disconnected images.
We’ll cover pre-production planning, shot lists, lighting, shoot day management, and post-production, including where photo retouching and color correction fit into the process. By the end, you’ll have a clear, practical framework you can hand to your team before the next season’s shoot.
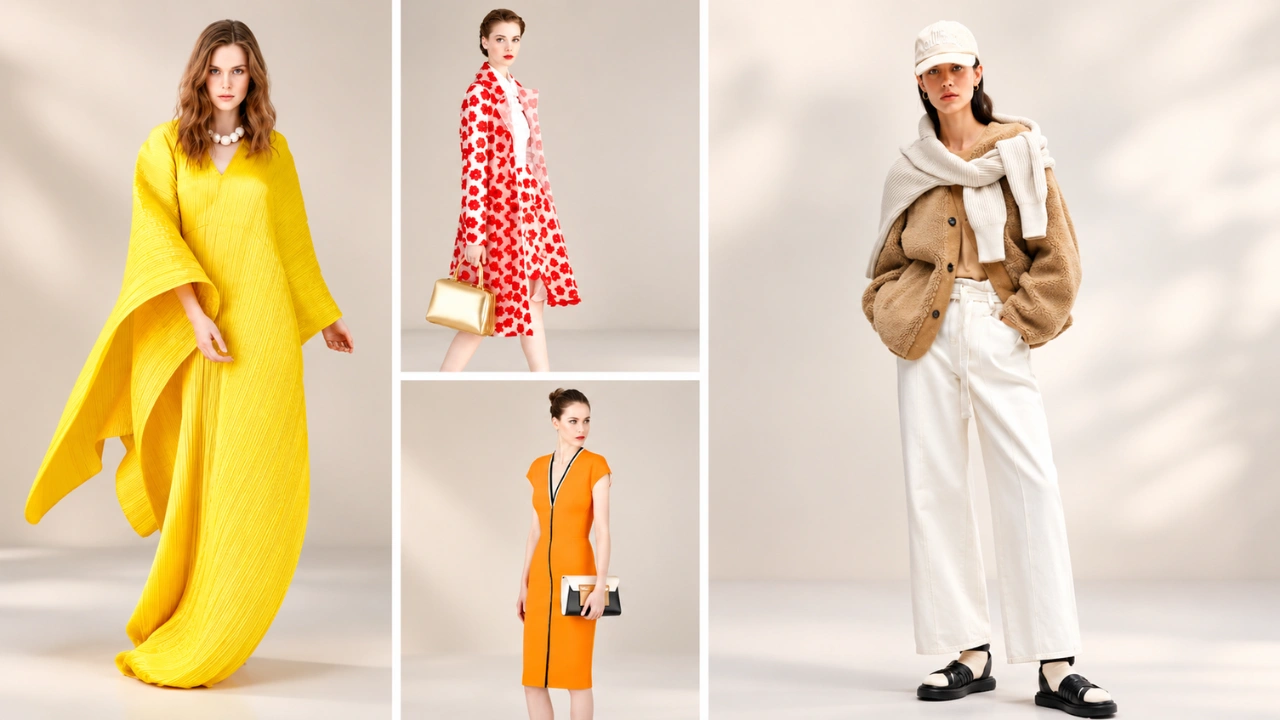
A lookbook fashion photoshoot is a planned, styled photo session built to show off a brand’s collection as a story, not just a product list. Every look is styled with intent. Every image is meant to say something about who the brand is and who it’s for.
This is different from a catalog shoot, where the goal is to capture every SKU cleanly and accurately for a product page. A lookbook doesn’t need all 100 pieces from a collection. It needs 12 to 20 looks that tell a clear story about the collection’s mood and direction.
The output of a lookbook shoot ends up everywhere: on the brand’s website, in wholesale decks for buyers, in press kits, on social media, and sometimes in print. Because it travels so widely, the images need to hold together as one set, with the same tone, lighting, and finishing from the first image to the last.
Why a Structured Workflow Matters More Than Talent
It’s tempting to think a great lookbook comes down to hiring a great photographer. Talent helps, but it isn’t what makes or breaks the final set. Consistency does.
A lookbook where three images are warm and moody and the rest are bright and flat doesn’t read as a collection. It reads as a mistake. The same goes for skin retouching that’s heavy on some images and untouched on others, or crops that shift from look to look.
None of that comes down to photography skill alone. It comes down to planning before the shoot and discipline after it. A workflow gives your team a shared reference point at every stage, so decisions made on day one still hold up by the time the last image is delivered.
Step 1: Define the Goal Before You Book Anyone
Before you call a photographer, a stylist, or a model agency, answer one question: what is this lookbook supposed to do?
A lookbook built to win wholesale buyers looks different from one built to drive direct-to-consumer sales, and both look different from one aimed at press and editorial pickup. Each goal changes how you shoot.
Ask your team three things:
Who is this lookbook for? Buyers, press, customers, or all three?
What should someone feel after looking through it?
Where will these images actually be used, and in what sizes?
Write the answers down. They’ll guide every decision that follows, from casting to crop ratios.
Know Your Audience Before You Style a Single Look
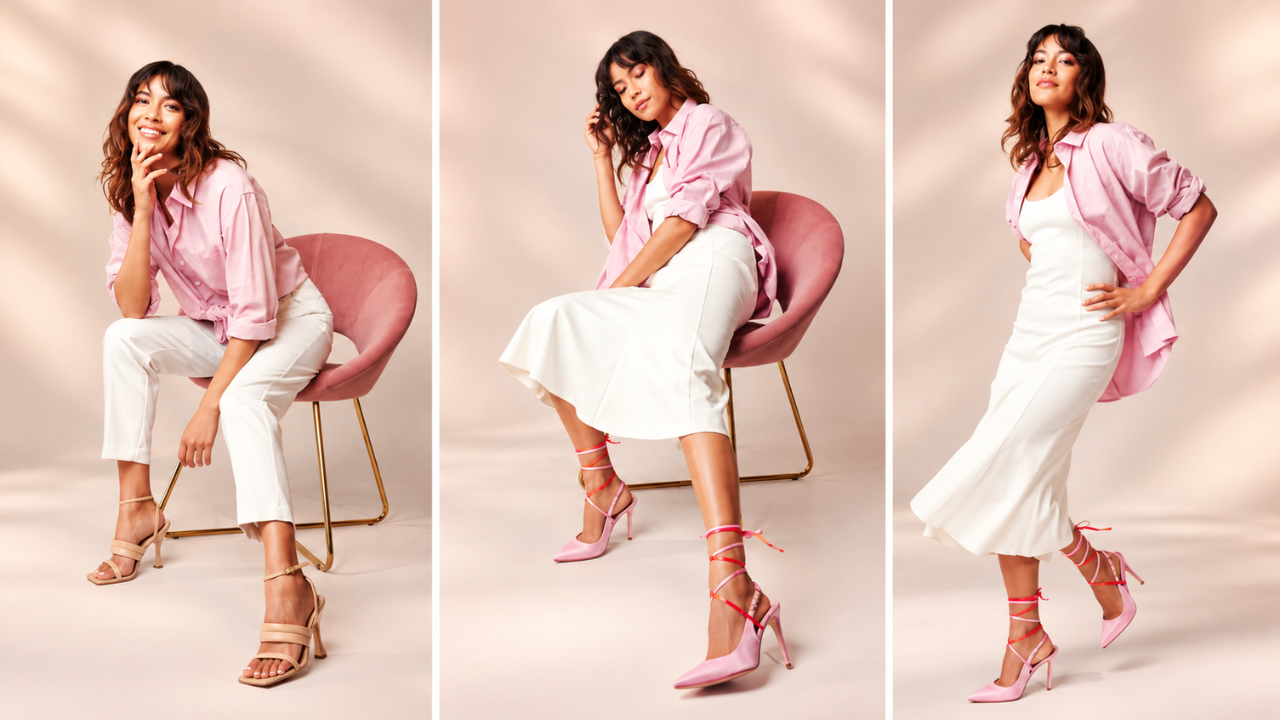
A minimalist brand and a maximalist streetwear label need completely different visual languages. If your customer responds to clean lines and quiet color, styling loud and busy will feel off-brand, no matter how technically good the photos are.
Spend time before the shoot thinking about who is actually going to see these images. What do they already follow? What visual cues do they respond to? This isn’t a branding exercise for its own sake. It directly shapes your location choices, your lighting mood, and how your models move on set.
Step 2: Build a Mood Board That Actually Guides the Shoot
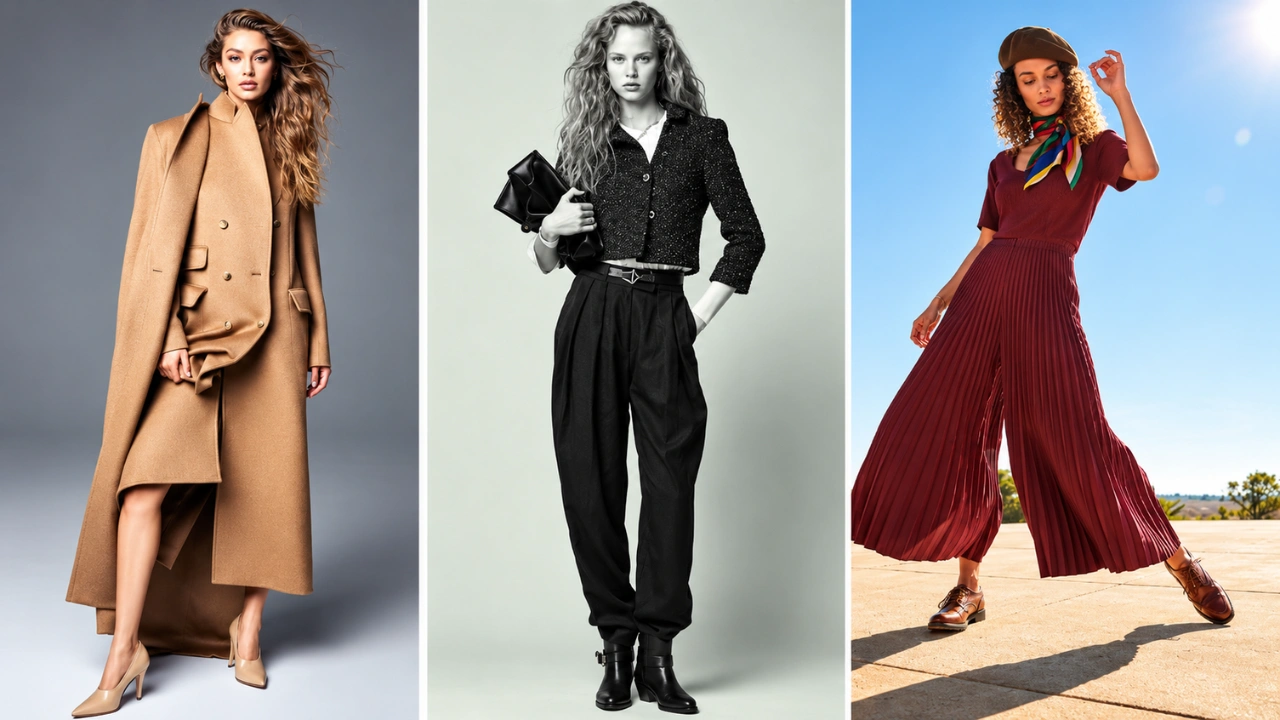
A mood board isn’t decoration for a pitch deck. It’s a working tool that keeps your photographer, stylist, and hair and makeup team pointed in the same direction.
Pull references from more than just other fashion lookbooks. Film stills, architecture, interior design, and even nature photography can shape lighting and color choices in ways that a straight fashion reference can’t. Focus your board around:
Color palette and overall tone
Lighting style (soft and natural versus hard and studio-lit)
Model posing and movement
Backdrops and locations
Share this board with every vendor before the shoot, not on the morning of. A photographer who sees your references a week early can plan lighting gear accordingly. One who sees it for the first time on set is guessing.
Step 3: Build the Right Team
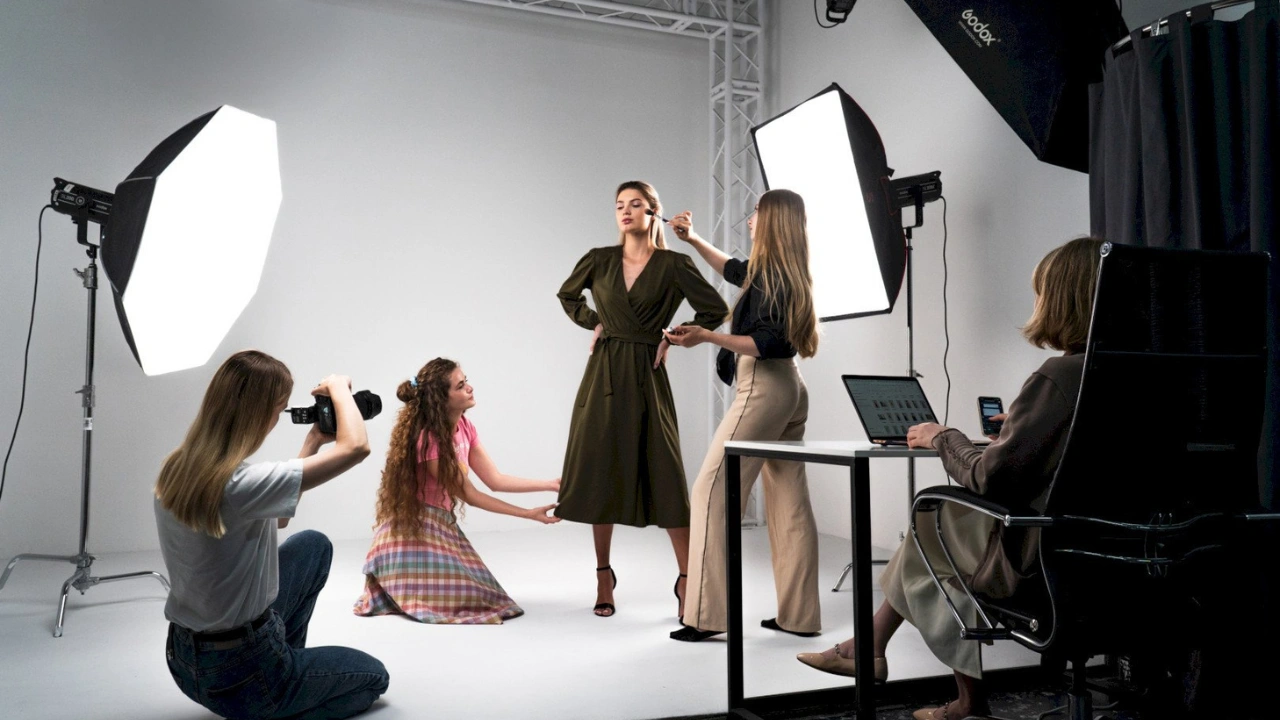
A lookbook shoot runs on a small group of specialists, and getting the wrong fit in any one role shows up in the final images.
Photographer. Look past their portfolio’s best shots and study their consistency across a full body of work. A photographer whose lighting and color style shift wildly from project to project will make your post-production harder, not easier.
Stylist. This person builds the actual looks from your collection pieces, layering and pairing in ways that read well on camera. A stylist who understands fabric and silhouette is worth far more than one who just knows trends.
Hair and makeup. Their work needs to match your mood board, not their personal preference. Brief them the same way you brief the photographer.
Model casting. The model is doing a lot of the storytelling. If your brand serves a range of body types, cast that range. If your collection is edgy, don’t cast someone who reads as polished and safe. Mismatched casting undercuts everything else you’ve planned.
On-set assistants. Someone needs to steam garments, hold reflectors, and manage wardrobe changes so the creative team can stay focused. Don’t skip this role to save budget. It costs you time on shoot day instead.
Step 4: Build a Real Shot List
A shot list is the single most useful document you can hand your crew. Without one, shoot days drift, and important shots get missed until it’s too late to fix.
Break your shot list into categories:
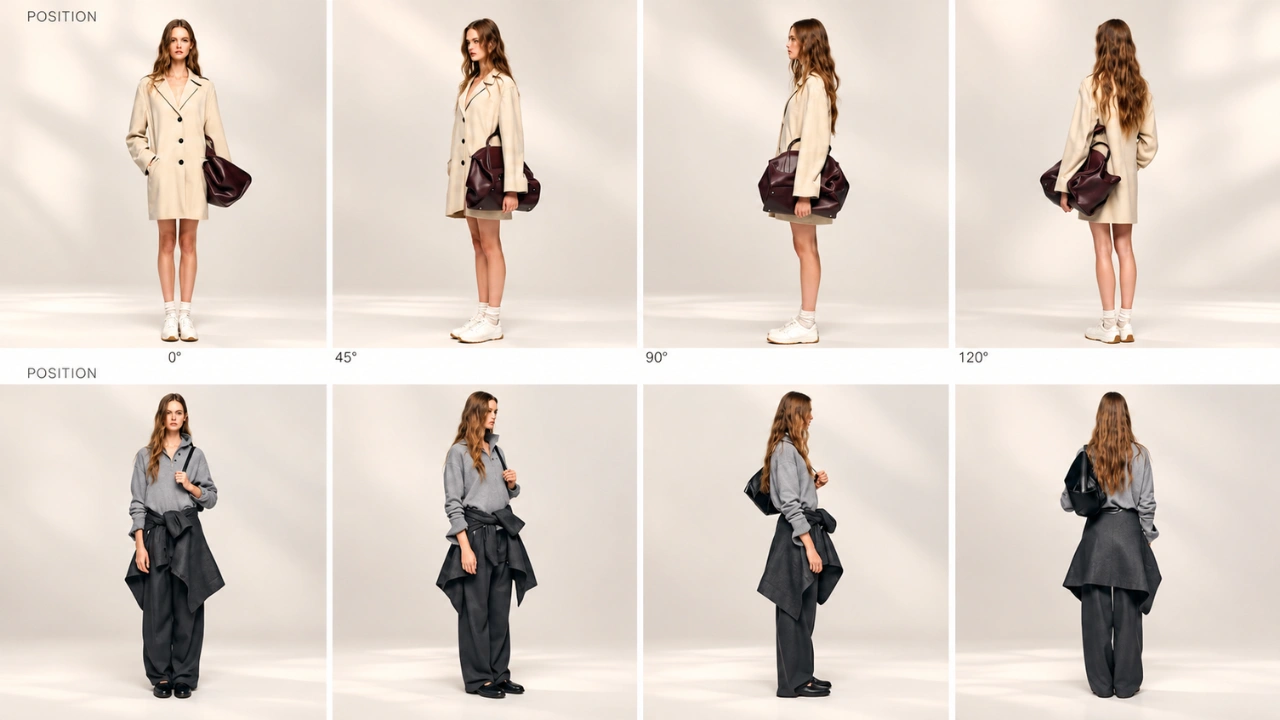
Full-body shots that show the complete silhouette of each look
Detail shots capturing stitching, buttons, fabric texture, and trims
Movement or lifestyle shots that show the garment in motion
Flat lays or on-hanger shots for accessories or standalone pieces
Environmental or wide shots that establish the location and mood
Once you know what you need, sketch a rough sequence. Do you want the set to open bold and close soft? Group looks by color? Build toward a specific emotional peak? Planning this sequence in advance means your post-production team already knows how the final set should feel when the retouched images come back.
A simple spreadsheet or shared document works fine here. What matters is that everyone on set, from the photographer to the stylist, is working from the same list.
Lookbook vs. Catalog vs. Campaign: Know the Difference Before You Brief
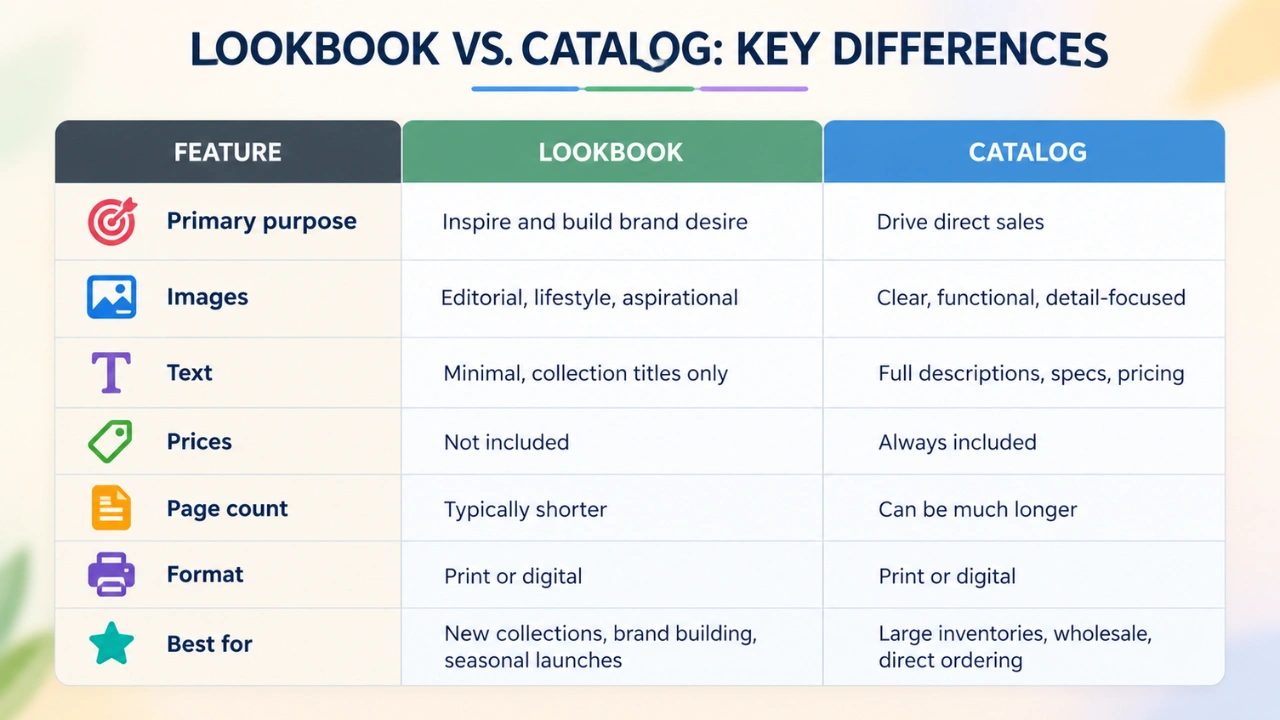
Brands running a full seasonal production cycle often brief a lookbook, a catalog, and a campaign shoot within the same window. The briefs can look similar on paper, but the deliverables serve very different jobs, and mixing them up leads to assets that don’t do what they were meant to do.
A lookbook shoot is selective and narrative. It doesn’t need every SKU. It needs enough curated looks, usually 12 to 20, to tell the story of the collection across full-body, detail, and lifestyle frames.
A catalog shoot prioritizes completeness over storytelling. Every SKU, every color, every required angle, shot against a controlled background with consistent exposure. Accuracy matters more than mood here. A catalog image with the wrong color reading costs the brand in returns.
A campaign shoot is narrow but heavy. It usually produces just three to five hero images built for one specific launch or marketing push, but those few images need to work across print, social crops, and video cutdowns.
If your team is producing all three in one production cycle, plan them as a single coordinated shoot day rather than three separate bookings. Lighting setups, crew, and location fees can be shared across all three outputs, while each still gets its own shot list and retouching brief.
Step 5: Get the Lighting Right, Then Keep It Consistent
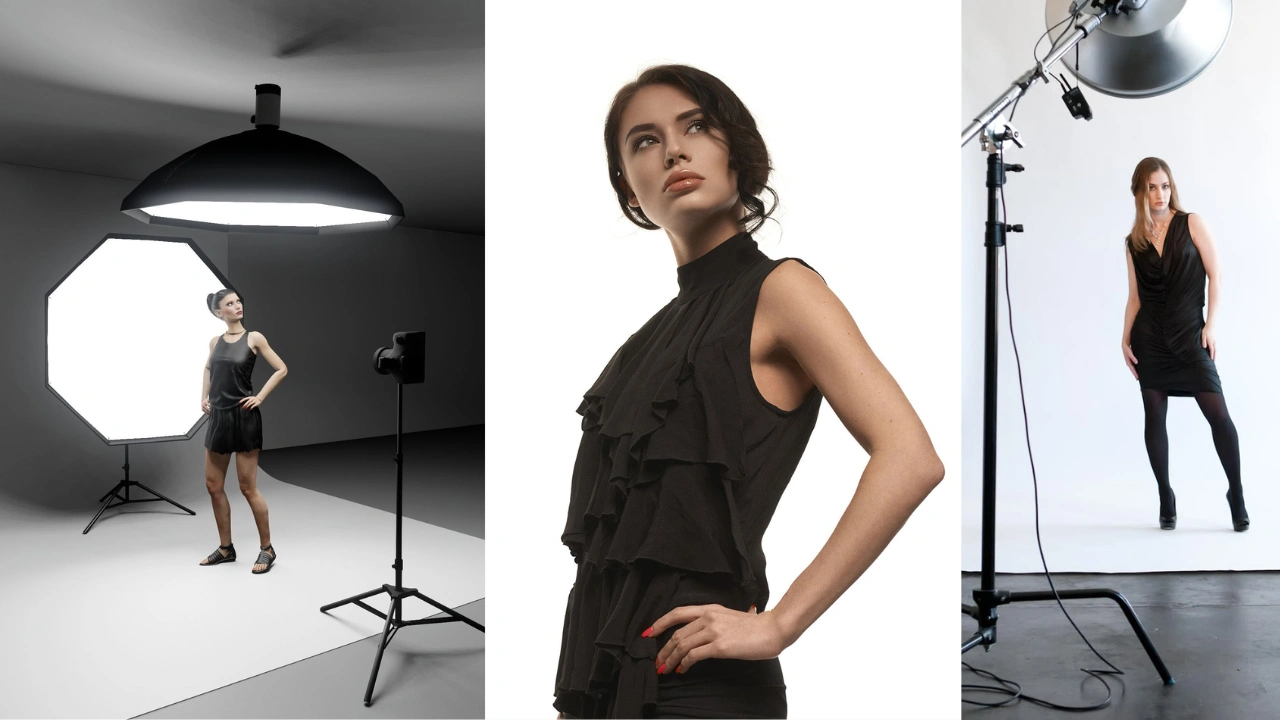
Lighting is where most lookbook shoots quietly fall apart. A shift in lighting between look three and look nine doesn’t just look slightly different. It breaks the visual thread that makes a lookbook feel like one connected story.
Natural Light vs. Studio Light and Off Camera Flash Light
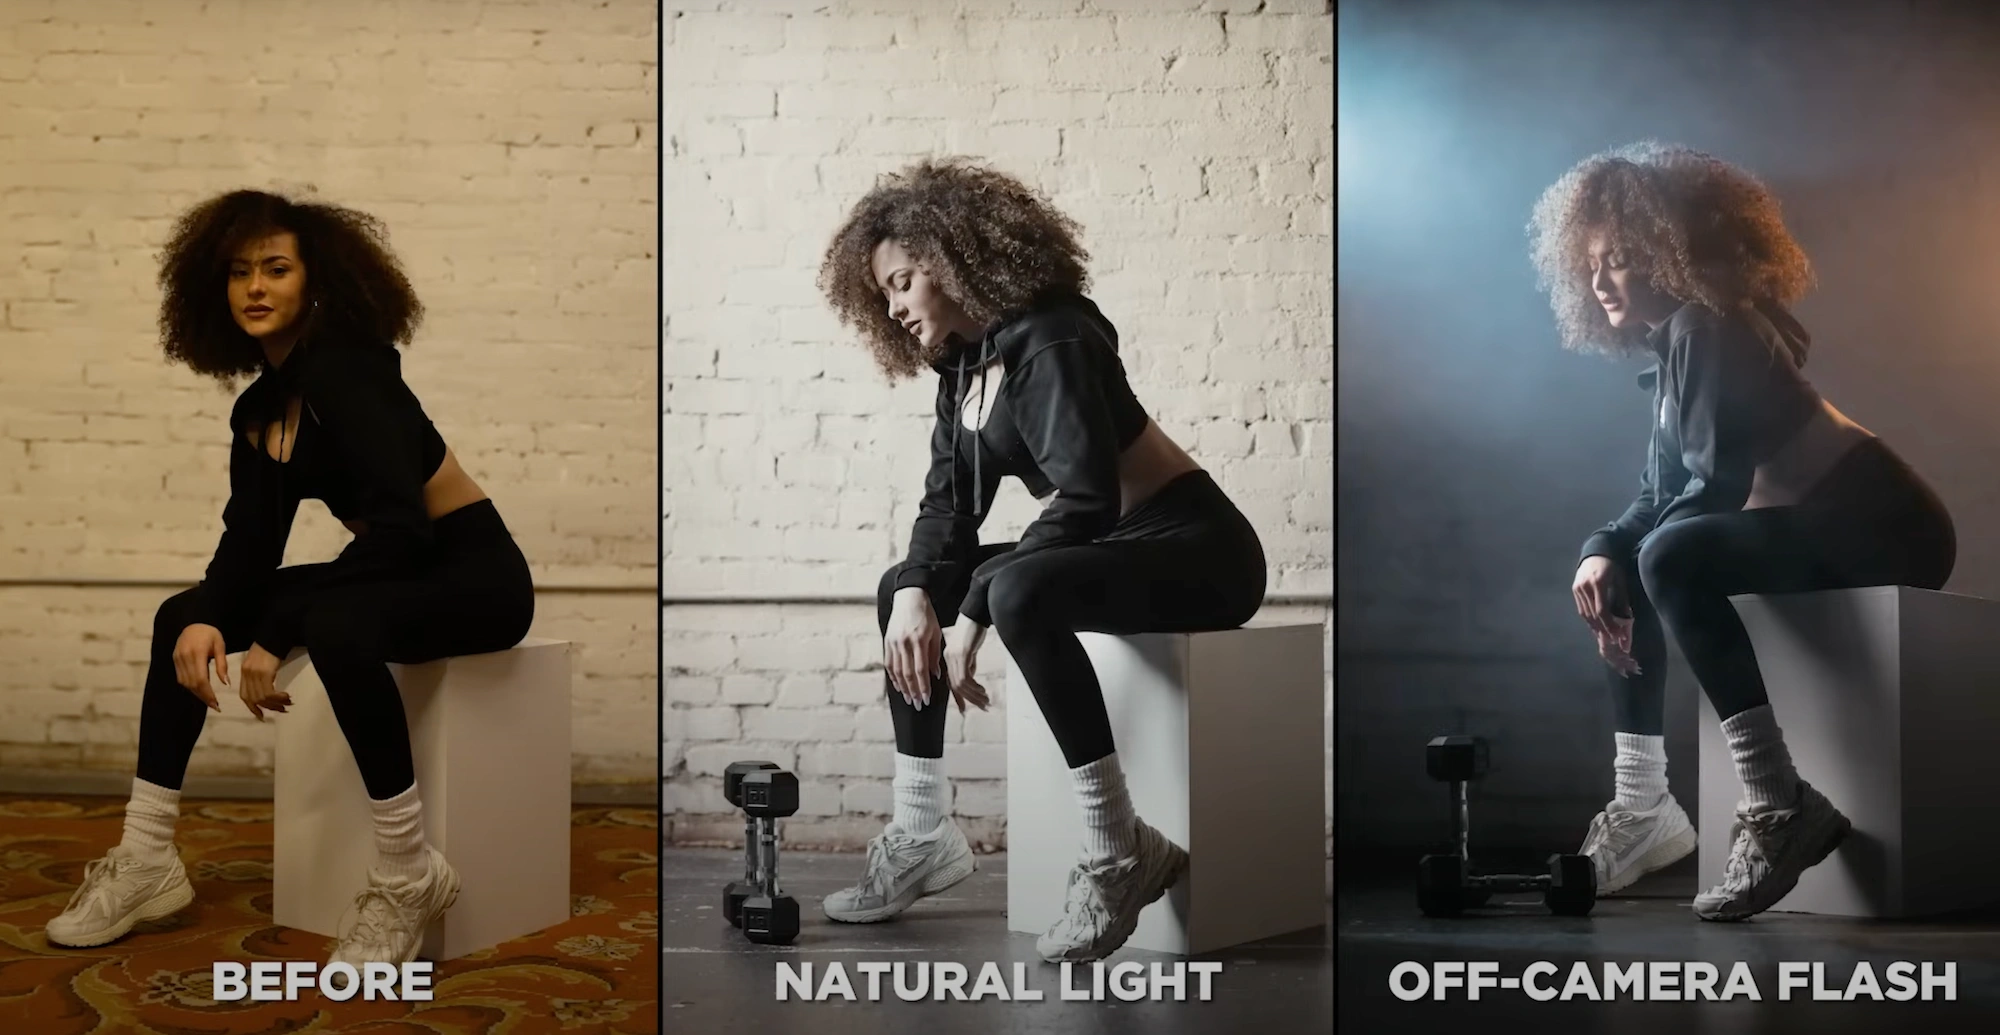
Natural light gives you soft, organic shadows and flattering skin tones, which works well for outdoor, seasonal, or lifestyle-driven lookbooks. The problem is control. Clouds move, the sun shifts angle, and the light at 9 a.m. is nothing like the light at 3 p.m. Shoot part of your set in direct sun and part in shade, and your post-production team will spend hours trying to match them back together.
Studio lighting solves this. The same setup produces the same result for look one and look twenty. For any shoot covering ten or more looks in a single day, studio lighting isn’t a style choice. It’s a production necessity.
Getting the Ratio Right
A 2:1 or 3:1 key-to-fill ratio is a solid starting point for fashion work. It creates enough shadow to show fabric structure and garment dimension without losing detail in the darker areas of the frame. A flatter 1:1 ratio, common in catalog work, tends to strip out the depth that gives a lookbook its editorial feel.
Position your key light at roughly 45 degrees to the model, slightly above eye level. This angle creates natural cheekbone shadow and shows how a garment drapes, which reads well in both full-body and close-up shots. Heavy prints and textured fabric can handle a lower ratio. Flat-color knitwear often needs a bit more directional light to show its surface detail.
Low Light Separation and Rim Light Photography
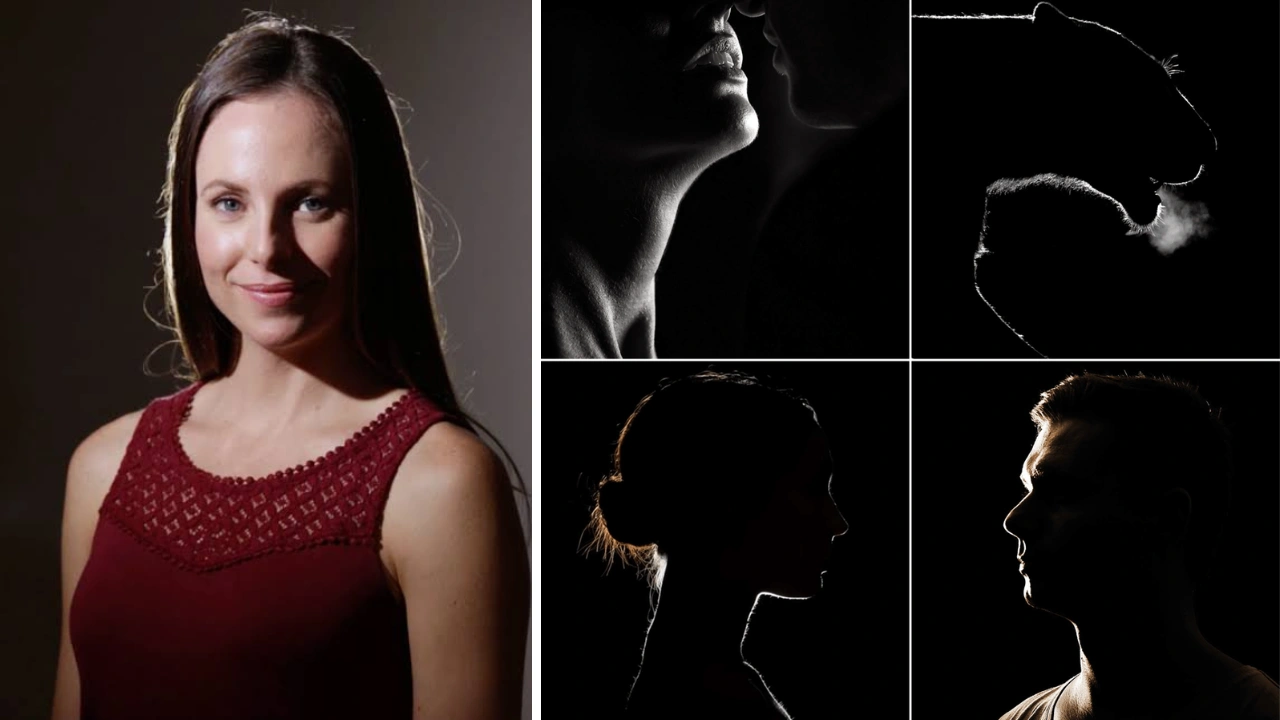
A subtle rim or hair light helps separate the model from the background, especially on darker garments. Without it, a navy jacket against a grey backdrop can blend into the background at the shoulder line, which is an easy fix on set and a much harder one in post.
Keeping the Setup Consistent All Day
Mark your light positions on the floor with tape the moment you finalize your setup. Write down the exact power settings on each light. Shoot a grey card or color checker card at the start of every lighting setup, and again after any break or adjustment.
This might feel like an extra step in the middle of a busy shoot day, but it gives your retoucher a calibrated reference for every single look. That reference cuts color correction time significantly and is often the difference between a set that matches perfectly and one that needs hours of manual color fixing after the fact.
Camera Settings Worth Knowing
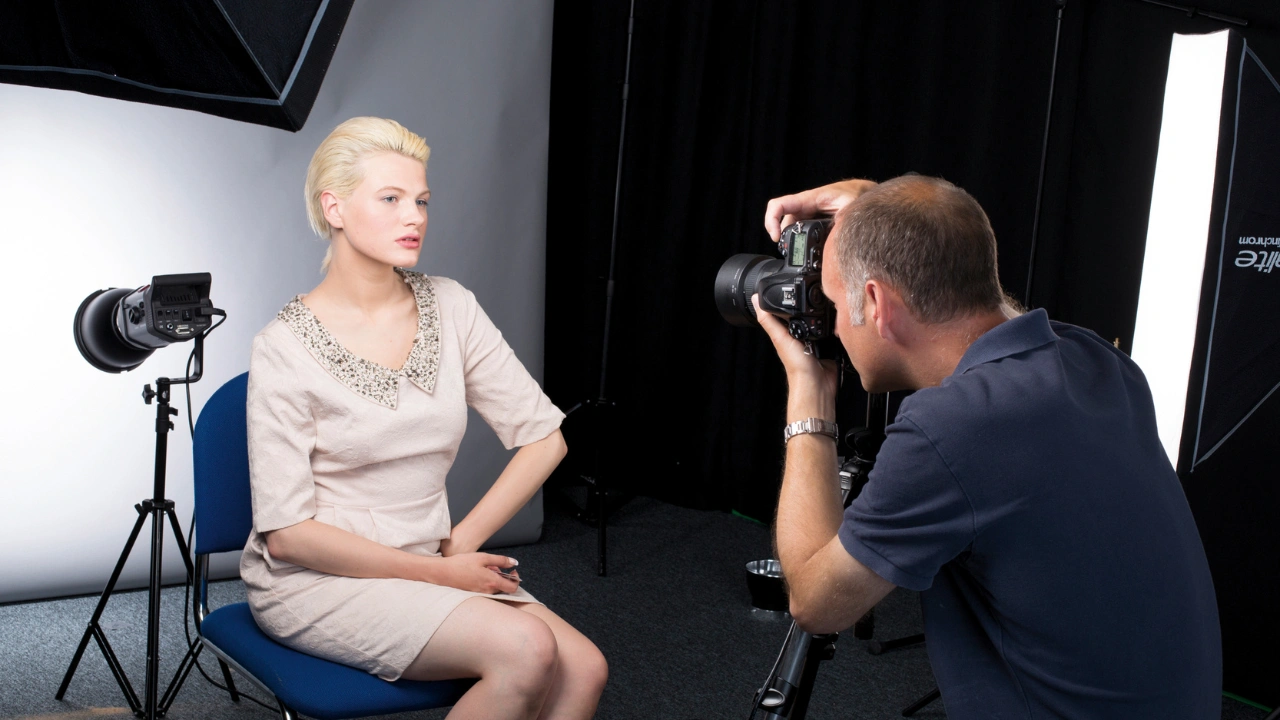
An aperture between f/5.6 and f/8 works for most lookbook shots. It keeps the garment sharp while still separating the subject from the background enough that the image doesn’t read as flat.
Shoot tethered when you can. It lets your creative director and stylist check images on a monitor in real time, catching issues before you move on to the next look instead of discovering them during editing. Shoot in RAW, always. Lookbook retouching often involves fine color adjustments on fabric that compressed JPEG files simply can’t support.
Step 6: Prepare Garments Before the Camera Comes Out
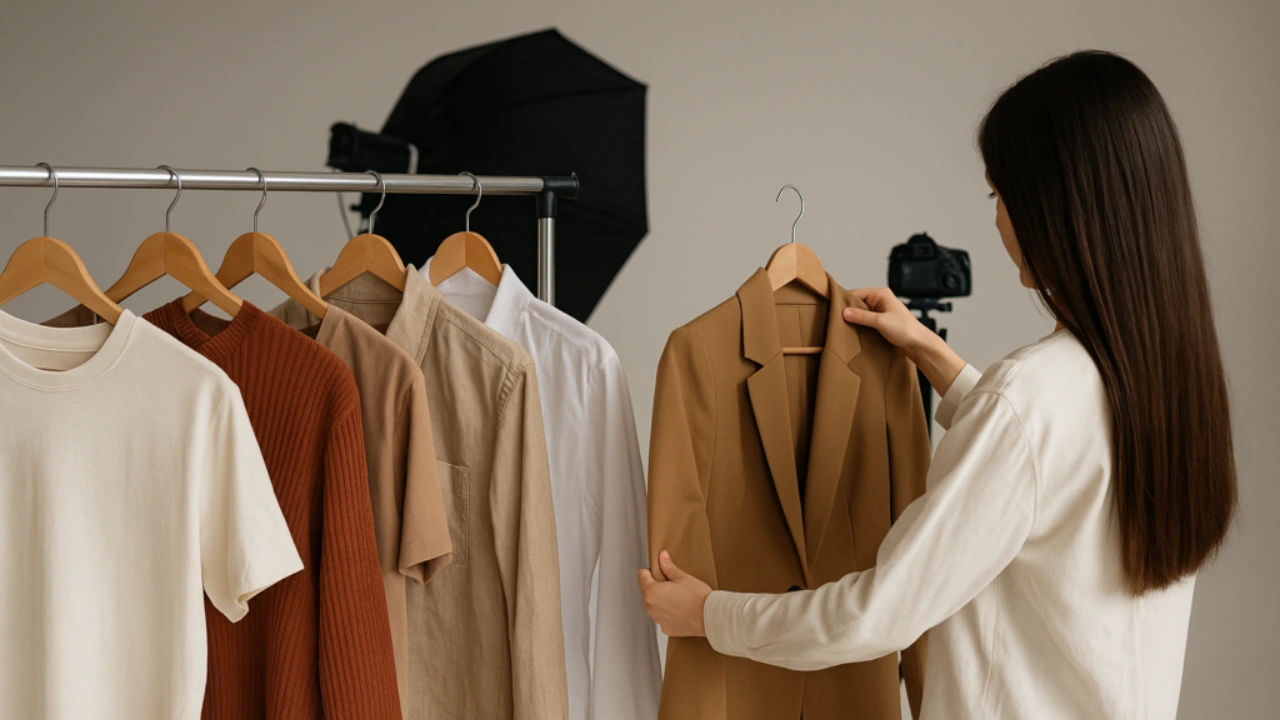
Clothes never behave on set exactly the way they do off the rack. A garment that looks perfect on a hanger can bunch, gap, or fold wrong the moment a model moves in it.
Run a pre-fitting before shoot day. Try on every look, check how pieces layer together, and note where accessories clash or fabric bunches. On the day itself, expect small fixes throughout, pinning a waistband, taping a collar, steaming out wrinkles, rolling a sleeve.
Keep a steamer, lint roller, and small sewing kit within arm’s reach at all times. Most of what makes a garment look flawless on camera happens just out of frame.
Step 7: Direct Your Models With Purpose
A model carries a lot of the storytelling weight in a lookbook, but they can only do that with clear direction.
Guide poses that show off how the garment moves and fits, not just how the model looks standing still. Mix static hero poses with in-motion shots, a turn, a walk, a sit, to keep the energy varied across the set. If your concept calls for props or furniture, work them in naturally rather than forcing a pose around them.
Keep the mood on set relaxed. A tense or nervous model tends to photograph stiff, no matter how experienced they are. Encourage small, natural movement between formal poses. Some of the best images from a shoot day happen in those in-between moments, not the planned ones.
Step 8: Manage the Shoot Day Schedule
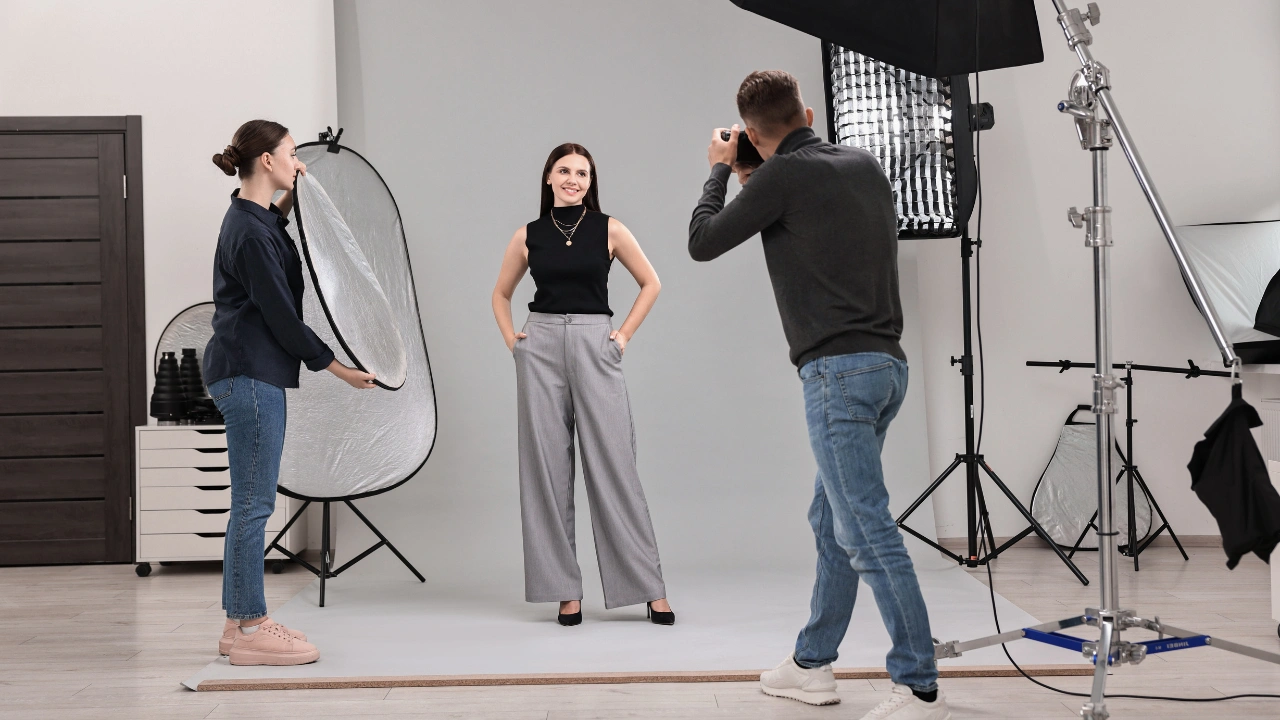
Shoot days spiral fast if nobody is actively managing the clock. Stick to your shot list, and build in real buffer time for wardrobe changes and location moves rather than assuming everything will run on schedule.
If a particular setup isn’t working after a reasonable number of tries, pivot instead of forcing it. Assign one person, separate from your creative lead, to watch the schedule so the rest of the team can stay focused on the work in front of them.
Energy matters too. A long shoot day wears everyone down by the afternoon. Music, snacks, and a collaborative mood on set aren’t just nice extras. They directly affect how natural your models look in the later hours of the day.
Step 9: Handle Usage Rights Before the Shoot, Not After
This part isn’t glamorous, but skipping it can cost a brand far more than a missed shot.
Get signed release forms from every model and contributor before the shoot wraps, not weeks later. Define usage rights clearly with your photographer, covering exactly where and how the images can be used. If you’re shooting on a private property or near recognizable trademarks or branding, secure written permission in advance.
A legal issue after a lookbook launches is a far bigger problem than any production delay.
Step 10: Cull the Shoot Without Losing a Week to It
A single lookbook shoot day can easily produce a thousand or more raw images. Your first job after the shoot wraps is cutting that number down to the images that actually earn a place in the final set.
Look for shots that hit the intended mood and message clearly, show the garment well, and feel natural in expression and pose. Quality beats quantity every time here. A tighter, stronger set of 200 images beats a bloated set of 500 where half are filler.
Think about flow as you cull, not just individual image strength. Every selected shot should play a role in the larger sequence you planned back in step four, not just look good sitting on its own.
Step 11: Retouch for Consistency, Not Perfection
Lookbook retouching has one job above all others: make the full set feel like one cohesive collection, not a patchwork of individually edited images.
Start with color correction and exposure work, matching skin tones and fabric colors back to how they actually looked in person. Clean up small distractions, stray hairs, garment wrinkles, visible tape or clips, without over-smoothing skin or flattening fabric texture. A lookbook that looks too polished loses the authenticity that made the shoot feel real in the first place.
This is also where the reference frames from shoot day earn their value. A retoucher working from a calibrated grey card for every setup can match color across the entire set far faster and more accurately than one working from guesswork alone.
Where the Real Bottleneck Shows Up
Here’s the part most brands underestimate. A 20-look lookbook shoot with a few angles per look, plus detail crops, can easily produce 300 to 500 final selects that all need retouching. That’s not a quick task for an in-house team already juggling catalog production and other seasonal deadlines.
At roughly 20 minutes of careful retouching per image, a 400-image lookbook set adds up to well over 130 hours of work. For a single in-house retoucher, that’s close to three weeks on one project alone.
This is exactly where a dedicated photo editing and retouching partner changes the math. Clipping Area works with fashion brands to handle exactly this kind of high-volume lookbook retouching, covering color calibration across the full set, consistent skin retouching, garment cleanup, background work, and final export to whatever crop ratios each channel needs. Because the process runs on a structured pipeline rather than one person working image by image, a 400-image lookbook set that would take an internal team weeks can move through a professional post-production workflow in a matter of days, without sacrificing the consistency that makes the set actually work as a collection.
Step 12: Design the Final Lookbook Layout
Once retouching wraps, the layout is what turns a folder of images into an actual lookbook.
Think about pacing the way you’d pace a short story. Vary image size, leave real white space, and keep any text minimal, a product name, a fabric note, maybe a short brand line if it fits the mood. Let images breathe rather than cramming the page.
If the lookbook is going to print, work in high resolution files with proper bleed margins from the start. If it’s staying digital, build for how people actually browse on a screen, easy scrolling or swiping, rather than forcing a static PDF into a format nobody wants to click through page by page.
A Quick Word on Scaling Beyond One Shoot
A well-planned lookbook shoot day can produce more than just the final lookbook set. If your shot list includes one clean, straight-on frame per look in addition to the styled shots, those frames can be pulled out during culling and processed separately as product page assets, giving you both campaign imagery and usable PDP images from a single shoot day.
Running both output types through post-production in parallel, rather than one after the other, also brings the per-image cost down noticeably. For brands producing several seasonal drops a year, that efficiency adds up fast.
Common Mistakes That Quietly Ruin a Lookbook
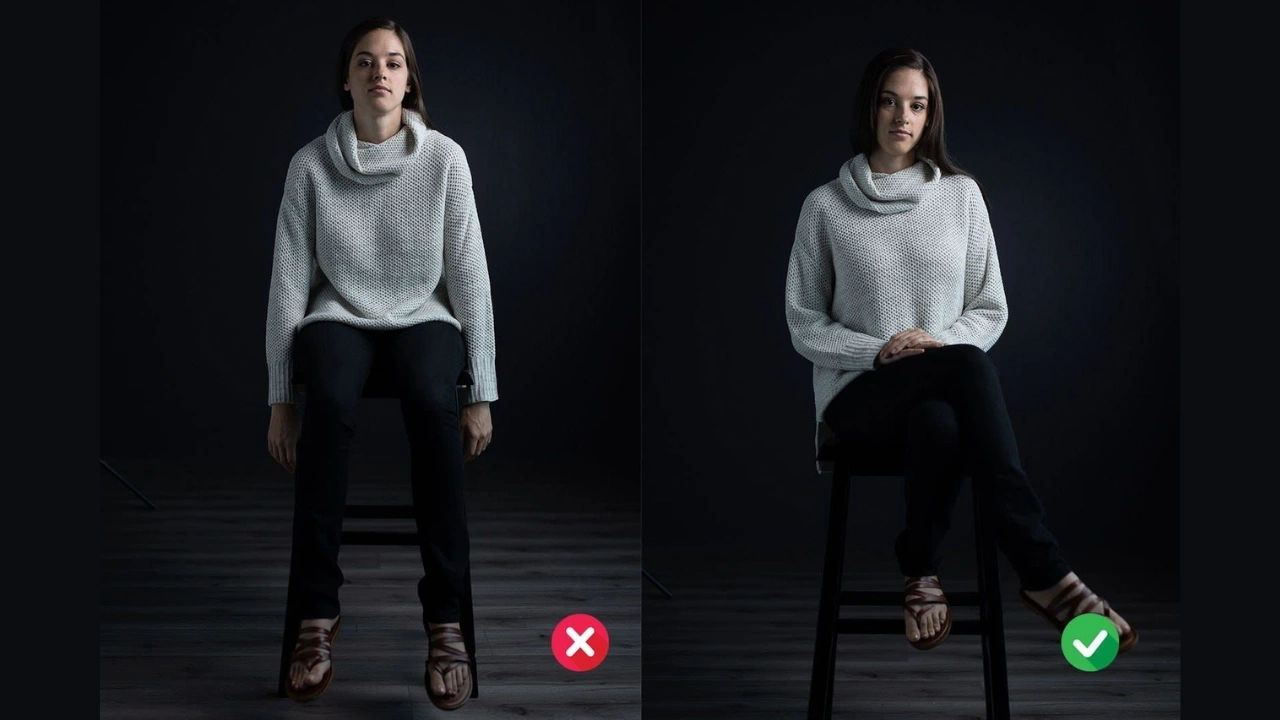
A few mistakes show up again and again across lookbook shoots, and most of them are avoidable with basic planning:
Skipping the shot list. Teams that “wing it” on set almost always discover missing shots after the crew has left.
Letting lighting drift. Natural light shoots without a plan for changing conditions produce sets that don’t match in post.
Over-retouching some images and under-retouching others. This is the fastest way to make a set feel inconsistent.
Casting models that don’t reflect the brand. A mismatch here undercuts every other production decision made.
Treating post-production as an afterthought. Budgeting for the shoot but not for professional retouching at scale leads to rushed editing and inconsistent final images.
FAQs About the Lookbook Fashion Photoshoot Workflow
How many looks should a lookbook include?
Most lookbooks work well with 12 to 20 curated looks. The goal is a clear, focused story about the collection, not a complete record of every piece.
How is a lookbook shoot different from a catalog shoot?
A lookbook is narrative and selective, built to communicate mood and brand identity. A catalog shoot is complete and technical, built to document every SKU accurately for product pages.
How long does lookbook retouching usually take?
For a set of 300 to 500 images, an in-house team can easily need two to three weeks. A dedicated retouching team working with a structured pipeline can often turn the same set around in a few days.
What lighting works best for a lookbook shoot?
Studio lighting offers the most consistency across a full day of shooting multiple looks. Natural light can work well for lifestyle or seasonal concepts, but only with careful planning around changing light conditions throughout the day.
Can one shoot day produce both lookbook and product page images?
Yes. Including one clean, straight-on frame per look in your shot list lets you pull separate product page assets during culling, without booking a second shoot.
Bringing It All Together
A lookbook fashion photoshoot workflow isn’t about adding more steps for the sake of process. It’s about making sure the work your team puts into planning actually survives all the way through to the final retouched image. A clear goal, a real shot list, consistent lighting, and disciplined post-production are what separate a lookbook that reads as one cohesive collection from a folder of images that happen to be pretty.
The photography usually isn’t the weak link. The gap almost always shows up in post-production, where volume and consistency demands outpace what an in-house team can realistically handle on a tight seasonal timeline. That’s where a specialized photo retouching partner like Clipping Area fits into the workflow, handling color calibration, skin retouching, garment cleanup, and final delivery at the speed and consistency that a full lookbook set requires, so your next collection reaches buyers, press, and customers looking exactly as strong as it did the day you planned it.