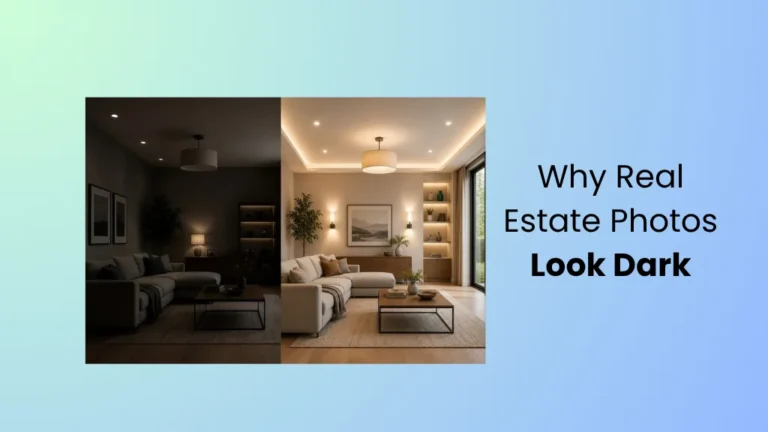
You walk into a living room that feels open and sunny, take the shot, and the screen shows a gloomy cave with a glowing white window. If you have ever wondered why real estate photos look dark even when the room looked bright in person, you are not doing anything unusual. It is one of the most common problems in property photography.
The short version is that a camera does not see the way you do. Its sensor can only record a limited range of brightness in one frame, and a window in daylight is far brighter than the walls beside it. Add weak indoor bulbs, an exposure set for the wrong part of the scene, and shadows that swallow corners and furniture, and the result is a listing photo that makes a good home look small and uninviting. Editing can rescue the image, or it can make things worse if it is pushed too far.
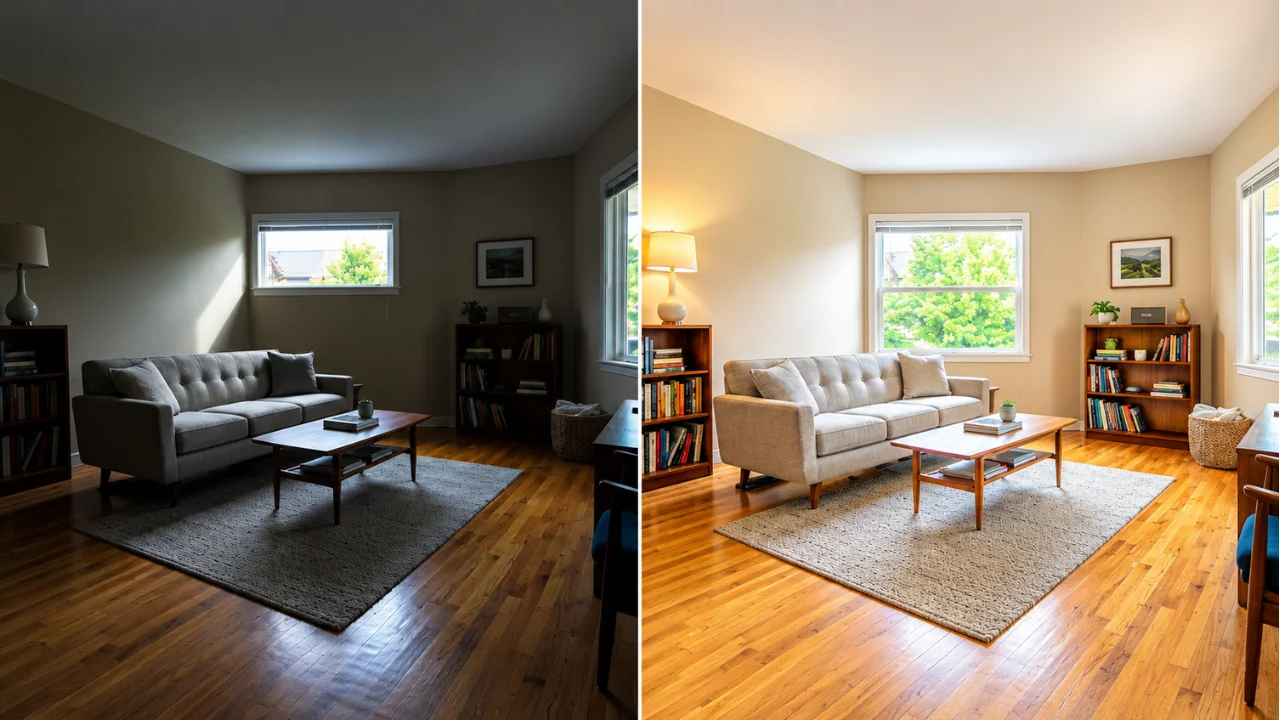
This guide covers both halves of the solution: how to prevent dark photos during the shoot, and how to correct them in post-production so the result looks bright, clean, and believable.
Why Do Real Estate Photos Look Dark?
Real estate photos look dark because the camera exposes for the brightest part of the scene, usually a window, and leaves the rest of the room underexposed. Most dark property photos trace back to one or more of these ten causes:
- Underexposure. Not enough light reached the sensor, so the whole frame sits too low.
- Strong window light. The camera meters the bright glass and darkens everything else to compensate.
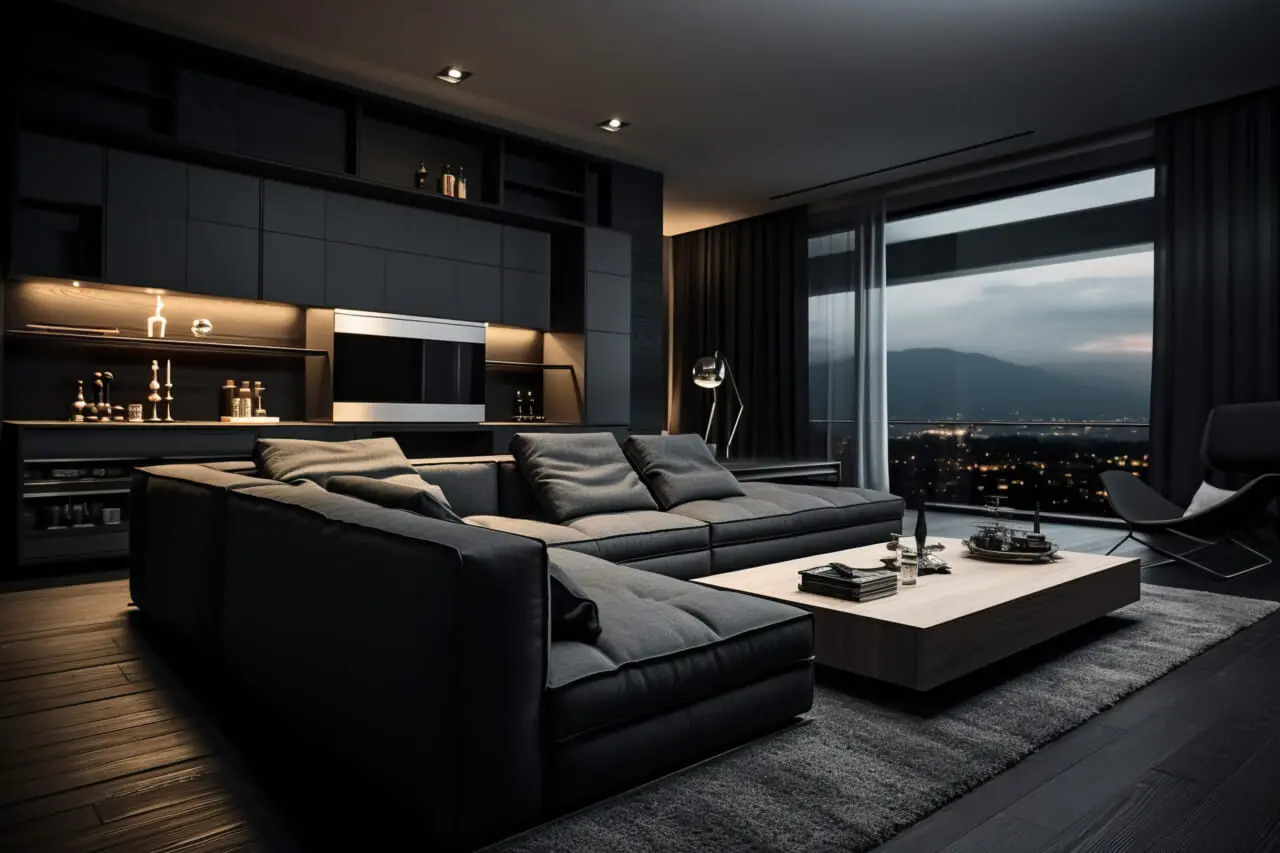
- Dark interiors. Deep wall colors, dark floors, and heavy furniture absorb light instead of bouncing it around.
- High contrast scenes. The gap between the brightest and darkest areas is wider than the sensor can hold.
- Incorrect camera settings. A fast shutter speed, a small aperture, or a low ISO used without compensation.
- Poor lighting. Small windows, closed blinds, weak bulbs, or an overcast afternoon.
- Deep shadows. Corners, hallways, and areas behind furniture receive very little light.
- Mixed color temperatures. Warm bulbs and cool daylight make walls look muddy, which reads as dim.
- Incorrect HDR processing. Poorly merged brackets produce gray, flat, heavy looking rooms.
- Poor post-production. Global adjustments that crush shadows or leave the midtones too low.
In practice these causes overlap. A north-facing room with dark floors, shot at the camera’s suggested exposure, will suffer from at least four of them at once.
Why Does a Room Look Bright in Person but Dark in a Photo?
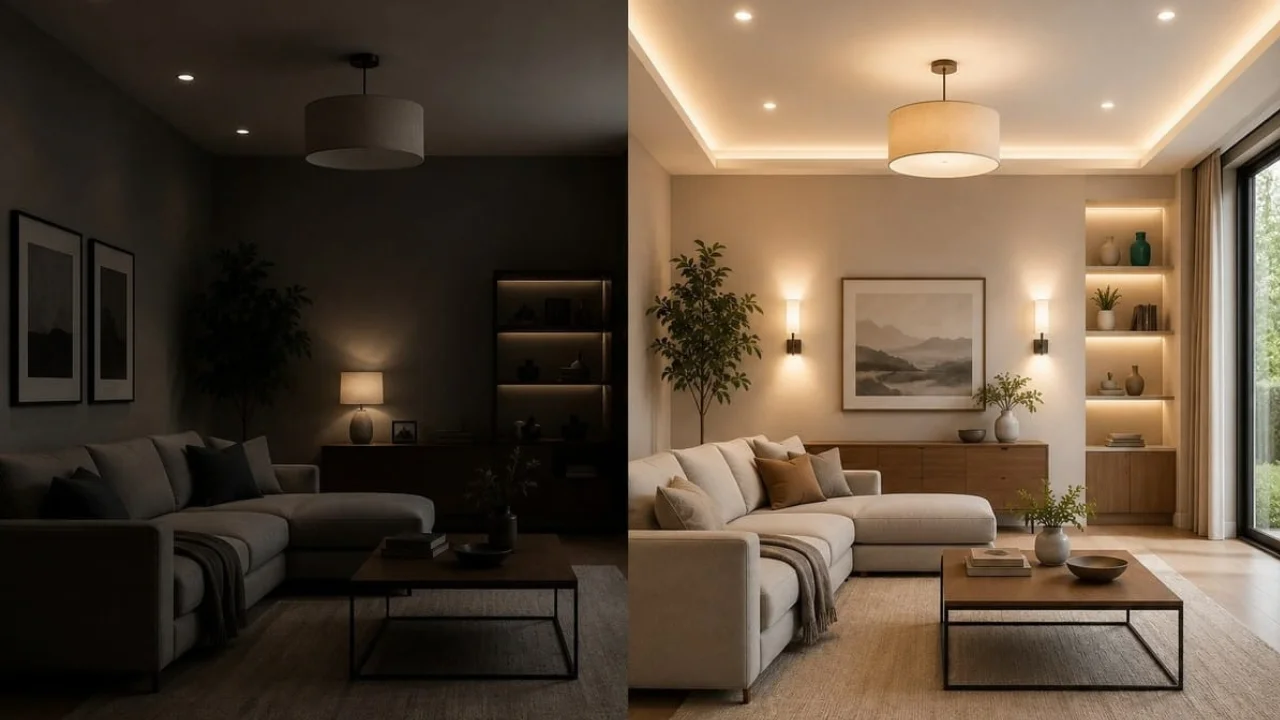
Your eyes and your camera handle light in very different ways.
When you stand in a room, your eyes never take one single “exposure.” They scan constantly. Look at the window and your pupils tighten. Glance at the dark corner and they open up within a fraction of a second. Your brain stitches all of these glances into one seamless impression, so the whole room feels evenly lit.
A camera cannot do that. It records one fixed exposure for the entire frame. If that exposure suits the window, the interior falls into shadow. If it suits the interior, the window turns pure white.
The difference in light levels is also much larger than it feels. On a clear day, the view outside a window can be hundreds of times brighter than the wall next to it. Your eyes adapt so smoothly that you never notice. The sensor notices immediately, and dark corners are the first place it loses detail. This is why house photos look dark even when nothing was wrong with the room itself.
The Biggest Problem: Bright Windows and Dark Interiors
Windows cause more dark real estate photos than any other single factor. They bring in the light you need, but they also sit inside the frame as the brightest object by a wide margin.
Left on automatic, the camera sees that bright rectangle and reduces the exposure to protect it. The window highlights look fine, the view outside is visible, and the room itself drops into shadow. Sofas turn into dark shapes and the floor loses its texture.
The obvious fix is to raise the exposure until the interior looks right. That works for the walls, but the window now clips to solid white. The garden, the skyline, or the pool that helps sell the property disappears, and the glare often bleeds onto the window frames and curtains.
So you are stuck choosing between shadow detail and highlight detail. That trade-off has a name: dynamic range.
What Is Dynamic Range in Real Estate Photography?
Dynamic range is the span between the darkest and brightest tones a camera can record in one shot while still holding detail in both.
Picture a living room with a dark sofa, medium-bright walls, and a very bright window, all in the same frame. The sofa needs a lot of exposure to show its fabric. The walls need a moderate amount. The window needs very little. One exposure can only be correct for one of them, and it will be a compromise for the other two.
Interiors are harder than almost any other subject for this reason. Outdoors, everything is lit by the same sky. Indoors, you are photographing a dim box with a hole that looks out onto full daylight.
Sensors differ, too. Recent full-frame cameras hold noticeably more shadow and highlight detail than older bodies, small-sensor compacts, or phones without computational processing. Even the best sensor, though, falls short of a sunny window scene.
This is where exposure bracketing helps. Instead of asking one frame to do everything, you shoot several: one for the window, one for the walls, one for the shadows. The frames are then blended into a single image that holds detail everywhere.
Is Underexposure the Main Reason Real Estate Photos Look Dark?
In most cases, yes. Underexposure simply means the sensor did not collect enough light for the scene. Everything else on the list above tends to lead back to it.
It usually happens in one of these ways:
- Shutter speed too fast. Handheld habits carried indoors, such as 1/125s in a dim room.
- Aperture too small. f/11 or f/16 chosen for sharpness with no change to shutter speed.
- ISO too low for the situation. ISO 100 handheld, where a tripod was really needed.
- Metering fooled by the scene. A bright window or white wall convinces the camera the room is brighter than it is.
- Exposure compensation left on. A negative value from the previous exterior shoot.
- A naturally dark scene. Basements, windowless bathrooms, and wood-paneled rooms.
You can spot an underexposed image in three ways. The histogram is bunched against the left edge with empty space on the right. The preview looks dull, with walls that read gray instead of white. And when you zoom into the shadows, you find flat, featureless black instead of texture.
Raising ISO is one fix, but it should not be the reflex. On a tripod, a longer shutter speed gives you a brighter image with far less noise.
Camera Settings That Can Make Real Estate Photos Dark
Aperture
Aperture is the size of the lens opening. A wide aperture such as f/2.8 lets in a lot of light, and a narrow one such as f/11 lets in very little. Real estate photographers usually work around f/7.1 to f/11 because it keeps the whole room sharp from front to back. That depth of field costs light, which has to be made up elsewhere.
Shutter Speed
Shutter speed controls how long the sensor is exposed. Slower speeds mean brighter images. Since rooms do not move, a tripod lets you use half a second or longer without blur. Watch for ceiling fans, curtains in a breeze, and people walking through.
ISO
ISO amplifies the signal from the sensor. Raising it brightens the image but also increases noise, especially in shadows. Keep it low on a tripod. Raise it when you must shoot handheld or freeze movement.
Exposure Compensation
In aperture priority mode, exposure compensation tells the camera to go brighter or darker than its own reading. Adding +0.7 to +1.3 is often enough to stop a bright window from dragging the room down.
Metering
Evaluative (matrix) metering averages the whole frame and is easily swayed by windows. Spot metering reads a small area, so pointing it at a mid-toned wall gives a more reliable interior exposure. Center-weighted sits in between.
No single group of camera settings works for every property. A glass-walled penthouse at noon and a basement apartment at dusk need completely different numbers.
How Lighting Affects Real Estate Photos
Real estate photography lighting is rarely under your control, so it pays to understand what each source contributes.
Natural window light is the cleanest and most flattering source, but it is directional. Areas near the glass are bright, and brightness falls off quickly as you move deeper into the room. Open doors to adjoining rooms or the outside can add useful fill.
Ceiling lights and lamps add warmth and make a home feel lived in. They rarely add much real brightness, though, because household bulbs are weak compared with daylight. LED lighting varies widely. Some LEDs are close to daylight, others are very warm, and cheap ones can add a green or magenta tint.
Outdoor light changes by the hour. Direct sun through a window creates hard patches and deep shadows, while a bright overcast sky gives soft, even light that is much easier to expose.
Turning on every light is common advice, and it is not always right. Each bulb adds its own color. A room lit by cool daylight, yellow tungsten lamps, and bluish LED strips will show three different color casts on the same white wall. That mixed lighting is hard to correct and makes interiors look dingy even when the exposure is technically right. Often the cleaner choice is to switch on only the lights that add atmosphere and turn off the ones that clash.
Why Real Estate Photos Have Dark Corners
Dark corners have two families of causes: the room and the lens.
On the room side, corners sit farthest from the windows and often behind furniture that blocks light. Light arriving from one direction leaves the opposite side in natural shadow. A general underexposure makes all of this more obvious.
On the lens side, wide-angle lenses produce vignetting, a gradual darkening toward the edges of the frame. It is strongest at wide apertures and at the widest focal lengths, which is exactly where real estate lenses are used. Heavy-handed editing, such as an added vignette or too much contrast, will deepen it further.
To improve the result, enable lens profile corrections in your editing software, stop down a little from the widest aperture, open doors or blinds that feed light toward the dark side, and lift the corners with a soft local mask instead of brightening the full image.
How to Take Brighter Real Estate Photos in Camera
A well-exposed file is always easier to edit than a rescued one. These habits prevent most dark property photos before they happen:
- Use a tripod when appropriate. It allows slow shutter speeds at low ISO and keeps brackets aligned.
- Keep the camera level. Straight verticals reduce the cropping and correction needed later.
- Check exposure before moving on. Do not trust the rear screen’s brightness alone.
- Watch bright windows. Decide whether the view matters, and expose or bracket accordingly.
- Use exposure bracketing when suitable. Three to five frames, about two stops apart, cover most rooms.
- Open blinds or curtains when appropriate. More daylight helps, unless direct sun creates harsh patches.
- Turn on selected interior lights. Choose the ones that add warmth without fighting the daylight.
- Control unwanted mixed lighting. Switch off bulbs with an obviously different color.
- Capture RAW files when possible. RAW holds far more recoverable shadow and highlight detail than JPEG.
- Check the histogram. Look for data spread across the graph, not pressed against the left.
- Review highlights and shadows. Use the highlight warning (“blinkies”) and zoom into dark areas.
- Capture multiple exposures when needed. If in doubt, shoot an extra bright frame. It costs seconds.
None of this requires extra gear beyond a tripod. Skip any setup that involves propping lights in unstable positions or running cables across walkways in an occupied home.
How HDR Helps Fix Dark Real Estate Photos
HDR stands for high dynamic range. In HDR photography you shoot the same composition several times at different exposures (this is bracketing) and combine the frames into one image.
The dark frame protects the window highlights. The bright frame captures shadow detail under tables and in corners. The middle frame holds the walls and floors. Merging them gives you a file with more tonal information than any single shot could hold. Tone mapping then compresses that wide range into something a screen can display.
The quality of the result depends almost entirely on processing.
Natural HDR looks like a well-lit room. Windows show a believable view, shadows still exist but hold detail, whites are white, and nobody viewing the listing thinks about technique.
Overprocessed HDR is easy to spot:
- Gray-looking images where nothing is truly white or truly dark
- Halos, the glowing outlines around windows, lamps, and rooflines
- Excessive clarity that makes surfaces look gritty
- Unrealistic colors, especially neon grass and orange wood
- Flat contrast with no sense of depth
- Artificial-looking interiors that resemble a render more than a photo
Good real estate photography should usually look natural. Buyers want to see the home as it would appear on a bright day, not a stylized version of it.
HDR vs Flash for Real Estate Photography
The other main way to handle dark interiors is to add light with flash, often blended with an ambient exposure (a method many photographers call “flambient”).
| Feature | HDR | Flash |
|---|---|---|
| Dynamic range | Strong | Strong with proper technique |
| Setup | Can be simpler | Requires lighting setup |
| Color control | Depends on exposures | Strong with controlled lighting |
| Learning curve | Moderate | Higher |
| Natural look | Depends on processing | Can be very natural when done well |
HDR is faster on site and needs only a tripod, which suits high-volume shoots. Flash gives cleaner color because it overpowers mixed lighting with one consistent source, but it takes more time, more gear, and more skill. Neither approach is automatically better for every property. Many working photographers use both, depending on the room.
How to Fix Dark Real Estate Photos in Lightroom
If you already have a dark image, this beginner-friendly workflow will recover most of it:
- Open the RAW file. Start from RAW, not a JPEG, whenever you have the choice.
- Correct white balance. Fix color first, since it changes how bright the image appears.
- Adjust exposure. Raise it until walls and ceilings look right. Ignore the windows for now.
- Recover highlights. Pull Highlights down to bring back window and lamp detail.
- Lift shadows carefully. Raise Shadows until dark areas open up, and stop before they turn gray.
- Adjust whites. Set the white point so painted walls and trim look clean.
- Adjust blacks. Bring Blacks down slightly to restore depth.
- Fine-tune contrast. A small boost, or a gentle tone curve, stops the image looking flat.
- Use masks when necessary. Brush or gradient masks brighten a corner or darken a window locally.
- Correct color. Use the HSL panel to tame orange wood or yellow walls.
- Apply lens corrections. Enable profile corrections to remove vignetting and distortion.
- Sharpen appropriately. Moderate sharpening, with masking so flat walls stay smooth.
- Export the final image. sRGB, sized for the MLS or listing platform.
One warning: pushing Shadows to +100 on every image is the fastest route to noise and a flat, lifeless look. If a photo needs that much, it needed more exposure in camera.
How to Fix Dark Real Estate Photos in Photoshop
Photoshop is better when a photo needs different treatment in different areas. A simple workflow:
- Camera Raw. Open the file through Camera Raw and make the same base corrections as in Lightroom.
- Curves. Add a Curves adjustment layer and lift the midtones. This brightens the room while protecting the brightest and darkest points.
- Levels. Use Levels to set clean white and black points.
- Shadows/Highlights. Apply it gently to open deep shadows.
- Layer masks. Paint each adjustment in or out so it only affects the areas that need it.
- Selective brightening. Brighten the far corner, the kitchen island, or the hallway on separate layers.
- Window exposure correction. Mask in a darker exposure for the glass so the view returns.
- Color correction and local adjustments. Neutralize casts on individual walls or ceilings with masked Hue/Saturation or Color Balance layers.
Selective adjustments beat a global brightness increase because rooms are never evenly dark. Raising everything by the same amount fixes the corner and ruins the window. Working area by area lets each part of the room reach the right level.
How to Brighten a Dark Room Without Making the Photo Look Fake
This is where most edits go wrong. The aim is a room that looks naturally well lit, not one that looks edited.
- Lift shadows selectively. Open the areas that hide useful detail, and leave the rest alone.
- Preserve natural contrast. A room needs some darker tones under furniture and in recesses to feel three-dimensional.
- Keep window detail. A soft, slightly bright view looks real. A solid white rectangle does not.
- Maintain realistic colors. Brightening tends to boost saturation, so check wood, fabrics, and greenery.
- Avoid excessive exposure. If white trim and white walls merge into one blank area, you have gone too far.
- Use local masks. Treat the ceiling, the floor, and the dark side of the room separately.
- Keep walls from becoming gray or washed out. After lifting shadows, reset the white and black points.
- Preserve texture and depth. Carpet pile, wood grain, and stone should still be visible.
Remember that bright does not necessarily mean overexposed. A bright photo has clean whites, open shadows, and a full range of tones. An overexposed photo has lost information. The first sells the property, and the second hides it.
Why Brightening Dark Photos Can Create Noise
Noise is the grainy, speckled texture that appears when a dark image is pushed brighter. It is always present in a file, but it lives mostly in the shadows, where the sensor recorded very little light.
When you lift shadows on an underexposed RAW file, you amplify that weak signal along with its noise. High ISO adds more, because the signal was already amplified in camera. Heavy editing on top, particularly sharpening and clarity, makes the grain even more visible.
Practical solutions:
- Get a better exposure during the shoot, so less lifting is needed
- Use an appropriate ISO, as low as the situation allows
- Shoot RAW for the cleanest shadow recovery
- Apply controlled noise reduction, enough to smooth walls without smearing detail
- Avoid excessive shadow lifting, and blend a brighter bracket instead
Why White Balance Matters in Dark Real Estate Photos
A photo can be correctly exposed and still look dim if the color is wrong.
Indoor bulbs are warm and push walls toward yellow or orange. Daylight is cool and pushes window areas toward blue. In mixed lighting you get both at once: yellow walls near the lamps and blue walls near the windows. If the camera picks the wrong color temperature, the entire image takes on a cast.
Color casts affect perceived brightness. The eye reads neutral white as clean and bright. A yellow-tinted white wall reads as aged and dull, and a blue-tinted one reads as cold and shadowed. Correcting white balance often makes a room look brighter without touching the exposure slider at all.
Set white balance from something that should be neutral, such as a white ceiling or door frame, then fix remaining local casts with masks.
Common Real Estate Photo Editing Mistakes
Real estate image editing can create as many problems as it solves. These are the mistakes that show up most often, each with a quick fix:
- Over-brightening the entire image. Fix: raise exposure moderately, then brighten dark areas locally.
- Blowing out windows. Fix: pull highlights down or blend in a darker exposure for the glass.
- Overusing HDR. Fix: reduce tone mapping strength and compare against the middle exposure.
- Making shadows too gray. Fix: bring the Blacks slider back down after lifting shadows.
- Removing all natural shadows. Fix: keep soft shadows under furniture so objects stay grounded.
- Over-saturating colors. Fix: use Vibrance sparingly and check greens and oranges.
- Incorrect white balance. Fix: sample a neutral surface and correct local casts with masks.
- Excessive sharpening. Fix: lower the amount and mask it away from smooth walls.
- Overusing clarity. Fix: keep Clarity and Texture low. Interiors should look soft and clean.
- Creating halos. Fix: feather masks properly and ease off Highlights and Shadows extremes.
- Making skies unrealistic. Fix: match the replacement sky to the light direction and time of day.
- Removing important property details. Fix: never edit out permanent features such as power lines, cracks, or fixtures. It can mislead buyers and may breach listing rules.
- Applying the same settings to every room. Fix: use a preset as a starting point, then adjust each image.
How to Make Real Estate Photos Look Bright and Natural
Before delivering any image, run it against this checklist:
- Correct exposure. Walls and ceilings look the way they do on a bright day.
- Balanced highlights and shadows. Window detail is visible and dark areas hold texture.
- Natural white balance. Whites are neutral, with no yellow or blue cast.
- Controlled contrast. The image has depth without harsh blacks.
- Clean colors. Saturation is believable and consistent from room to room.
- Straight verticals. Walls and door frames are upright.
- Low noise. Shadows and flat walls are smooth.
- No halos or artifacts. Edges around windows and lamps are clean.
- Consistency across the set. Every room looks like part of the same home.
If an image passes all nine, it will improve real estate photos across the listing and hold up on any platform.
When to Use Professional Real Estate Photo Editing
You can do all of this yourself, and for a handful of images it makes sense to. Outsourcing becomes worthwhile in a few situations.
Volume. A photographer shooting several properties a day cannot also blend brackets for hundreds of frames each night. Handing off the editing frees that time for more shoots.
Difficult images. Window pulls, mixed lighting, heavy shadows, and badly underexposed files need careful masking and manual blending. Experienced editors handle these faster and more cleanly than automated tools.
Consistency. Agents and agencies need every listing to share the same bright, natural look, whoever took the photos.
Limited skills or software. Realtors, hosts, and home sellers often have decent photos and no time to learn Lightroom or Photoshop.
A professional real estate photo editing service typically covers HDR blending, window masking, color correction, perspective correction, sky replacement, and real estate photo retouching. At Clipping Area, our editors have been doing this kind of property photo editing since 2014, and you can send a few test images to see the result before committing.
Frequently Asked Questions
Why do my real estate photos come out dark?
Usually because the camera exposed for a bright window or light and underexposed the rest of the room. Add positive exposure compensation, meter off an interior wall, or bracket your exposures.
Why are my windows bright but the room dark?
The difference between outdoor and indoor light is greater than the sensor’s dynamic range. One exposure cannot hold both. To balance indoor and outdoor exposure, bracket and blend, or use flash.
How do I brighten dark property photos?
Start with the RAW file. Correct white balance, raise exposure, recover highlights, lift shadows moderately, then reset whites and blacks. Use local masks for stubborn dark areas.
How does HDR fix dark real estate photos?
HDR merges several exposures of the same scene, taking shadow detail from the bright frames and window detail from the dark ones. Processed gently, the result looks like a naturally bright room.
Can I fix dark indoor real estate photos shot on a phone?
To a degree. Phone JPEGs hold less shadow detail than RAW files, so heavy brightening shows noise quickly. Use the phone’s HDR or RAW mode and keep the phone steady.
Final Thoughts
Dark real estate photos are rarely a sign of a bad camera or a bad room. They come from the gap between what your eyes can take in and what a sensor can record in one frame. Close that gap during the shoot with a tripod, sensible exposure, and bracketing. Close the rest in editing with careful white balance, selective shadow work, and restraint. Do both, and your photos will look the way the property feels in person: bright, clean, and worth a viewing.