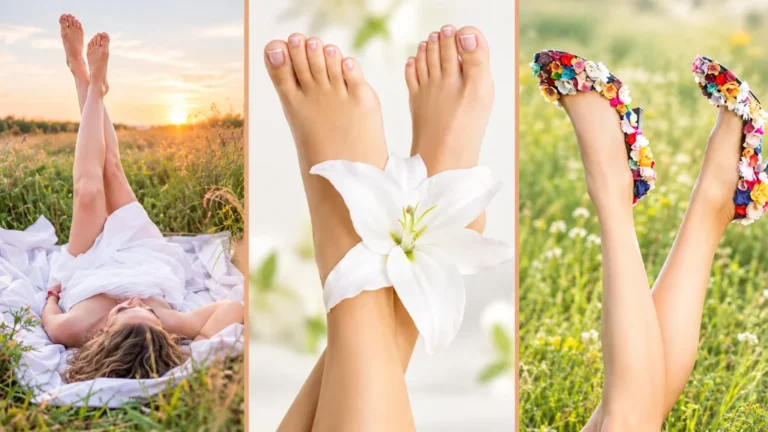
Quick answer: To pose feet for pictures, relax your ankles, place one foot slightly ahead of the other, and turn the toes out a few degrees. Shoot in soft window light from a three-quarter angle, keep the camera at least an arm’s length away, and use a plain background. Edit lightly.
Learning how to pose for feet pictures like a pro photographer starts with one idea: a good foot photo is planned, not snapped. Pointing a camera downward and pressing the shutter usually gives you flat light, stretched toes, and a cluttered floor. Professionals get clean results because they control a short list of things before they shoot.
That list is positioning, angle, lighting, composition, lens perspective, background, styling, camera distance, and editing. Change any one of them and the same pair of feet looks different. A two-inch shift of the heel changes the shape. A step backward removes distortion. A sheer curtain softens every shadow.
This guide is written for the person in front of the camera, whether you are a model, a creator, a footwear brand owner, or someone shooting alone with a phone. It covers 16 poses grouped by purpose, the best angles and light, phone settings, a simple equipment list, editing steps, and the mistakes that ruin otherwise good shots.
In this guide
- Why foot positioning matters
- Core posing techniques
- Pose cheat sheet and 16 poses by purpose
- Camera angles, distance, and lens choice
- Phone workflow, solo shooting, settings, and equipment
- Lighting, shadows, backgrounds, and nail color
- Shoes, fashion, eCommerce, and men’s feet
- Common mistakes and how to make feet look longer
- Editing, Photoshop workflow, and image sizes
- Selling safely, professional retouching, checklist, and FAQ
Why Foot Positioning Matters in Photography
Small changes in foot positioning change the whole picture, because feet are made of angles: the arch, the ankle bone, the line of the toes. Each one catches light and reads differently depending on where it points.
Positioning affects six things:
- Shape. A lifted heel defines the arch. A flat foot hides it.
- Proportions. Whatever sits closest to the lens looks largest.
- Balance. Two feet at the same angle feel stable. Offset feet feel relaxed.
- Perspective. A foot pointed at the camera looks short. A foot turned sideways shows its full length.
- Composition. The feet form lines that either fit the frame or fight it.
- Visual direction. Toes act like arrows. The viewer’s eye follows where they point.
This is why professional photographers adjust a pose by centimeters. They are not being fussy. They are fixing problems in the frame that cannot be repaired cleanly later.
How to Pose for Feet Pictures Like a Pro Photographer
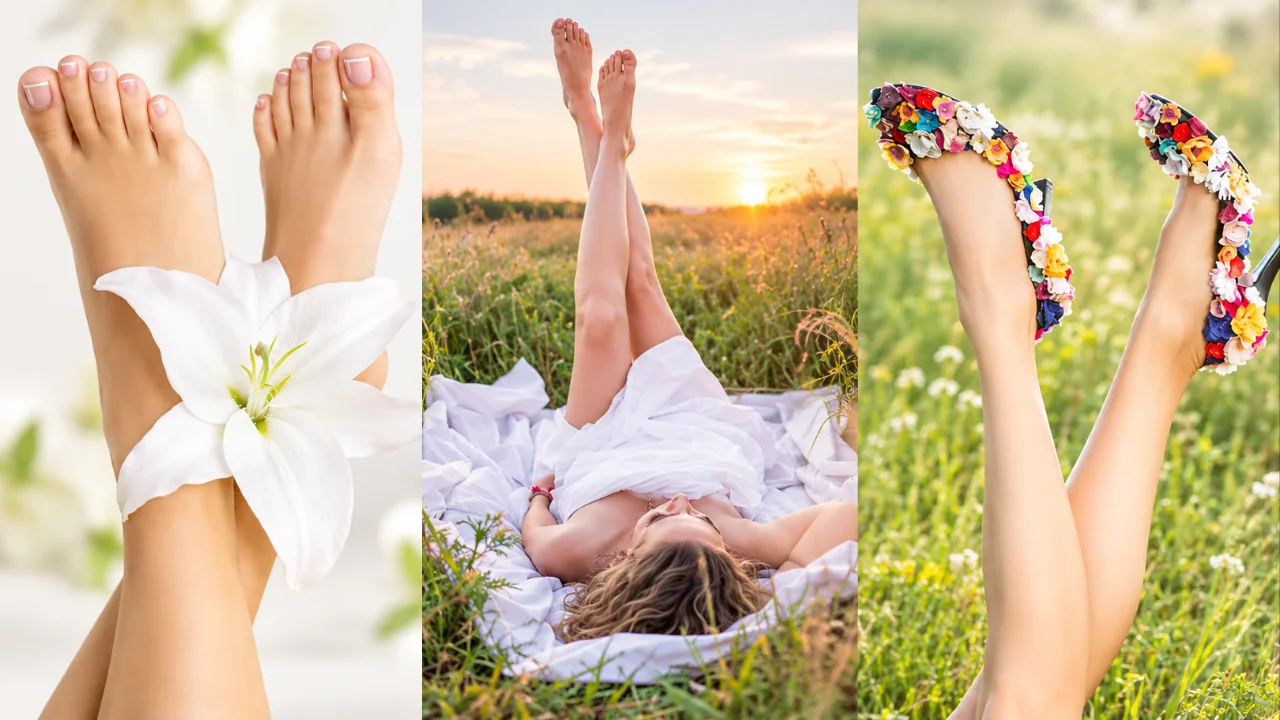
The core rule of feet posing for pictures is simple: start from a comfortable position, then make one small change at a time.
- Keep the feet naturally positioned. Stand or sit the way you normally would, then refine.
- Avoid awkward angles. If a position strains the ankle, it will look strained.
- Change toe direction slightly. Turn the toes out 10 to 20 degrees so the foot is not pointed straight at the lens.
- Experiment with parallel positioning. Feet side by side give a clean, tidy look.
- Put one foot slightly ahead. A half step forward adds depth right away.
- Use asymmetry when it suits the shot. One heel lifted or one foot angled looks more candid.
- Keep the pose relaxed. Soft toes and loose ankles photograph better than tension.
- Consider the overall composition. Check where the feet sit in the frame and what surrounds them.
There is no single perfect pose for every photograph. The right position depends on the camera angle, the footwear, the location, the lighting, the purpose of the image, and the overall composition. A pose that suits a sandal product shot can look stiff in a beach lifestyle photo.
15+ Feet Poses to Try for Better Pictures
These 16 feet photo poses are grouped by purpose, so you can go straight to the set that fits your shoot. The cheat sheet comes first.
Pose Cheat Sheet
| Pose | Best angle | Best light | Best use |
|---|---|---|---|
| Parallel feet | Overhead or straight-on | Soft window light | Footwear, pedicure |
| One foot forward | Three-quarter | Side light | Lifestyle, fashion |
| Slight toe-out | Three-quarter | Soft window light | Any standing shot |
| Crossed feet | Side or three-quarter | Diffused light | Lifestyle, jewelry |
| Walking | Low side angle | Open shade | Footwear, lifestyle |
| Sitting | Camera at foot height | Window light | Solo shooting |
| Standing edge | Low or straight-on | Golden hour | Travel, lifestyle |
| Relaxed side angle | Side | Side light | Lifestyle, anklets |
| Symmetrical | Overhead | Even diffused light | eCommerce, pedicure |
| Asymmetrical | Three-quarter | Side light | Editorial |
| Feet with shoes | Three-quarter or side | Diffused studio light | Product, fashion |
| Barefoot lifestyle | High or side | Window light | Lifestyle |
| Textured surface | High angle | Golden hour or shade | Lifestyle, travel |
| Overhead | Directly above | Even light | Social media, shoes |
| Close-up detail | Side, stepped back | Soft side light | Nails, jewelry |
| Arch and heel lift | Side | Side light | Heels, anklets |
Classic Poses On Green
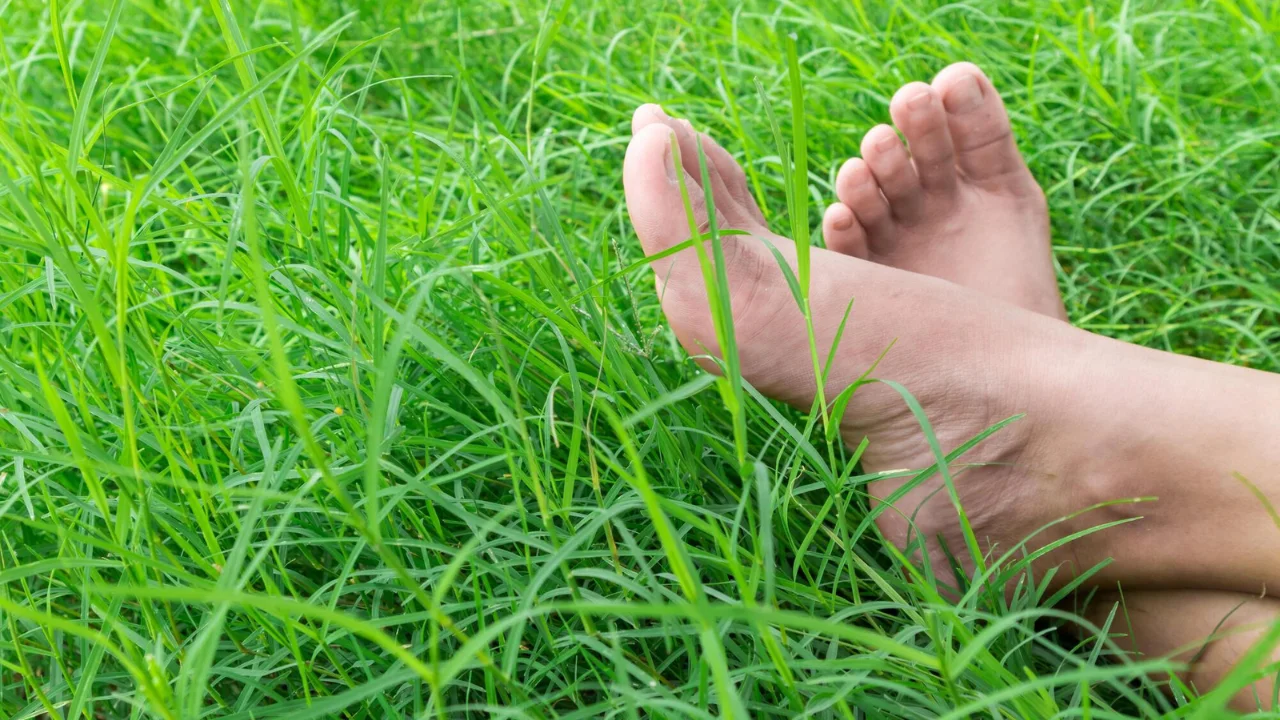
1. Parallel Feet Pose. Place both feet side by side with a small gap. It works best for overhead shots and clean footwear images. Mistake to avoid: pressing the feet together so they merge into one shape.
2. One Foot Slightly Forward. Move one foot half a step ahead. The size difference between the near and far foot creates depth. Shoot from a three-quarter angle. Mistake to avoid: stepping so far that the back foot leaves the frame.
3. Slight Toe-Out Pose. Turn each foot outward a few degrees. This small angle shows more of the inner arch and stops the feet from looking blocky. Mistake to avoid: turning out so far that the pose looks like a ballet position.
4. Symmetrical Pose. Mirror both feet exactly, centered in the frame. Use it for structured, clean compositions such as pedicure or catalog shots. Mistake to avoid: a tilted camera, which ruins symmetry instantly.
5. Asymmetrical Pose. Lift one heel, or angle one foot while the other stays flat. It gives a natural, editorial feel. Mistake to avoid: changing both feet at once, which reads as random.
Lifestyle and Enjoying Poses
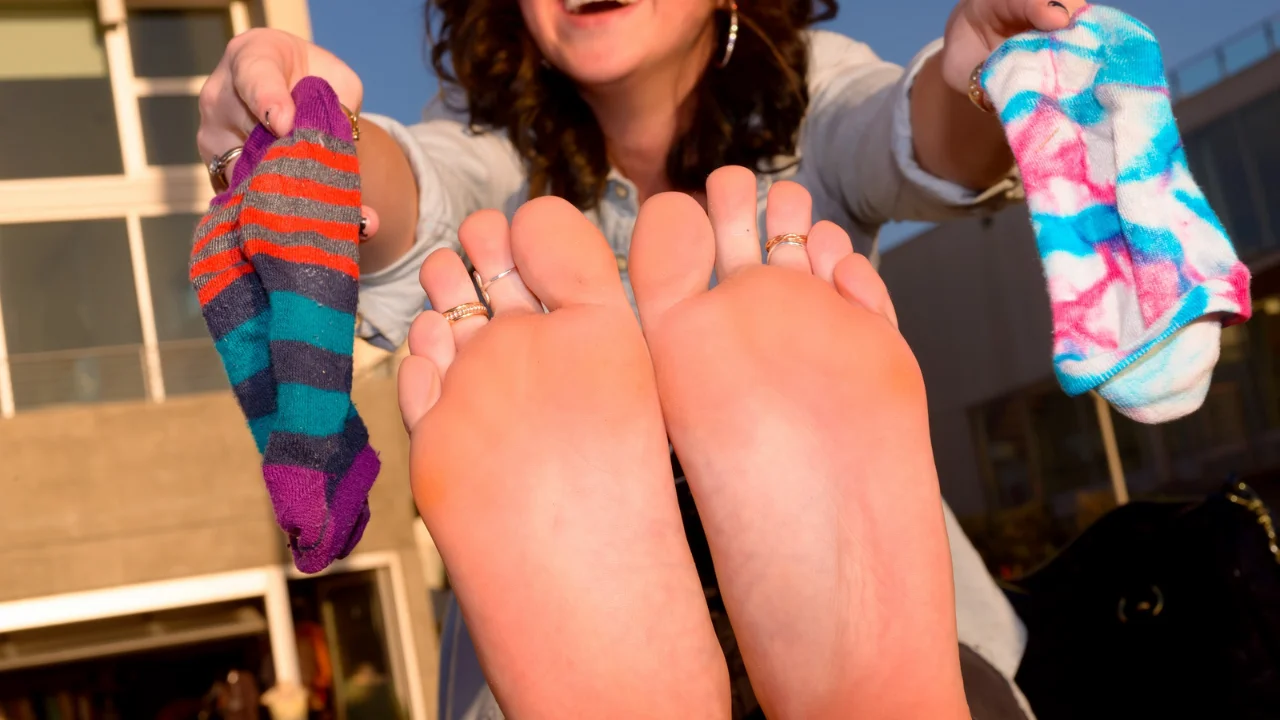
6. Walking Pose. Take real, slow steps and shoot in burst mode. Capture the moment the back heel lifts. Mistake to avoid: freezing mid-step, which always looks stiff.
7. Sitting Feet Pose. Sit on the floor or a bed and extend your legs. Put the camera at foot height rather than eye height, so the feet are not stretched by perspective. Mistake to avoid: holding the phone right above your knees.
8. Crossed Feet Pose. Cross at the ankles, not the toes, and keep the top foot loose. Shoot from the side so both feet stay visible. Mistake to avoid: squeezing the ankles together, which flattens the skin.
9. Standing Edge Pose. Stand at the edge of a step, a pool, a dock, or a curb. The edge becomes a leading line and gives the picture a setting. Mistake to avoid: a crooked edge line.
10. Relaxed Side Angle. Rest one foot on its outer edge while seated or lying down. This is the most forgiving pose for lifestyle photography. Mistake to avoid: sickling the foot inward.
11. Barefoot Lifestyle Pose. Keep the toes soft, the feet slightly apart, and the light gentle. Add a blanket, a book, or a coffee cup for context. Mistake to avoid: props that are brighter than the feet.
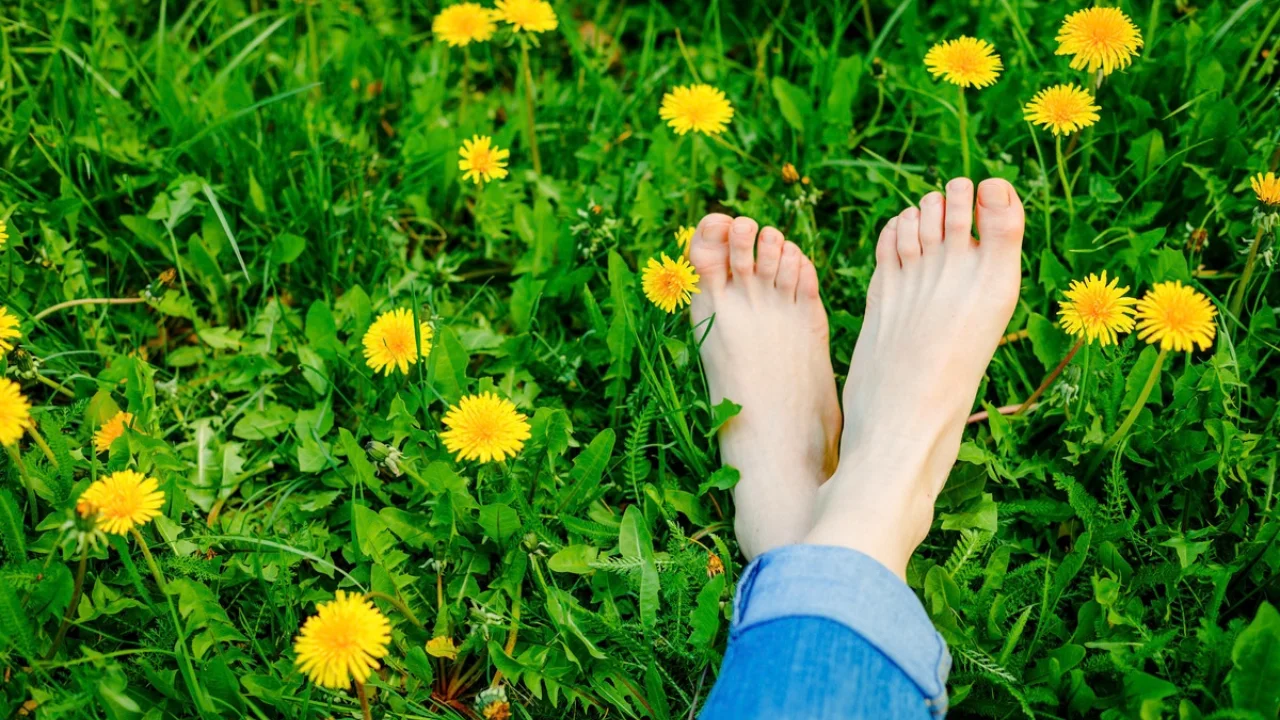
12. Feet on a Textured Surface. Sand, grass, wood, stone, or linen adds contrast against smooth skin. Shoot from a high angle to show the texture. Mistake to avoid: busy patterns that compete with the subject.
Product, Nail, and Jewelry Poses
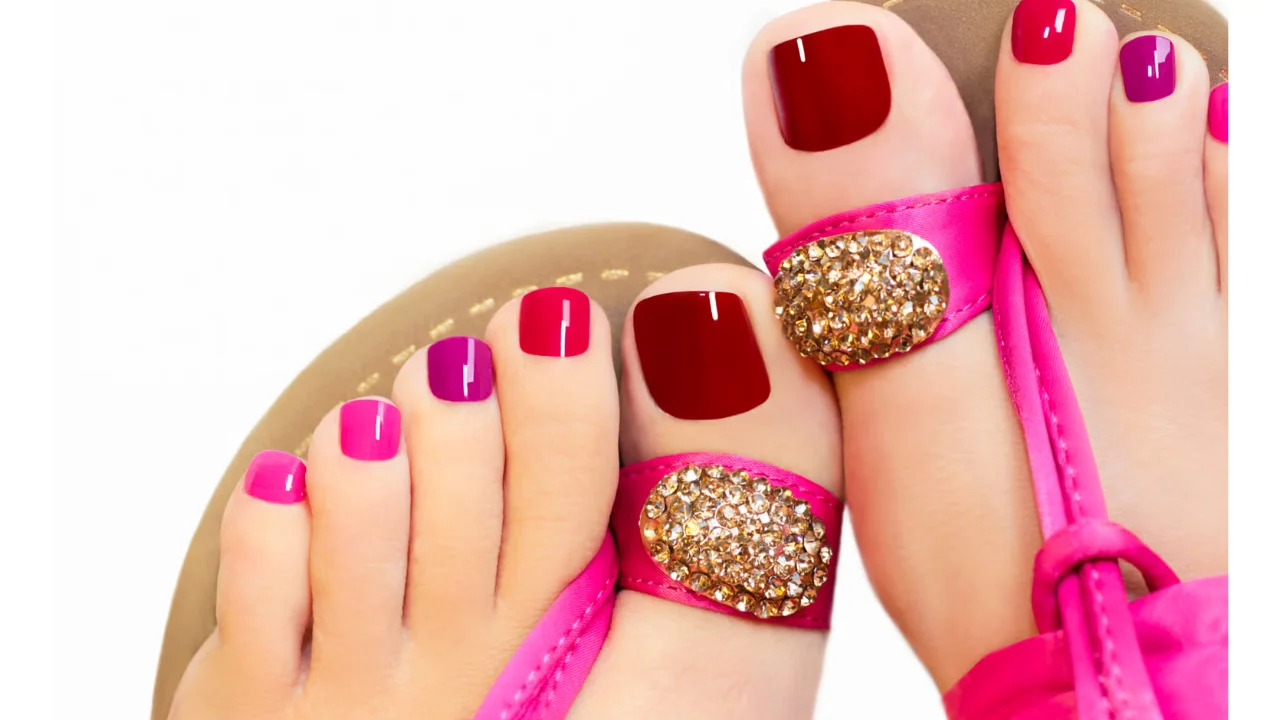
13. Feet With Shoes Pose. Angle the shoe at three-quarters so the toe box, side profile, and logo are visible together. Keep laces and straps neat. Mistake to avoid: hiding the product’s key detail behind the other foot.
14. Overhead Pose. Hold the camera directly above the feet and keep it level. Good for sneakers, pedicures, and floor textures. Mistake to avoid: your own shadow falling into the frame.
15. Close-Up Detail Pose. For nail color, toe rings, or stitching, step back and zoom in with the 2x lens instead of moving the phone closer. Focus on the detail itself. Mistake to avoid: wide-angle close-ups that enlarge the big toe.
16. Arch and Heel Lift Pose. Rise onto the ball of one foot and shoot from the side. It defines the arch and shows anklets well. Mistake to avoid: gripping the floor with tense toes.
How to Make Feet Look Natural in Photos
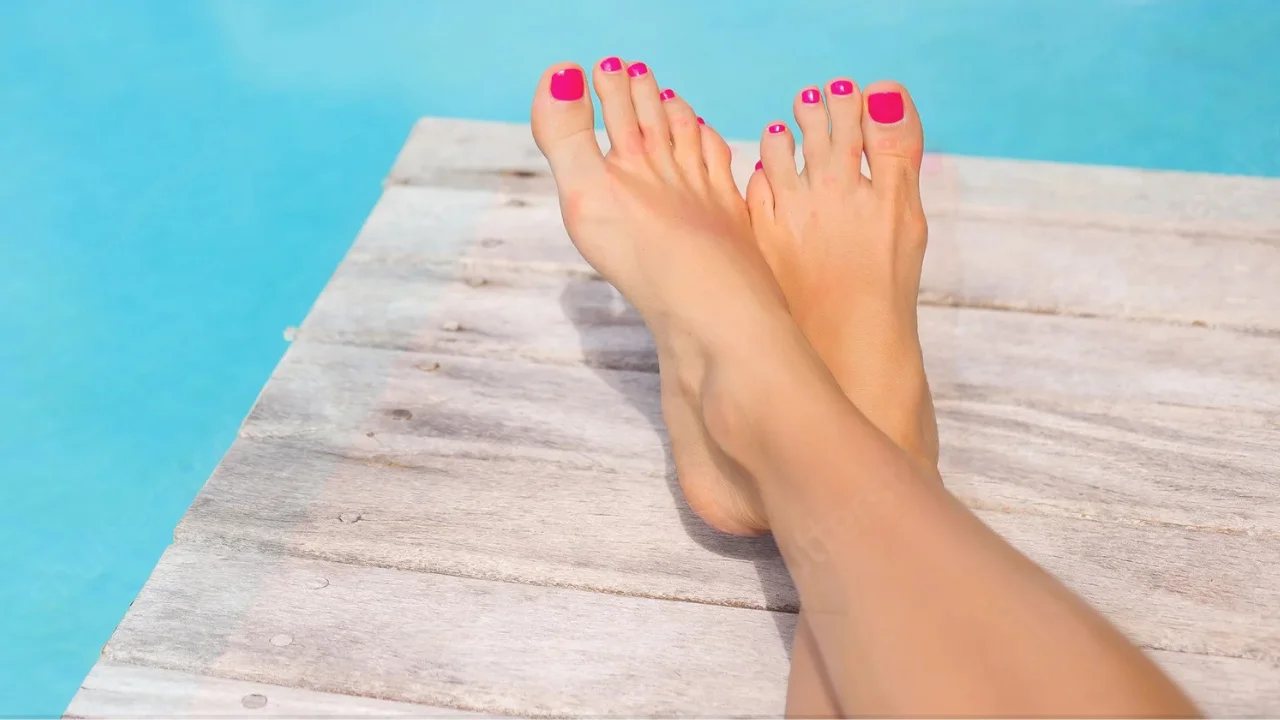
Natural-looking poses photograph better than forced ones, and the fix is almost always less tension. Relax the ankles, uncurl the toes, and hold only positions that feel comfortable for at least ten seconds. Avoid twisting the foot against the direction of the leg.
Move a little between shots: shift your weight, lift a heel, wiggle the toes, reset. Take several variations of each pose, then choose the frame where the foot looks least posed. Professionals rarely use the first shot.
How Camera Angles Change the Appearance of Feet
Camera angle decides proportions, because the part nearest the lens always looks biggest.
- Straight-on: Camera at foot level, facing the toes. Honest, but it shortens the foot.
- Low angle: Camera near the ground. Makes feet and shoes look bold and tall.
- High angle: Camera at about 45 degrees above. The most natural everyday view.
- Overhead: Camera directly above. Flat, graphic, great for symmetry.
- Side angle: Shows the full length and the arch. Best for making feet look long.
- Three-quarter angle: Halfway between front and side. Shows shape and depth together, and it is the safest choice among the best angles for feet photography.
- Close-up: Good for detail, risky for proportion.
Move the camera too close and the nearest toes swell while the heel shrinks. That is perspective distortion, and it is the most common reason feet look odd in pictures.
Best Camera Distance for Feet Photography
Stand farther back than feels necessary. Distance, not the lens itself, controls perspective. At 30 cm the big toe can look twice its real size. At one meter or more, proportions settle down.
Frame loosely from that distance, then zoom or crop afterward. Stepping back with a longer focal length gives a more accurate result than pushing a wide-angle lens close to the subject. Leave some space around the feet so you can crop to different shapes later.
Which Lens Is Best for Feet Pictures?
No lens is best for every shot. Focal length sets your working distance, and working distance sets perspective and distortion.
| Lens type | Typical focal length | Result |
|---|---|---|
| Smartphone main camera | About 24 to 26 mm equivalent | Fine from a distance, distorts up close |
| Wide-angle | Under 24 mm | Shows the setting, exaggerates near objects |
| Standard | 35 to 50 mm | Natural perspective, good all-rounder |
| Short telephoto or portrait | 85 to 105 mm | Flattering proportions, soft background |
On a phone, the 2x or 3x lens plays the role of the portrait lens. Use the 0.5x ultra-wide only when the environment matters more than the feet.
How to Take Feet Pictures With a Phone
A phone is enough for professional feet photography if you follow a fixed routine. Menus differ between iPhone and Android models, so exact settings may vary.
- Clean the camera lens with a soft cloth.
- Choose good lighting, ideally beside a window.
- Find a simple background.
- Avoid the 0.5x ultra-wide setting when possible. Use 1x from a distance, or 2x.
- Position the camera carefully and keep it level.
- Tap the feet on screen to focus.
- Check exposure. Slide the brightness down slightly if skin looks washed out.
- Take several compositions: horizontal, vertical, wide, and tight.
- Review the edges of the frame for clutter.
- Edit lightly afterward.
How to Take Feet Pics by Yourself
Shooting solo works best with the rear camera, a tripod, and a timer. The rear camera is sharper than the selfie camera, so prop the phone, set a 3 or 10 second timer, and review after each burst.
- Mount the phone on a tripod at foot height for side shots, or on an overhead arm for top-down shots.
- Use a Bluetooth remote, the volume button on wired earphones, or a voice command to trigger the shutter.
- Mark your foot position with a small piece of tape so every retake lines up.
- Record a 4K video while changing poses slowly, then save the best frames as stills.
Phone and Camera Settings
| Setting | Recommendation |
|---|---|
| Lens | 1x from a distance, or 2x for close detail |
| Grid | On, to keep horizons and edges straight |
| Focus | Tap and hold on the feet to lock focus and exposure |
| HDR | On in bright or mixed light |
| Portrait mode | Useful for a soft background, check edges around the toes |
| Flash | Off, use window light instead |
| Aperture (camera) | f/4 to f/8, so both feet stay sharp |
| ISO (camera) | 100 to 400 for clean skin texture |
| Shutter speed (camera) | 1/125 s or faster handheld, 1/500 s for walking shots |
Equipment List
You need very little to start. A basic kit covers most feet photo ideas:
- Tripod with a phone clamp and an overhead arm
- Bluetooth remote shutter
- Ring light or small softbox for evenings
- White foam board or 5-in-1 reflector
- Plain backdrop: a bedsheet, vinyl sheet, or seamless paper
- Lens cloth, lint roller, moisturizer, and a nail file
Best Lighting for Feet Photography
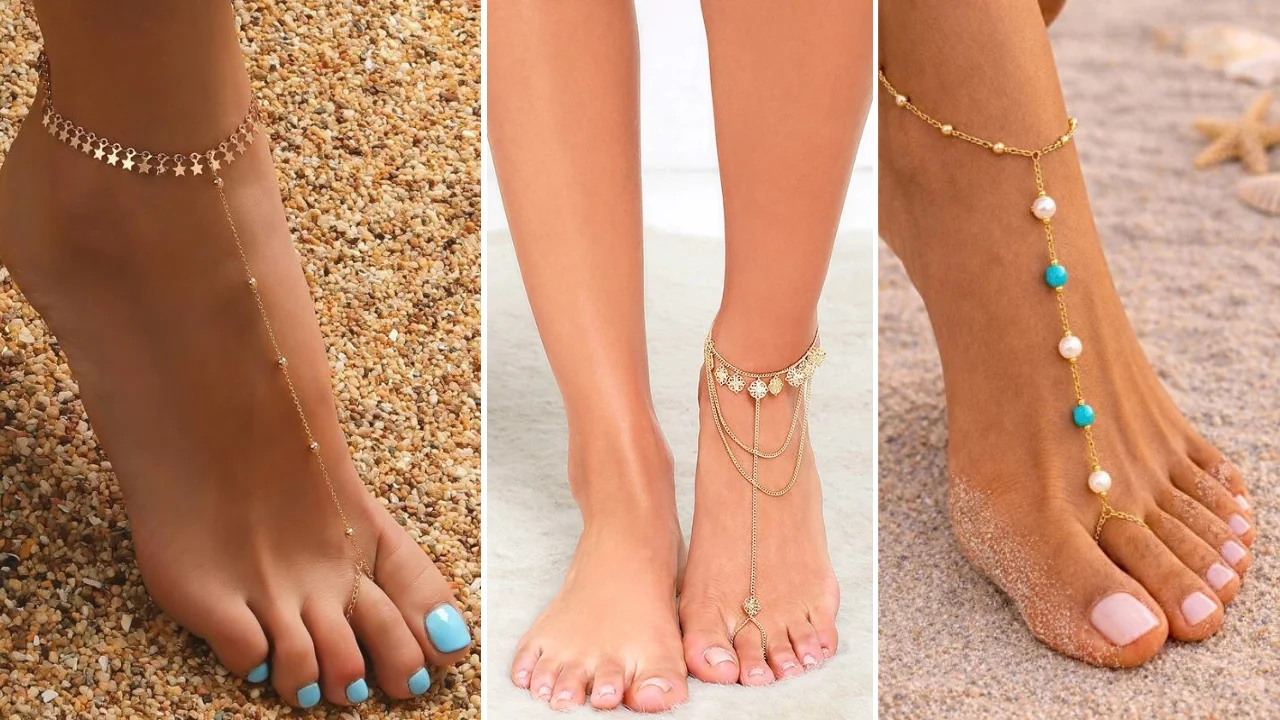
Soft, directional light is the best lighting for feet pictures. Soft light creates gentle transitions between highlight and shadow, which flatters skin. Hard light creates sharp shadows and reveals every texture.
- Natural window light: The easiest option. Place your feet one to two meters from the window, with the light coming from the side.
- Soft outdoor light: An overcast sky works like a giant softbox.
- Open shade: The shaded side of a building or tree on a sunny day gives even light without squinting shadows.
- Golden-hour light: The hour after sunrise or before sunset adds warm, low light that suits sand and grass.
- Diffused studio lighting: A softbox or ring light gives repeatable results for product work.
- Hard sunlight: High contrast and strong texture. Use it deliberately for graphic, editorial shots.
- Side lighting: Shapes the arch and ankle. The most flattering direction for bare feet.
- Backlighting: Creates a glowing outline. Add a reflector in front so the feet do not turn dark.
How to Avoid Harsh Shadows in Feet Photos
Harsh shadows come from a small, direct light source, so the fix is to make the light bigger or softer.
- Move into open shade.
- Hang a sheer curtain or hold a diffuser between the light and your feet.
- Turn your body so the light comes from the side instead of straight above.
- Bounce light back into the dark side with a reflector or white foam board.
- Avoid direct midday sun.
- Shift the camera so your own shadow leaves the frame.
Do not try to remove every shadow. A soft shadow under the arch or beside the heel adds depth and shape. Without it, feet look flat and pasted onto the background.
Background Ideas for Professional Feet Photography
A background should support the subject, never compete with it. Pick one material and keep it clean.
- Clean studio backgrounds: White, grey, or beige for product and nail shots.
- Wooden floors: Warm and familiar for lifestyle images.
- Neutral fabric: Linen sheets or a knit blanket for a soft indoor mood.
- Grass, sand, and stone: Natural texture for outdoor and travel shots.
- Concrete: Cool and modern, good with sneakers.
- Minimal interiors and fashion environments: A tiled bathroom, a staircase, or a styled studio set for editorial work.
Nail and Background Color Pairing
Choose nail color and background by contrast with your skin tone, so the feet stand out without clashing.
| Skin tone | Nail colors that photograph well | Background colors |
|---|---|---|
| Fair | Soft pink, classic red, nude beige | Warm grey, sage, light wood |
| Medium or olive | Coral, terracotta, white, burgundy | Cream, sand, deep green |
| Deep | White, bright orange, gold, deep plum | Off-white, tan, cobalt, stone |
White and red are the safest choices across all tones. Chipped polish shows in every close-up, so repaint before the shoot.
How Shoes Change Feet Photography
Footwear changes the pose because each shoe has a different shape to show.
- Sneakers: Angle at three-quarters to show the side panel and sole. Tuck or tidy the laces.
- Sandals: Straps frame the foot, so nails and skin need to be camera-ready.
- Boots: Shoot from lower down and include some of the leg for proportion.
- Heels: A side profile shows the heel height and the arch line.
- Flats: Overhead or high angles suit their simple outline.
- Fashion footwear: Lead with the design feature, such as a buckle, print, or sculpted heel.
Watch the shoe’s color and texture against the background, the position of the sole, and reflections on patent leather or metal hardware. For footwear product photography, represent the product accurately. The buyer should receive a shoe that looks like the photo.
How to Pose Feet for Fashion Photography
In fashion photography, the feet finish the line of the whole body. They should complement the overall pose and never look disconnected from it.
- Keep clean lines from hip to toe. A pointed foot extends the leg.
- Use controlled positioning, with weight on the back foot and the front foot free to angle.
- Repeat consistent poses across a lookbook so the collection feels unified.
- Let hems, cuffs, and trouser breaks sit properly over the shoe.
- Place footwear where it can be seen, not hidden behind the other leg.
- Shoot from slightly below waist height to lengthen the legs in full-body frames.
- For editorial composition, break the rules on purpose with crops, motion, or hard light.
How to Photograph Feet for eCommerce and Product Photography
Artistic photography sells a mood. eCommerce photography sells an accurate product, so consistency matters more than creativity.
- Use the same camera angle, height, and distance for every product.
- Mark foot positions on the floor so poses are repeatable.
- Keep backgrounds clean, usually white or light grey.
- Set a custom white balance so colors match the real item.
- Show clear product details: stitching, material, sole, and closure.
- Keep proportions accurate by shooting from a distance with a standard or short telephoto lens.
Avoid heavy editing that changes how a product actually looks. Clean dust and fix lighting, but leave the true color, shape, and texture alone. Inaccurate images lead to returns.
Posing Tips for Men’s Feet
Male feet poses follow the same rules with a different styling emphasis. Use stronger side light for definition, wider and flatter stances, and solid surfaces such as concrete, wood, or stone. Trim nails, moisturize dry heels, and keep the pose grounded rather than pointed.
Common Feet Photography Mistakes
Most weak feet pictures fail for one of these twelve reasons, and each has a quick fix.
| Mistake | Simple solution |
|---|---|
| Extreme close-up | Step back one meter and zoom or crop |
| Poor lighting | Move beside a window or into open shade |
| Distracting background | Clear the floor or lay down a plain sheet |
| Unnatural positioning | Shake out the feet, reset, and relax the toes |
| Awkward cropping | Never cut through toes or ankles, crop at mid-shin or leave space |
| Wide-angle distortion | Switch from 0.5x to 1x or 2x |
| Ignoring shadows | Check where shadows fall before shooting, add a reflector |
| Inconsistent poses | Mark positions with tape and use a tripod |
| Over-editing | Compare with the original and reduce every slider by half |
| Excessive sharpening | Sharpen last, and only until edges look crisp at 100% |
| Poor focus | Tap to focus on the nearest foot and hold steady |
| Ignoring frame edges | Scan all four edges for cables, bags, or stray objects |
How to Make Feet Look Longer in Photos
Feet look longer when their full length runs across the frame instead of toward the lens. Perspective and composition do the work, and no editing is needed.
- Camera height: Lower the camera to ankle level for side shots.
- Perspective: Use a side or three-quarter angle. Straight-on views shorten the foot.
- Foot positioning: Point the toes gently and lift the heel to extend the line from shin to toe.
- Lens distance: Stay at least a meter back so the heel is not shrunk by distortion.
- Cropping: Include some ankle and lower leg. A continuous line reads as length.
- Composition: Place the foot along a diagonal, which is the longest line in any frame.
Avoid extreme distortion from very close wide-angle shots. It lengthens the toes but looks unnatural. Composition can influence how proportions appear, but it should not misrepresent a person’s natural appearance unless the creative goal clearly calls for stylization.
How to Edit Feet Pictures Like a Professional
Professional editing is a series of small corrections that leave the photo looking untouched. Work in this order in any app, including Lightroom Mobile, Snapseed, or your phone’s built-in editor.
- Exposure correction: Brighten or darken until skin shows detail in both highlights and shadows.
- White balance: Remove yellow or blue casts so skin looks true to life.
- Color correction: Adjust saturation gently. Check that nail polish and footwear match their real color.
- Cropping and straightening: Level floor lines and crop to your target aspect ratio.
- Removing temporary distractions: Clean lint, crumbs, and floor marks.
- Reducing unwanted blemishes: Fix temporary marks such as scratches, redness, or sock lines.
- Noise reduction: Apply lightly if the photo was taken in low light.
- Sharpening: Add a small amount at the end.
- Background cleanup: Even out the backdrop or remove it entirely for product use.
Keep the retouching natural. Skin has pores, fine lines, and tone variation, and removing them makes a foot look like plastic. A good before and after pair shows the same foot with cleaner light, truer color, and a tidier background, not a different foot.
Photoshop Workflow for Professional Feet Photo Editing
This beginner workflow covers most feet photo editing jobs in Photoshop.
- Open the image. Use Camera Raw for RAW files and duplicate the background layer.
- Correct exposure with the Exposure, Highlights, and Shadows sliders.
- Adjust white balance with the eyedropper on a neutral grey or white area.
- Crop and straighten with the Crop tool and its Straighten option.
- Clean distracting elements with the Spot Healing Brush and the Remove tool on a new layer.
- Make selective adjustments with Curves layers and masks to lift shadows or calm highlights.
- Refine color with Hue/Saturation, targeting reds and yellows for skin tone.
- Apply controlled sharpening with Unsharp Mask or Smart Sharpen at a low amount.
- Review at 100% to catch halos, smudges, and missed dust.
- Export the final image as an sRGB JPEG at the size your platform needs.
Editing should support the photograph. It cannot rescue a poor composition, a blurred focus point, or a badly distorted angle, so fix those in camera first.
Image Sizes and Aspect Ratios by Platform
| Platform | Aspect ratio | Common size (pixels) |
|---|---|---|
| Instagram feed, portrait | 4:5 | 1080 x 1350 |
| Instagram Stories, Reels, TikTok | 9:16 | 1080 x 1920 |
| Pinterest pin | 2:3 | 1000 x 1500 |
| eCommerce product image | 1:1 | 2000 x 2000 or larger |
| Blog or website | 3:2 or 16:9 | 1200 to 1600 wide |
Platforms update their specifications, so confirm current sizes before a large upload.
Selling Feet Pictures Safely
If you plan to sell your photos, treat privacy and legality as part of the shoot. This applies to stock photography, brand content, and creator platforms alike.
- Age and law: You must be 18 or older, and you must follow the laws and tax rules where you live.
- Platforms: Use established stock sites, creator subscription platforms, or dedicated marketplaces with built-in payments. Read each platform’s terms first.
- Pricing: Check what comparable creators charge on the same platform, then price sets and custom work separately.
- Anonymity: Use a separate email and username. Keep your face, tattoos, birthmarks, and recognizable rooms out of frame.
- Watermarks: Watermark preview images and send clean files only after payment.
- Metadata removal: Strip EXIF data, which can include GPS location, before sharing any file.
- Payments: Keep transactions on the platform. Never share bank details, and never pay a fee to receive money.
When Should You Use Professional Photo Retouching?
Outsourcing makes sense when editing time costs more than the edit itself. That usually happens in four situations:
- You have a large batch, such as a full footwear catalog, that needs identical results.
- Images need clean cutouts or pure white backgrounds for marketplaces.
- Skin and color need natural retouching beyond what phone apps can do.
- A campaign or lookbook has a deadline and a fixed quality standard.
Clipping Area has edited product and fashion images since 2014, covering photo retouching, background removal, clipping path, and color correction for footwear brands, photographers, and eCommerce sellers. The process is short:
- Send your images and a reference for the look you want.
- Receive a quote and a sample edit.
- Get finished files back, ready to upload.
Feet Photography Shoot Checklist
- Nails trimmed and polished, heels moisturized, lint removed
- Lens cleaned and grid turned on
- Soft light from the side, no direct overhead sun
- Plain background, frame edges clear
- Camera one meter or more away, 1x or 2x lens
- Tripod and timer or remote ready
- At least three poses and three angles per setup
- Focus checked at full zoom before moving on
- Light edit, correct crop, metadata removed
Frequently Asked Questions
How should I pose my feet for pictures?
Relax your ankles, place one foot slightly ahead of the other, and turn the toes out a little. Keep the toes soft and shoot several variations.
What is the best angle for feet photos?
The three-quarter angle is the most reliable, because it shows both shape and depth. Use a side angle to show length and an overhead angle for symmetry.
How do I take good feet pics with an iPhone?
Clean the lens, turn on the grid, use the 1x or 2x camera from about a meter away, tap to focus, and shoot beside a window with the flash off.
How do photographers make feet look better in photos?
They use soft side light, a longer lens from a distance, a clean background, and a relaxed pose, then finish with light, natural retouching.
What are easy feet picture poses for beginners?
Start with parallel feet from overhead, one foot forward at a three-quarter angle, and crossed ankles from the side. All three are hard to get wrong.
How do you edit feet pictures naturally?
Correct exposure and white balance, crop, remove temporary distractions, and sharpen slightly. Keep real skin texture.
Final Thoughts
Great feet photography comes from control, not luck. Relax the pose, step back, find soft light, clear the background, and edit with restraint. Pick three poses from the cheat sheet, shoot them beside a window today, and compare the results with your old photos.