7 Real Estate Photo Problems (Dark, Yellow, Orange, Blurry) and How to Fix Them
A listing photo has about two seconds to make someone stop scrolling. If the living room looks like a cave, the kitchen glows yellow, or the bedroom is soft and out of focus, buyers move on. They rarely think the photo is bad. They assume the property is.
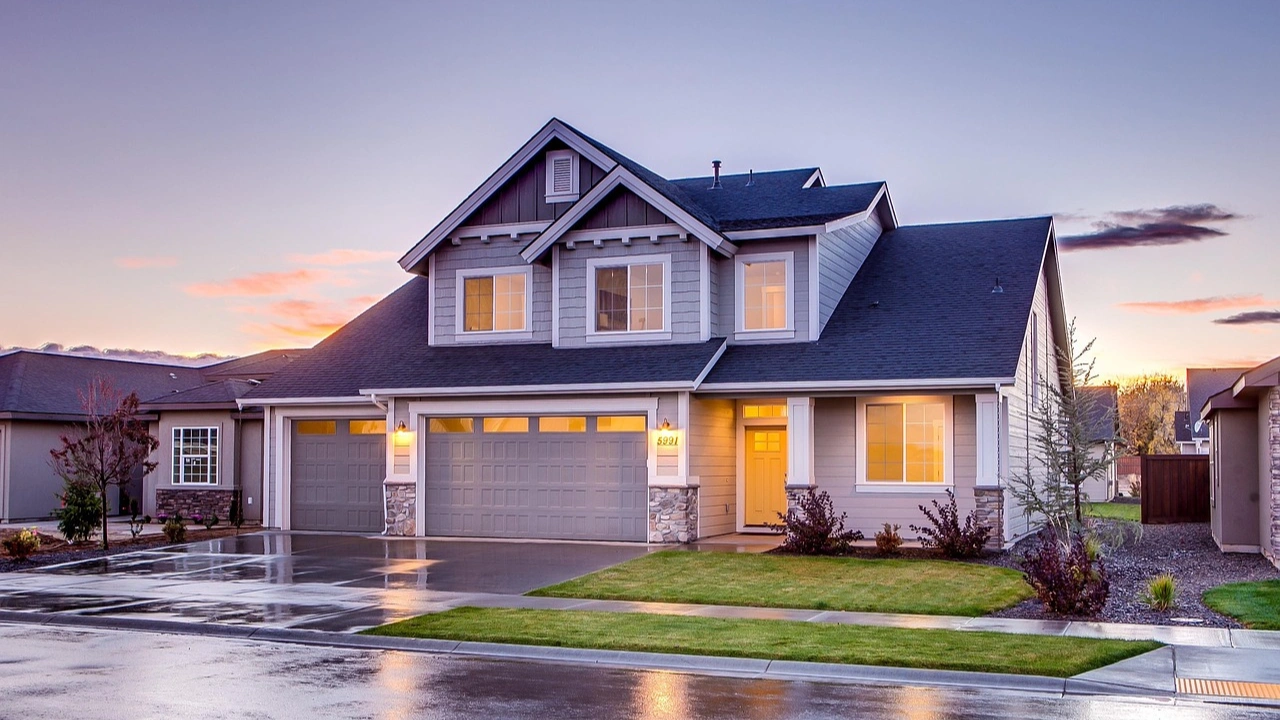
Most of these problems come from the same few causes: too little light, mixed light sources, and small camera mistakes that only show up on a big screen. Most can be prevented on the shoot and corrected in editing.
This guide covers the seven most common real estate photo problems, why each one happens, and how to fix it, both during the shoot and afterward in Lightroom or Photoshop.
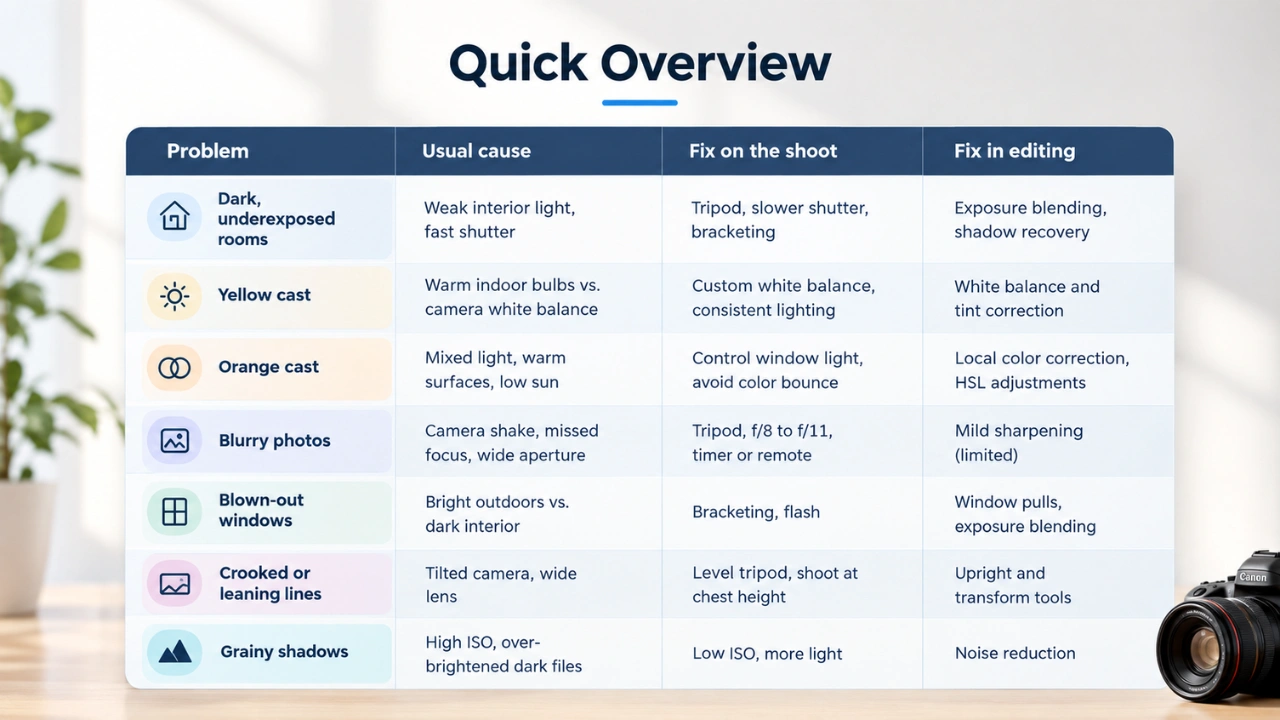
Quick Overview
1. Dark, Underexposed Rooms
What it looks like: Murky corners, gray walls that should be white, and a room that feels smaller than it is.
Why it happens: Interiors are far dimmer than the outdoors, even when they look bright to your eyes. Your eyes adjust quickly. A camera can’t. Add a small window, a north-facing room, dark wood, or an overcast day, and the camera has too little light to work with. Shooting handheld makes it worse, because you’re forced to use a fast shutter speed, and that darkens the frame further.
Fix it on the shoot:
Use a tripod so you can run a slow shutter speed without blur.
Keep ISO low (100 to 200) and let the shutter do the work.
Shoot bracketed exposures (three to five frames) so you have bright and dark versions to blend later.
Open blinds and curtains fully, and turn on lights if the color mix is manageable (see problems 2 and 3).
Fix it in editing: Don’t just drag the exposure slider up. That brightens everything, including areas that were already fine, and the image ends up flat and washed out. A better approach is to lift shadows and whites moderately, then use masks to brighten only the dark areas. If you shot brackets, blend them so the room comes from the brighter frame.
A limit worth knowing: A badly underexposed shot can be brightened, but it will look noisy and lose color richness. This is another reason to shoot RAW. RAW files keep far more recoverable detail than JPEGs.
2. Yellow Color Cast
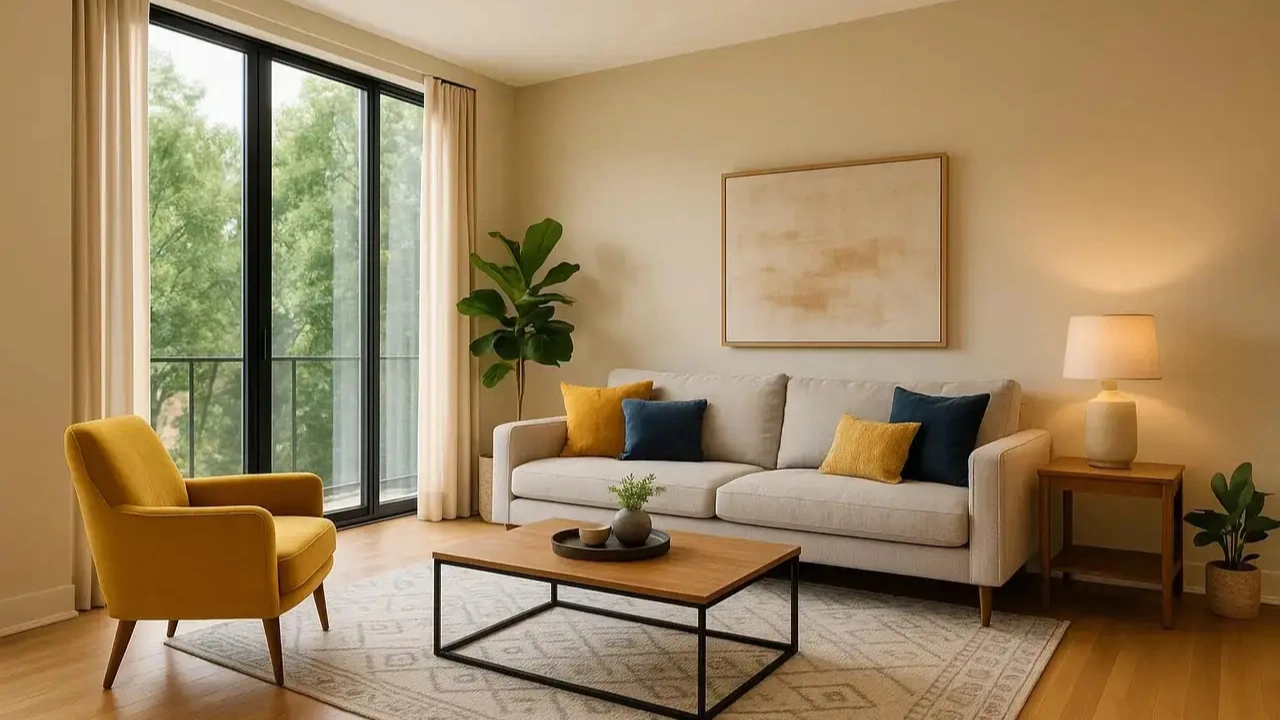
What it looks like: White walls turn cream or mustard. Ceilings look dingy. The whole photo feels dated.
Why it happens: Traditional incandescent and many warm LED bulbs produce light that is much warmer than daylight. If the camera’s white balance is set for daylight or guesses wrong on auto, everything picks up a yellow tint. Yellow paint or beige furnishings can add to the problem and make it harder to tell what’s the cast and what’s the real color.
Fix it on the shoot:
Set a custom white balance using a gray card, or set the Kelvin value manually instead of trusting auto.
Keep all lights in a room the same type. Mixing warm bulbs with cool daylight is where trouble starts.
If the lights are the problem, consider turning them off and relying on window light and flash instead.
Fix it in editing:
Use the white balance dropper on something that should be neutral, like a white ceiling, trim, or an appliance.
Nudge the temperature slider toward blue, then check the tint slider for any green or magenta shift.
Look at the whole frame, not just the wall. If you cool the image too much, the view through the window turns blue.
The goal is whites that look white, not a cold, clinical room.
3. Orange Color Cast
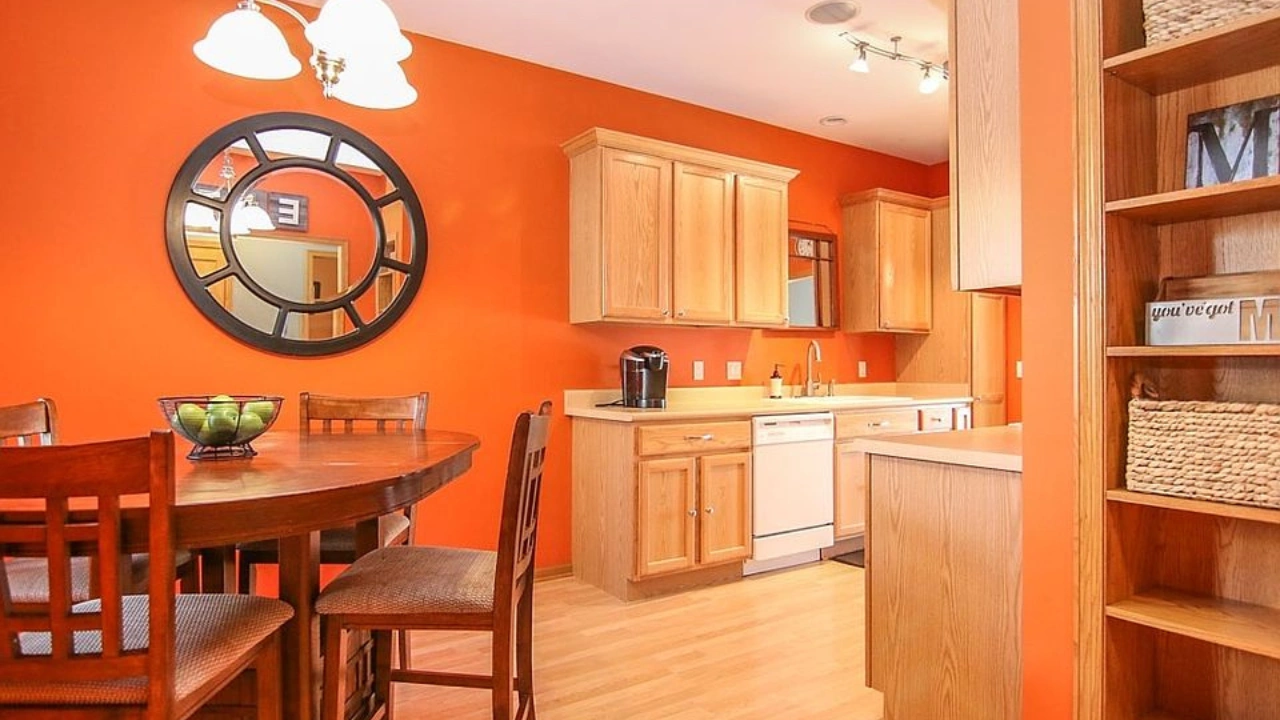
What it looks like: Skin-tone orange on walls and ceilings, glowing hardwood floors, and a sunburnt look across the room.
Why it happens: Orange and yellow casts often get lumped together, but the causes differ. Yellow usually comes from bulbs and affects the whole frame. Orange tends to be patchier. It comes from low, warm sunlight (early morning or late afternoon), light bouncing off orange-toned wood floors or painted walls, or a mix of warm lamps with window light. That bounced color lands on nearby surfaces, so a white wall next to a honey-colored floor may pick up an orange wash.
Fix it on the shoot:
Avoid shooting rooms when direct, low-angle sun is pouring in.
Close or diffuse windows that throw heavy warm light.
Shoot at a time of day when the light is more even.
Fix it in editing: A global white balance change often isn’t enough. Use local adjustments instead: mask the affected wall, then reduce orange saturation or shift its hue slightly. The HSL panel is useful for this, but go easy on it. If you remove too much orange, the wood floors will look gray and lifeless.
Why accuracy matters here: Buyers will walk in and see the real color. If the photo showed pale wood and the floors are actually a rich amber, that gap is noticeable. Correct the cast, but keep materials looking like themselves.
4. Blurry Photos
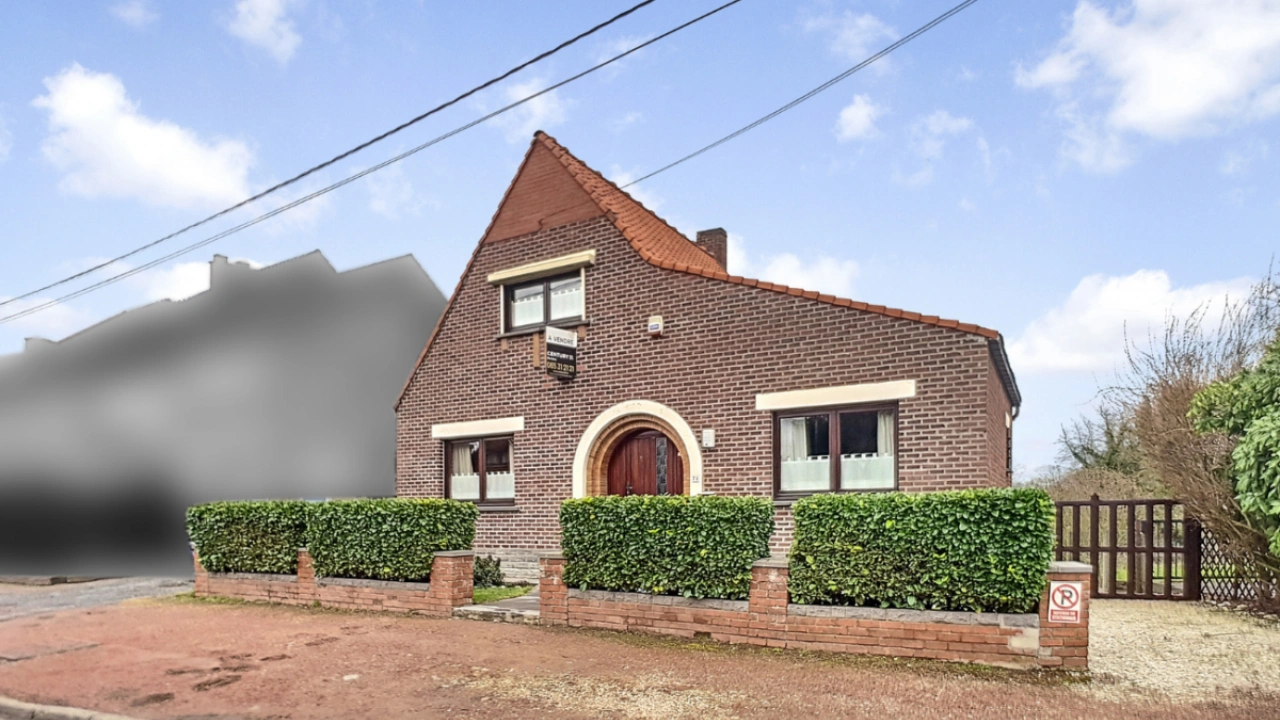
What it looks like: Soft edges, fuzzy textures, and details that never quite sharpen up, especially when viewed on a large monitor or a listing page that zooms in.
Why it happens: “Blurry” covers a few different problems:
Camera shake: Handheld shooting at a slow shutter speed, or pressing the shutter button and jostling the tripod.
Missed focus: The camera focused on something near or far instead of the main part of the room.
Shallow depth of field: Shooting at a wide aperture (like f/2.8) leaves only a thin slice of the room sharp.
Lens issues: A smudged lens, or a wide-angle lens that gets soft in the corners. This is especially common with phone cameras, where fingerprints on the lens are easy to miss.
Fix it on the shoot:
Use a sturdy tripod and a two-second timer or remote release.
Shoot at f/8 to f/11 for enough depth of field.
Focus about one-third of the way into the room, not on the nearest object.
Wipe the lens. Zoom in at 100% on the camera screen to check sharpness before moving on.
Fix it in editing: Sharpening can rescue mild softness. Apply it with a mask so it hits edges and textures, not flat walls or smooth surfaces where it just adds noise. Photoshop also has a Shake Reduction filter for simple camera shake.
The honest limit: Software cannot rebuild detail that was never captured. If a photo is truly out of focus, sharpening produces crunchy artifacts, not clarity. When a key shot (like the main living area) is badly blurred, a reshoot is the better call.
5. Blown-Out Windows
What it looks like: Windows that are pure white rectangles with no view outside.
Why it happens: The scene has a huge brightness gap. If you expose for the room, the window overexposes. If you expose for the window, the room goes dark. A single exposure can’t hold both.
Fix it on the shoot:
Bracket your exposures. Include at least one dark frame that captures the window properly.
Use an off-camera flash to lift the room without exposing further for the window.
Fix it in editing: Blend the darker frame into the window area (a “window pull”). A good result keeps the view natural, with a bit of green from trees or sky, not a gray, flat panel. Overdoing it makes the window look pasted on.
6. Crooked or Leaning Lines
What it looks like: Walls that lean inward, doorframes that tilt, and a room that looks warped.
Why it happens: Real estate photographers use wide-angle lenses to make rooms look spacious. Tilt the camera up or down even a little, and vertical lines start converging. A slightly unlevel tripod adds a lean.
Fix it on the shoot:
Level the tripod using the built-in bubble level or the camera’s electronic level.
Shoot from about chest height, with the camera level and not tilted.
Step back if possible, so you need less extreme wide-angle.
Fix it in editing: Lightroom’s Transform panel (Upright) or Photoshop’s Perspective Warp can straighten verticals. Correcting big distortions means cropping, so leave some breathing room around the edges when you shoot.
7. Grainy, Noisy Shadows
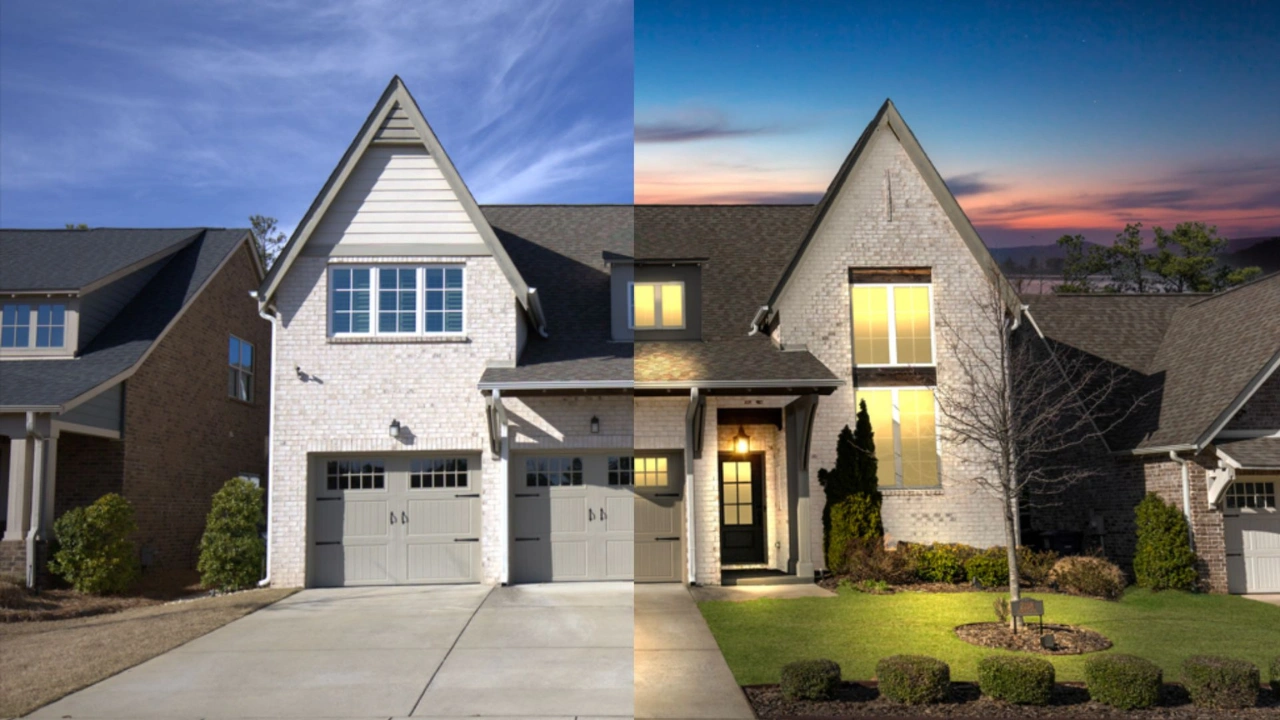
What it looks like: A speckled, sandpaper texture across walls and dark areas.
Why it happens: Noise is a byproduct of high ISO settings, or of brightening an underexposed file in editing (which links straight back to problem 1). Small sensors, like those in phones, show it more.
Fix it on the shoot:
Keep ISO low and use a tripod instead of raising ISO to compensate for slow shutter speeds.
Add light rather than relying on brightening later.
Fix it in editing: Use noise reduction, which is built into Lightroom and Photoshop. Apply it carefully. Too much smooths the texture out and gives walls and fabrics an unnatural, plastic feel. A little grain in dark areas is more believable than a waxy finish.
Fix It in the Shoot or in the Edit?
Some problems are easy to correct afterward. Others are better prevented.
Editing handles well: color casts, moderate underexposure, window brightness, crooked lines, and light noise.
Editing handles poorly: heavy blur, extremely dark files with no shadow detail, and severe motion.
As a rule, fix problems in the field when it costs you an extra minute, and rely on editing for what you can’t control (like mixed light or a bright window). Reshoot when the core shot has failed.
Common Mistakes When Fixing Real Estate Photos
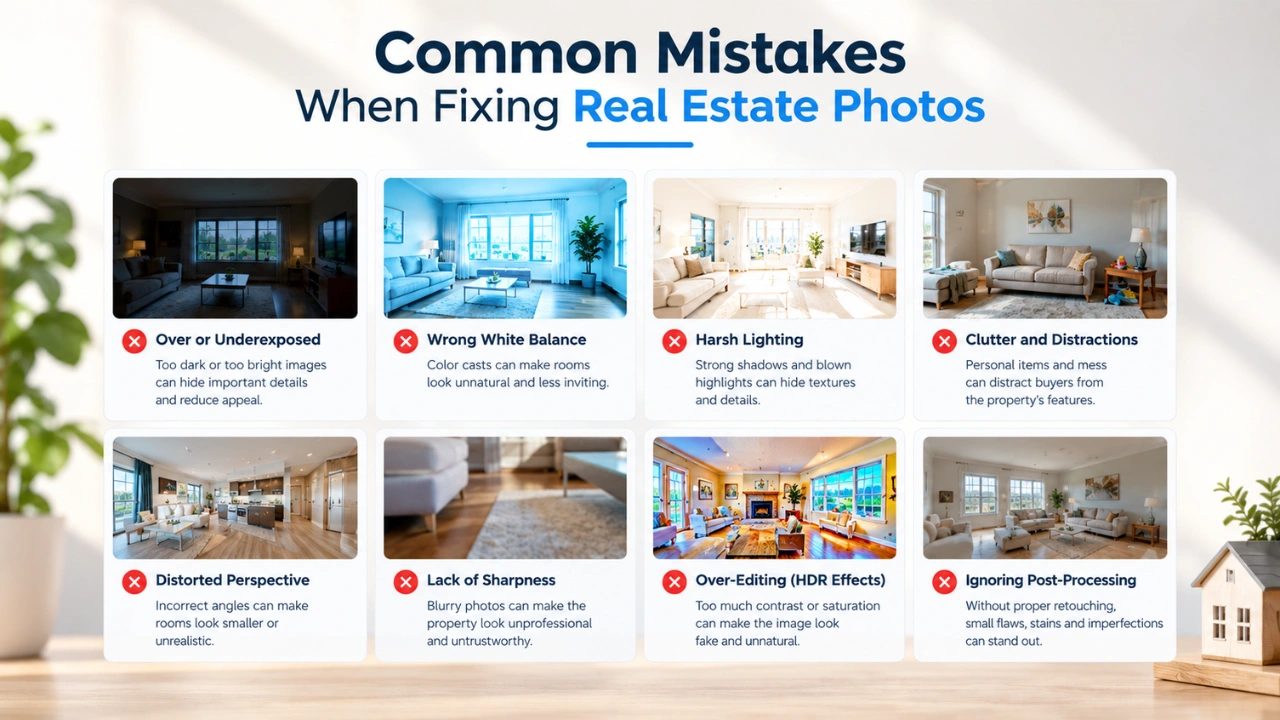
Over-brightening and oversaturating. It might pop on a phone but looks fake on a desktop.
Heavy HDR. Halos around windows and edges, and gritty textures, tell buyers something is off.
Editing inconsistently. If one room is warm and the next is cool, the listing feels careless.
Changing the property. Color correction is fine. Removing damage, altering room size, or hiding defects that a buyer would notice in person is misleading and, depending on where you work, may create legal or MLS issues. Check the rules for your market.
A Simple Workflow That Prevents Most Problems
Set the camera on a level tripod at chest height.
Set a custom white balance, and keep the lighting type consistent.
Shoot RAW at low ISO, f/8 to f/11.
Bracket every shot, especially any room with windows.
Check focus at 100% before moving on.
In editing, correct white balance first, then exposure, then local color, then straighten, sharpen, and reduce noise.
Frequently Asked Questions
Can blurry real estate photos be fixed? Mild softness or slight camera shake can be improved with sharpening. Heavy blur can’t be recovered properly. If it’s a key photo, reshoot.
Why do my real estate photos look yellow? Warm indoor bulbs are the most common cause, combined with a white balance setting that doesn’t match them. Set a custom white balance and correct the temperature in editing.
Should I turn the lights on or off when shooting? It depends on the bulbs. If the lights are all the same color temperature, they can add a warm, inviting feel. If they’re mixed, or clash with window light, turning them off and using flash or window light usually gives cleaner color.
Should I shoot RAW or JPEG for real estate? RAW. It keeps more detail in shadows and highlights and gives you far more room to correct white balance and exposure.
What’s the difference between a yellow and an orange cast? Yellow is usually a whole-image tint from bulbs. Orange is often localized, from sunlight, wood floors, or colored walls bouncing warm light onto surfaces.
When is it worth outsourcing real estate photo editing? When you’re shooting more listings than you can edit consistently, or when you want a uniform look across every property without spending evenings in Lightroom. A post production agency like Clipping Area can handle the full edit, from exposure blending and window pulls to color correction and perspective fixes, so your photos stay consistent from one listing to the next.
Final Takeaway
Dark, yellow, orange, and blurry photos aren’t just cosmetic flaws. They shape how buyers judge a property before they’ve seen a single room in person. Prevent what you can on the shoot with a tripod, custom white balance, low ISO, and bracketing. Then correct the rest carefully, so the photo shows the home the way it really looks on a good day.
Need help with the editing side? Clipping Area is a post production agency and complete image editing solution provider. Our real estate photo editing covers color correction, window pulls, exposure blending, perspective correction, and noise reduction, so every listing photo is ready to publish.



