Shoppers cannot touch your product online. They cannot feel the fabric or test the weight. They only have your images.
That is why product photography matters so much. A clear, bright photo builds trust in seconds. A blurry, dark photo makes people leave.
The good news is that you don’t need a big studio to get great results. You need the right light, a clean setup, and a simple process. Then you need good editing to finish the job.
In this guide, you will learn Actually, what Is product photography?
What is product photography
Why it matters for sales
The main types of product photography
The equipment you need
How to shoot step by step
How to edit your photos
Common mistakes and how to avoid them
What is changing in 2026
Let’s start with the basics.
What Is Product Photography?
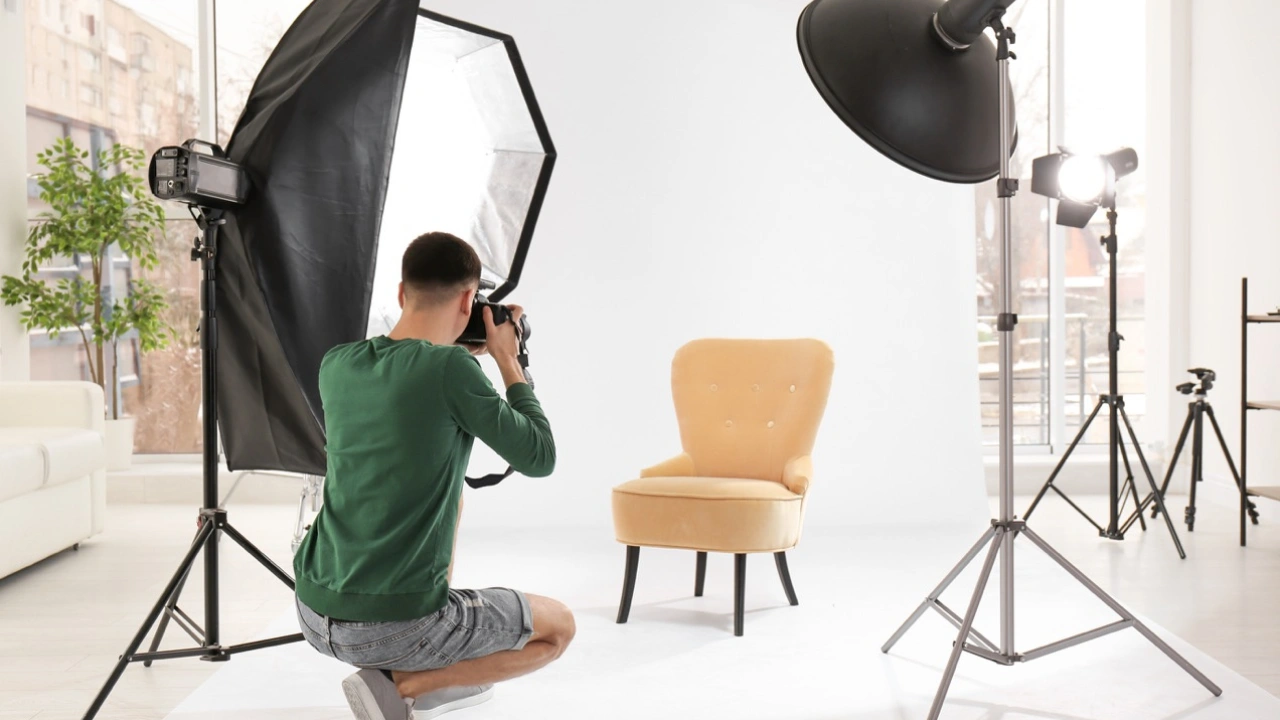
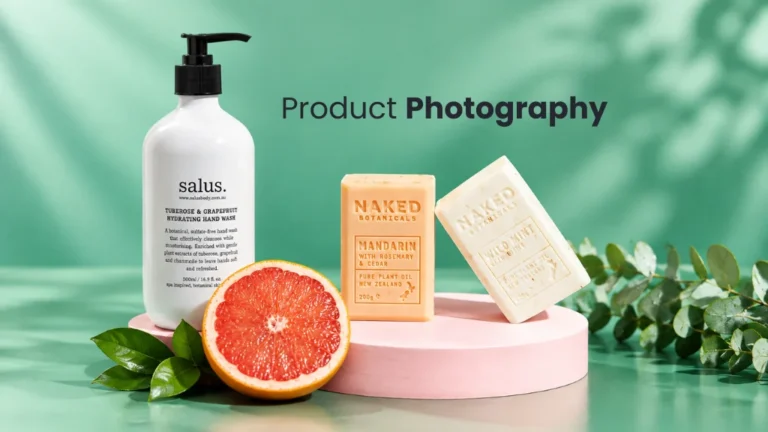
Product photography is the process of taking photos of products to sell them. It shows what the product looks like, how it works, and why someone should buy it.
You see it everywhere. Online stores, marketplaces, catalogs, social media posts, ads, and packaging all use product photos.
A good product photo does four things:
Shows the product clearly and honestly
Highlights key details like color, texture, and shape
Matches the brand style
Helps the shopper decide to buy
Product photography is also called commercial product photography or ecommerce photography. The names change, but the goal stays the same: turn a viewer into a buyer.
Product Photography vs. Regular Photography
Regular photography captures a moment. Product photography sells an item.
That means every choice has a purpose. The angle, light, background, and crop all support the sale. There is little room for guesswork. The product must look sharp, clean, and true to life.
Why Product Photography Matters in 2026
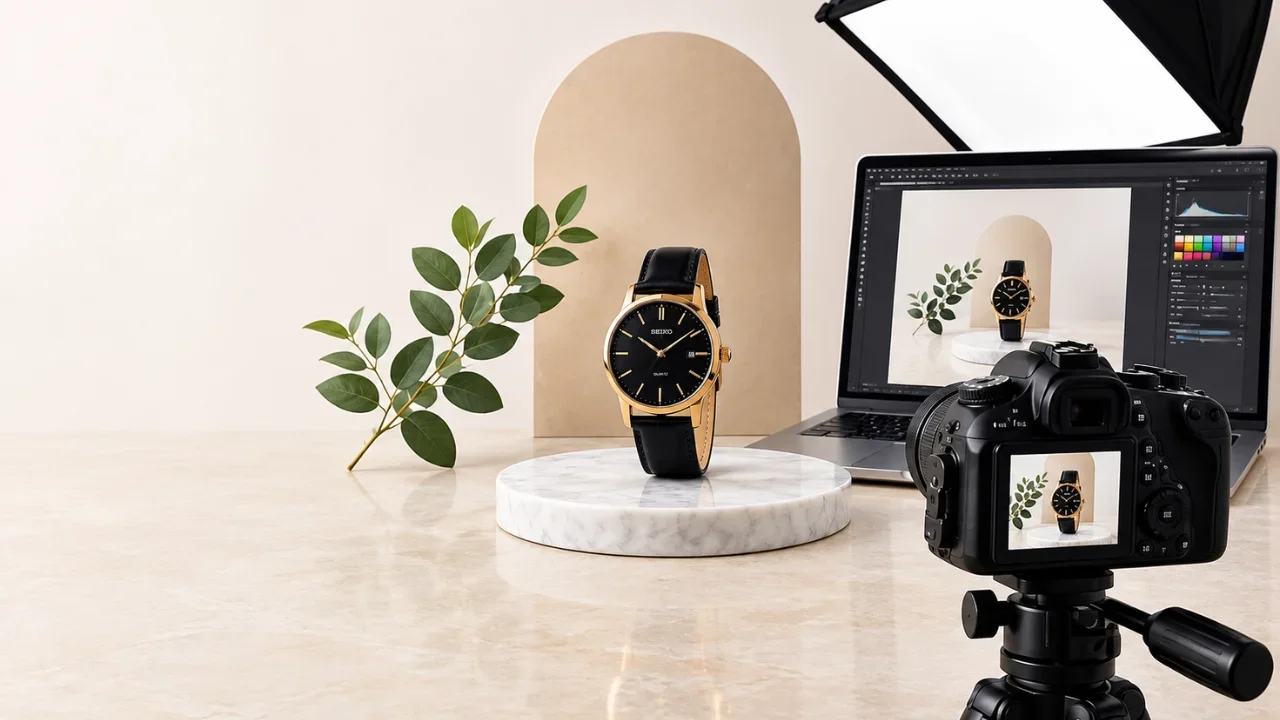
Online shopping keeps growing. Shoppers scroll fast and compare many stores in minutes. Your photo is often the only thing that can stop the scroll.
Here is why strong product photos matter now more than ever.
1. They Replace the In-Store Experience
In a shop, people pick things up. Online, photos do that job. Multiple angles, close-ups, and scale shots help people feel sure about what they are buying.
2. They Build Trust
Poor images look careless. Shoppers wonder if the product is low quality too. Clean, consistent photos show that you care about details.
3. They Increase Conversions
Better images help shoppers understand the product faster. When people understand, they buy more often. Many stores see fewer questions and fewer abandoned carts after upgrading their photos.
4. They Reduce Returns
Returns often happen when the product looks different in real life. Accurate color, true size, and clear detail shots set the right expectations.
5. They Strengthen Your Brand
Your photo style becomes part of your identity. Consistent lighting, backgrounds, and editing make your brand easy to recognize.
6. They Help You Stand Out
Many stores sell similar items. When products are nearly the same, the store with better images often wins.
7. They Power Every Channel
One good photo shoot can feed your website, Amazon listing, Instagram, email campaigns, ads, and print materials.
Types of Product Photography
Different photos do different jobs. Most brands use a mix. Here are the main types of product photography.
1. White Background Photography
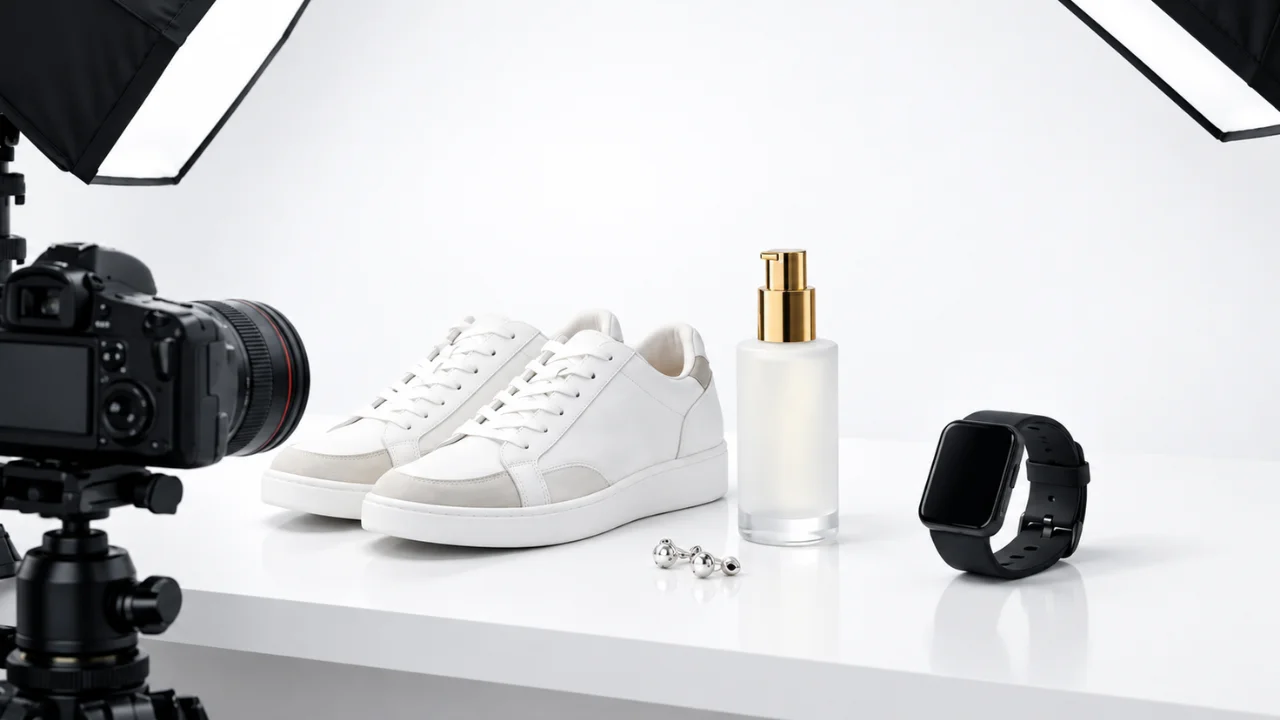
This is the standard for ecommerce. The product sits on a pure white background with no distractions.
Best for: Amazon, eBay, Walmart, Shopify collection pages, catalogs.
Why it works: It is clean, consistent, and easy to edit. Many marketplaces require it for the main image.
Tip: Shoot on a white sweep or in a light tent. Then use background removal to get a perfect white finish.
2. Individual (Single Product) Shots
One product, centered, sharp, and well lit. These are your hero images.
Best for: Product pages, banners, ads.
Tip: Keep the frame simple. Let the product be the star.
3. Group Shots Photography

Several products in one frame. This shows a collection, a set, or different color options.
Best for: Bundles, product families, size ranges, gift sets.
Tip: Arrange items in a balanced way. Group by color, size, or use.
4. Lifestyle Photography
The product is shown in real life. A person uses it, or it sits in a natural setting like a kitchen, desk, or park.
Best for: Social media, ads, brand websites, premium products.
Why it works: It helps shoppers imagine the product in their own lives.
Tip: Plan the story first. Choose the location, props, and model before the shoot.
5. Flat Lay Photograph
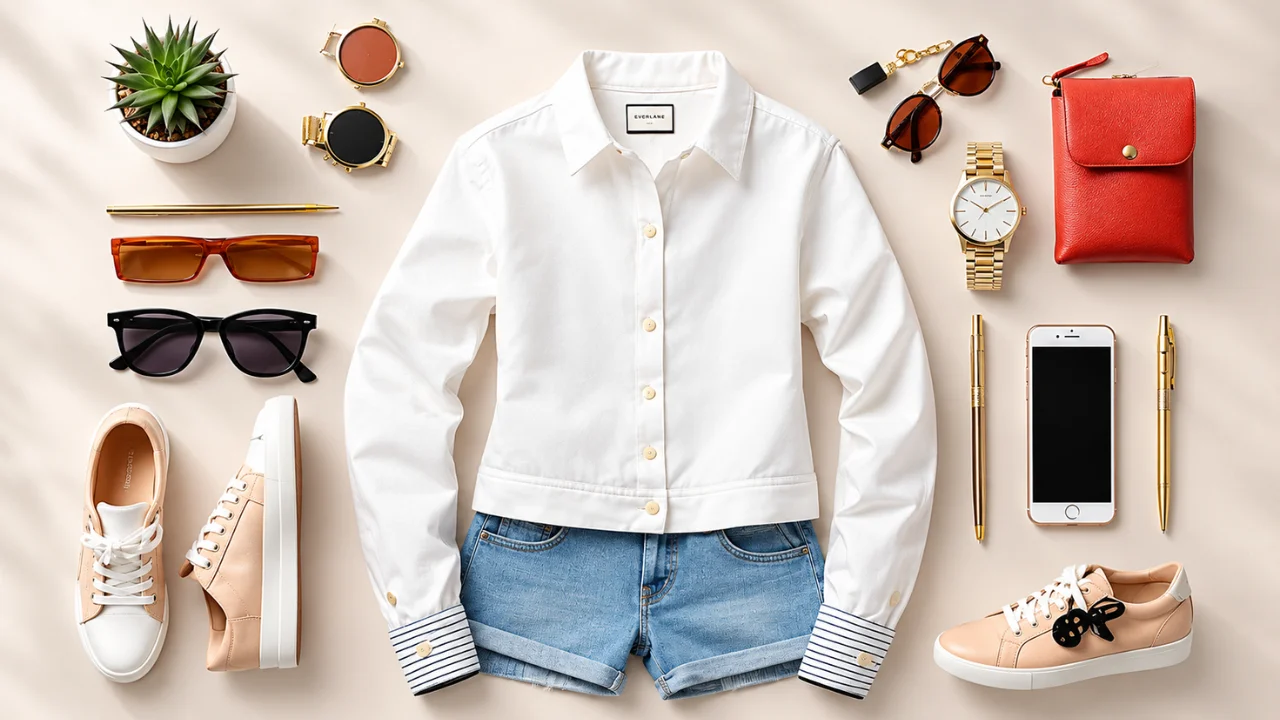
The product is placed on a flat surface and shot from above. Props are arranged around it in a neat layout.
Best for: Fashion, beauty, food, stationery, accessories, and social media.
Tip: Keep the camera directly overhead. Leave space around the edges so the layout can be cropped for different platforms.
6. Ghost Mannequin (Invisible Mannequin) Photography
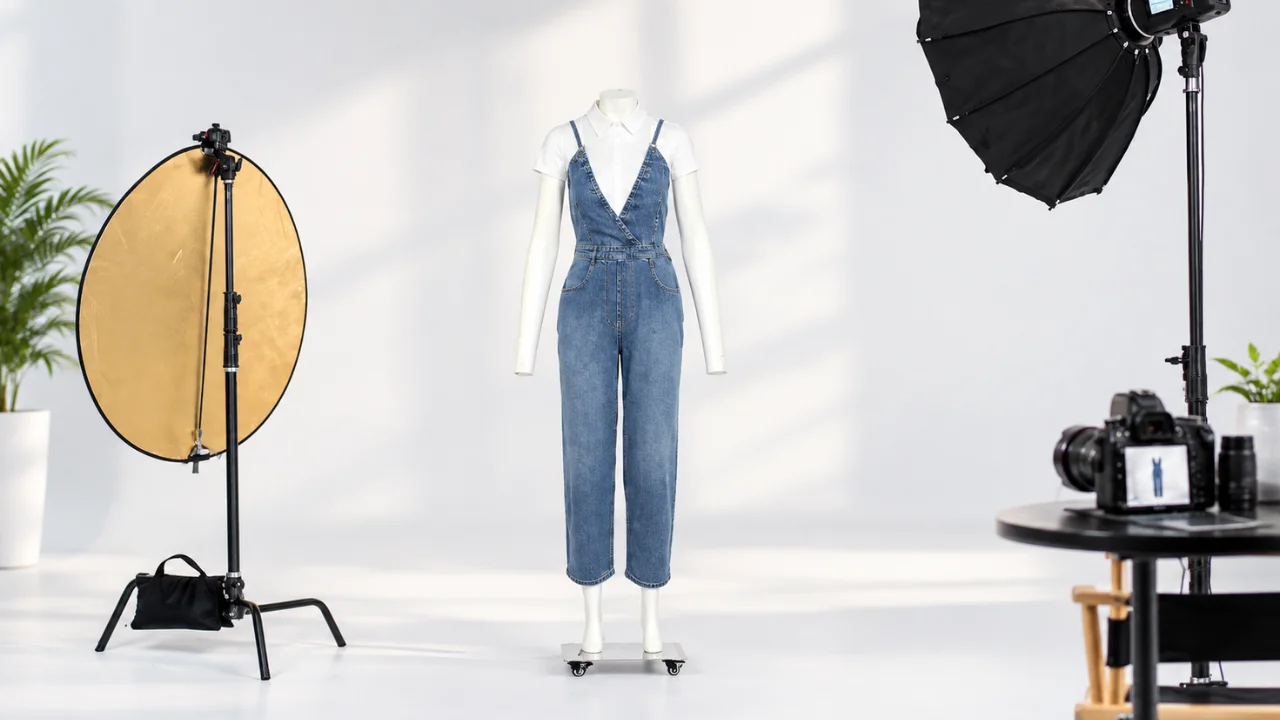
Clothing is shot on a mannequin. The mannequin is then removed in editing, which leaves a 3D “invisible body” effect.
Best for: Apparel, jackets, shirts, dresses, and activewear.
Why it works: The garment keeps its shape without a model. It also keeps the look consistent across your whole catalog.
Tip: Shoot the front, then the inside neck and back, and combine them in editing. Professional ghost mannequin services handle this well.
7. Detail and Close-Up Photography

Tight shots that show texture, stitching, materials, and small features.
Best for: Jewelry, watches, luxury goods, fabrics, and electronics.
Why it works: Shoppers can inspect quality, which reduces doubt.
Tip: Use a macro lens or a phone with a macro mode. Use a tripod to stay sharp.
8. Scale Shots
The product is shown next to a familiar object, or in someone’s hand, so people can understand its size.
Best for: Bags, bottles, tools, decor, and small gadgets.
Tip: Use everyday objects like a pen, a coin, or a hand.
9. Packshot Photography

Photos of the product with its packaging. They show labels, ingredients, barcodes, and box design.
Best for: Food, beverages, cosmetics, supplements, and retail products.
Tip: Keep labels flat and readable. Avoid glare on shiny packaging.
10. 360-Degree and Video Product Views
The product spins, or a short video shows it from all sides.
Best for: Electronics, footwear, furniture, and high-value items.
Why it matters in 2026: Shoppers now expect motion. Short product videos are common on product pages and social platforms.
Essential Product Photography Equipment
You can start small. Here is what you need, from basic to pro.
Camera
Smartphone: Modern phones take excellent photos. They are perfect for beginners and small stores.
DSLR or mirrorless camera: Offers more control, better detail, and better low-light results. It is a good choice for large catalogs.
Whichever you choose, shoot in the highest quality setting. RAW files give you more room to edit.
Lens
50mm lens: A great all-round lens for general product shots.
Macro lens (60mm to 105mm): Best for jewelry, watches, and tiny details.
Wide or zoom lens: Useful for large items or room scenes.
Tripod
A tripod keeps your camera steady. It also keeps framing consistent from one product to the next. Use a phone mount if you shoot with a smartphone.
Backdrop
Pick a backdrop that fits your product.
Seamless white paper: The classic choice, cheap and easy.
Vinyl: Durable and easy to wipe clean.
Fabric (muslin, canvas, velvet): Adds texture for lifestyle shots.
Colored paper: Good for bold, creative looks.
Acrylic sheets: Create soft reflections for premium products.
Lighting
Good light is the most important part of your kit. We cover this in the next section.
Light Tent or Lightbox
A light tent spreads light evenly around small items. It is an easy way to get soft, clean results for jewelry, cosmetics, and small gadgets.
Reflectors and Diffusers
Reflectors bounce light back onto the product to fill shadows. A white foam board works well.
Diffusers soften harsh light. A thin white sheet or a sheer curtain can do the job.
Cleaning Kit
Dust and fingerprints show up in photos. Keep these handy:
Microfiber cloth
Lint roller
Air blower
Glass cleaner
Steamer or iron for clothes
Basic Starter Kit Checklist
Smartphone or camera
Tripod
White paper or backdrop
Window light or two softbox lights
White foam board
Cleaning cloth
Product Photography Lighting: The Basics
Lighting can make or break your images. Here is how to get it right.
Natural Light
Natural light is free and soft. It works well for beginners.
How to use it:
Set your table near a large window.
Place the product at a right angle to the window.
Use a white sheet to diffuse harsh sun.
Shoot in the morning or late afternoon for gentle light.
Downside: Light changes during the day. That makes it hard to keep photos consistent.
Artificial Light
Studio lights give you full control. The light stays the same every time you shoot.
Types:
Continuous lights (LED): You see the effect live. They are great for beginners.
Strobes (flash): More powerful. They freeze motion and suit large studios.
A Simple Two-Light Setup
Key light: Place it at a 45-degree angle to the product. This is your main light.
Fill light or reflector: Place it on the opposite side. It softens shadows.
For extra glow, add a third light behind the product. This is called a backlight or rim light.
Lighting Tips
Use soft light for most products. Softboxes and diffusers are your friends.
Do not mix daylight and indoor bulbs. The colors will clash.
For shiny items, use large soft light sources to control reflections.
For glass, try backlighting to show shape and clarity.
Keep your light setup the same for the whole product line.
How to Do Product Photography: Step by Step
Follow this simple process for clean, professional results.
Step 1: Plan Your Shots
Decide what you need before you start. Make a shot list.
Ask yourself:
Where will the photos be used?
Which types do I need (white background, lifestyle, detail)?
How many angles per product?
Planning saves time and avoids reshoots.
Step 2: Prepare the Product
Clean every product. Remove dust, lint, and fingerprints. Iron or steam clothes. Check for scratches or damage.
For small items, use museum putty or clear tape to hold them in place. For clothing, use a mannequin or clips to hide wrinkles.
Step 3: Set Up the Scene
Place your table near your light source. Set up your backdrop with a smooth curve so there is no hard line behind the product.
Center the product and leave some breathing room around it. This makes cropping easier later.
Step 4: Set Up the Lights
Place your key light and fill light. Check for harsh shadows and glare. Adjust until the product looks even and natural.
Step 5: Set Up the Camera
Mount the camera on the tripod. Keep it level and at the same distance for every product in a set.
Turn off the flash. Use a self-timer or remote to avoid shake.
Step 6: Choose Camera Settings
Choosing the right camera settings matters for sharp, professional product photography. Use a narrow aperture between f/8 and f/11 to keep the entire product in focus, and mount your camera on a tripod so you can use a slow shutter speed without blur.
Keep ISO at 100 to 200 for clean, noise-free detail. Set a custom white balance to match your lighting so colors stay true to the real product. Shoot in RAW for maximum editing flexibility, and use manual focus for precise sharpness on details. These settings deliver consistent, accurate images that are ready for retouching and ecommerce listings.
Step 7: Focus Carefully
Focus on the most important part of the product. For close-ups, use manual focus or focus stacking. This means taking several shots at different focus points and blending them together.
Step 8: Shoot Multiple Angles
Take more photos than you think you need. Common angles include:
Front: The main hero view
Back: Shows the rear design
Side or profile: Good for shoes and bags
Three-quarter (45 degrees): Shows depth
Top-down: Great for flat lays
Close-up: Shows texture and detail
In use: Shows the product in action
Step 9: Review and Reshoot
Check your images on a big screen, not just the camera. Zoom in to look for dust, blur, or color problems. Reshoot on the spot if needed. It is much easier than fixing big problems later.
Step 10: Edit and Optimize
Editing polishes your photos. It also prepares them for your website or marketplace. We cover this next.
Composition and Styling Tips
Small choices can lift your photos a lot.
Keep it simple. A clean background keeps the focus on the product.
Use the rule of thirds. Place the product slightly off-center for lifestyle shots.
Leave negative space. Empty space makes room for text in ads and banners.
Stay consistent. Use the same angle, crop, and lighting across a product line.
Use props with purpose. Props should tell a story, not steal attention.
Show the product’s best side. Turn the item until you find its strongest angle.
Think about color. Choose backgrounds that complement your product, not fight with it.
Product Photography for Different Platforms
Each platform has its own rules. Always check the latest guidelines, because they change.
Amazon
Amazon usually needs a pure white background for the main image. The product should fill most of the frame. Use high-resolution images so shoppers can zoom in. Extra images can show lifestyle, scale, and detail.
Shopify and Your Own Website
Use a consistent size and ratio across your store. Square images work well for most themes. Use high-quality files, but compress them for speed.
Etsy
Etsy shoppers like warm, personal images. Lifestyle shots and close-ups work very well. Use all the image slots to show your item from many sides.
Instagram and Social Media
Social platforms reward creative, eye-catching content. Use lifestyle photos, flat lays, and short videos. Crop images to fit each platform’s ratio.
Google Shopping and Ads
Clean, clear images with no watermarks or heavy text perform best. A neutral or white background is the safest choice.
Post-Production: Editing Your Product Photos
Even great photos need editing. Post-processing fixes small flaws and makes images look consistent.
What Does Product Photo Editing Include?
Background removal: Cuts out the product for a clean white or transparent background.
Clipping path: A precise, hand-drawn cutout for sharp edges. It is ideal for products with complex shapes.
Color correction: Makes colors match the real product.
Retouching: Removes dust, scratches, wrinkles, and small flaws.
Shadow creation: Adds natural or drop shadows so the product does not look like it is floating.
Ghost mannequin editing: Removes the mannequin and joins the neck and inside shots for a 3D look.
Image resizing and optimization: Prepares files for fast loading and marketplace rules.
Reflection and mirror effects: Adds a soft reflection for a premium look.
DIY Editing or Professional Services?
You can edit photos yourself with tools like Adobe Photoshop, Lightroom, or free apps. This works for small batches.
But editing takes time. If you have hundreds or thousands of images, it can slow your business down. Professional editors work faster and deliver consistent results.
How Clipping Area Helps
Clipping Area is a premium post-production image editing solutions provider. We help ecommerce brands, photographers, and agencies get their product photos ready to sell.
Our services include:
Clipping path service
Background removal
Ghost mannequin editing
Photo retouching
Color correction
Shadow creation
Ecommerce product photo editing
You shoot the photos. We polish them so they look clean, sharp, and consistent across your store.
Tip: Do not over-edit. Shoppers want to see the real product. Heavy filters or extreme retouching can cause disappointment and returns.
Common Product Photography Mistakes (And How to Fix Them)
Avoid these problems to save time and money.
1. Poor Lighting
Dark, flat, or harsh light ruins images. Use soft, even light. Do not mix light types.
2. Cluttered Backgrounds
Busy backgrounds pull attention from the product. Keep the scene clean and simple.
3. Wrong White Balance
Yellow or blue color casts make products look off. Set your white balance and use a gray card.
4. Overexposure or Underexposure
Too bright washes out detail. Too dark hides it. Check your histogram and adjust.
5. Blurry Photos
Camera shake and bad focus cause blur. Use a tripod, a timer, and careful focus.
6. Unwanted Reflections
Shiny items reflect lights, cameras, and even you. Use diffusers, polarizing filters, or angle the product.
7. Dust and Fingerprints
Small marks look big on a screen. Clean the product before you shoot.
8. Inconsistent Style
Different angles, sizes, and backgrounds make a store look messy. Create a simple style guide and stick to it.
9. Too Few Angles
One photo is rarely enough. Show multiple views, close-ups, and scale.
10. Missing Scale or Context
Shoppers need to know the size. Add a scale shot or a lifestyle image.
11. Over-Editing
Too much retouching looks fake. Keep colors and textures true to the real product.
12. Large, Slow Images
Heavy files slow your website. Compress images and use modern formats like WebP.
Smartphone vs. DSLR: Which Is Better for Product Photography?
Both work for product photography. The right choice depends on your budget, products, and catalog size.
Smartphones are affordable, easy to use, and great for beginners. They perform well in soft light and suit white background shots and social media posts.
DSLRs offer larger sensors, interchangeable lenses, and full manual control. They handle shiny items like jewelry and glass better, and they suit large catalogs.
Still, lighting, a tripod, and editing matter more than the camera. Start with your phone, upgrade when needed, and finish every image with professional editing from Clipping Area, a premium post-production image editing solutions provider.
How to Do Product Photography at Home
You can get good results with a simple home setup.
Pick a table near a large window.
Tape white paper to the wall and curve it down onto the table.
Place the product on the paper.
Use a white foam board to bounce light and fill shadows.
Put your phone on a tripod or a stack of books.
Turn off the flash and tap the screen to focus.
Take many shots from different angles.
Edit the images, or send them to a professional editor.
This costs very little and can give you clean, usable photos for your first listings.
DIY vs. Hiring a Product Photographer
When DIY Works
You have a small catalog
Your products are simple
Your budget is tight
You have time to learn
When to Hire a Professional
You have a large catalog
Your products are hard to shoot (jewelry, glass, shiny items)
You want premium lifestyle or campaign images
You need consistent results at scale
You want to save time and focus on selling
How Much Does Product Photography Cost?
Prices vary a lot. They depend on the product type, the number of shots, the studio, the location, and the editing needed.
Simple white background shots are usually the cheapest, often priced per image.
Lifestyle or model shoots cost more because of models, props, and locations.
Ghost mannequin, jewelry, and complex items need more time and skill.
Editing is often a separate cost, priced per image.
Ask for a clear quote that lists what is included, such as the number of angles, retouching, file formats, and turnaround time.
A smart way to save money is to shoot in-house and outsource editing. This gives you quality without paying for a full studio.
Product Photography Trends in 2026
The industry keeps changing. Here are the trends to watch.
1. AI-Assisted Editing and Creative Tools
AI tools can speed up background removal, retouching, and creative backgrounds. They save time, but they still need human review. Real product accuracy and brand trust come first.
2. Short-Form Product Video
Video is now a normal part of product pages. Short clips show movement, fit, and texture. Many brands pair still photos with 10 to 15 second videos.
3. 3D and Augmented Reality (AR)
3D models and AR let shoppers see a product in their own space. This is especially helpful for furniture, decor, and eyewear.
4. Authentic, Real-Life Imagery
Shoppers like real-looking photos. User-generated content, natural light, and honest styling are on the rise next to polished studio shots.
5. Mobile-First Visuals
Most shoppers browse on phones. Images should look great on small screens, with clear subjects and simple layouts.
6. Sustainability and Storytelling
Brands use photos to show materials, craftsmanship, and responsible packaging. Story-led images build deeper connections.
7. Consistency Across Channels
Brands want the same look on their website, marketplaces, and social feeds. Editing workflows help keep every image on brand.
Product Photography Checklist
Use this before you publish any product image.
The product is clean and undamaged
The lighting is soft and even
The background is clean or matches your style guide
The focus is sharp
The colors match the real product
You have multiple angles and a detail shot
You have a scale or lifestyle shot
The image is edited and retouched, but still natural
The file is resized and compressed for the web
The file name and alt text are clear and descriptive
Frequently Asked Questions About Product Photography
What is product photography in simple words?
Product photography is taking photos of products to sell them. The photos show what the product looks like and help people decide to buy.
What equipment do I need for product photography?
At minimum, you need a camera or smartphone, a tripod, a clean backdrop, and good lighting. A reflector, cleaning kit, and light tent are helpful extras.
Can I take good product photos with my phone?
Yes. Modern smartphones take high-quality images. Use good light, a tripod, and a clean background. Then edit the photos for the best results.
What is the best background for product photography?
A white background is the best choice for ecommerce and marketplaces. It looks clean and is easy to edit. For lifestyle or brand photos, you can use colors, textures, or real settings.
What is the best lighting for product photography?
Soft, even light works best. Use natural window light with a diffuser, or a two-light softbox setup. Avoid harsh direct light.
How many photos do I need per product?
Most stores use 4 to 8 images per product. Include a main image, several angles, a detail shot, a scale shot, and a lifestyle shot if possible.
What size should product photos be?
It depends on the platform. Aim for high resolution so shoppers can zoom in. Then compress the files so pages load fast. Always check the platform’s current guidelines.
What is ghost mannequin photography?
It is a method for shooting clothing on a mannequin and then removing the mannequin in editing. The garment looks like it is worn by an invisible body.
What is a clipping path?
A clipping path is a precise cutout made around a product in editing. It removes the background and keeps clean, sharp edges. It is a common service for ecommerce images.
Should I edit my product photos?
Yes. Editing fixes color, removes dust, and creates a consistent look. Just keep the edits realistic so the product matches what customers receive.
How much does product photography cost?
The price depends on the product type, style, number of images, and editing. Simple white background shots cost less. Lifestyle and model shoots cost more. Always ask for a clear quote.
How long does a product photo shoot take?
A simple shoot can take a few minutes per product. Complex or creative shoots take longer. Planning ahead makes everything faster.
Conclusion
Product photography is one of the strongest tools for growing an online business. It builds trust, answers questions, and helps shoppers say yes.
To get great results, keep it simple:
Plan your shots
Prepare your products
Use soft, even lighting
Shoot from multiple angles
Edit with care
Keep your style consistent
Whether you shoot with a smartphone or a full studio setup, the goal is the same. Show your product clearly, honestly, and beautifully.
And when your photos are ready for the final polish, Clipping Area is here to help. As a premium post-production image editing solutions provider, we handle clipping path, background removal, ghost mannequin, retouching, color correction, and more, so every image is ready to sell.
Ready to upgrade your product images?
Send your photos to Clipping Area and see the difference clean, professional editing can make.