How to Face Swap in Photoshop (Step-by-Step Guide for Realistic Results)
Face swapping has evolved from a playful experiment into a powerful photo manipulation technique used in digital art, social media, advertising, and professional image editing. Today, learning how to face swap in Photoshop is a valuable skill for anyone who wants full creative control and realistic results.
Unlike automated AI tools, Adobe Photoshop allows you to precisely blend skin tones, match lighting, and align facial features—producing face swaps that look natural and professional.
In this comprehensive guide, you’ll learn:
How to face swap in Photoshop step by step
Advanced blending and retouching techniques
Common mistakes and how to fix them
How Photoshop compares with AI face swap tools
Creative and professional use cases
What Is Face Swapping in Photoshop?
Face swapping in Photoshop is the process of replacing one person’s face with another while maintaining realistic lighting, proportions, texture, and skin tone. This technique is widely used for:
Social media content
Advertising concepts
Entertainment and visual storytelling
Photoshop remains the gold standard for face swapping because it gives you manual control over every detail, ensuring believable and high-quality results.
How to Start a Face Swap in Photoshop
1. Choose the Right Face to Swap
A successful face swap starts with choosing compatible images. For the most realistic result:
Match head angle and facial expression
Ensure similar lighting direction
Use images with comparable resolution and sharpness
The closer the two faces match in perspective, the less editing you’ll need later.
2. Prepare Both Images Properly
Before swapping, prepare both images carefully:
Remove blemishes using the Healing Brush
Clean rough edges with the Clone Stamp Tool
Make sure both images have similar color balance
Proper preparation saves time and improves realism during blending.
Step-by-Step: How to Face Swap in Photoshop

Follow these steps for a clean and realistic face swap:
Step 1: Open Both Images
Open your base image and the image containing the face you want to swap.
Step 2: Select the Face
Use the Lasso Tool or Pen Tool to carefully select the face. Include a small area around the edges for smoother blending.
Step 3: Copy and Paste
Copy the selected face and paste it onto the base image as a new layer.
Step 4: Resize and Align
Use Free Transform (Ctrl/Cmd + T) to resize and position the face. Align eyes, nose, and mouth accurately.
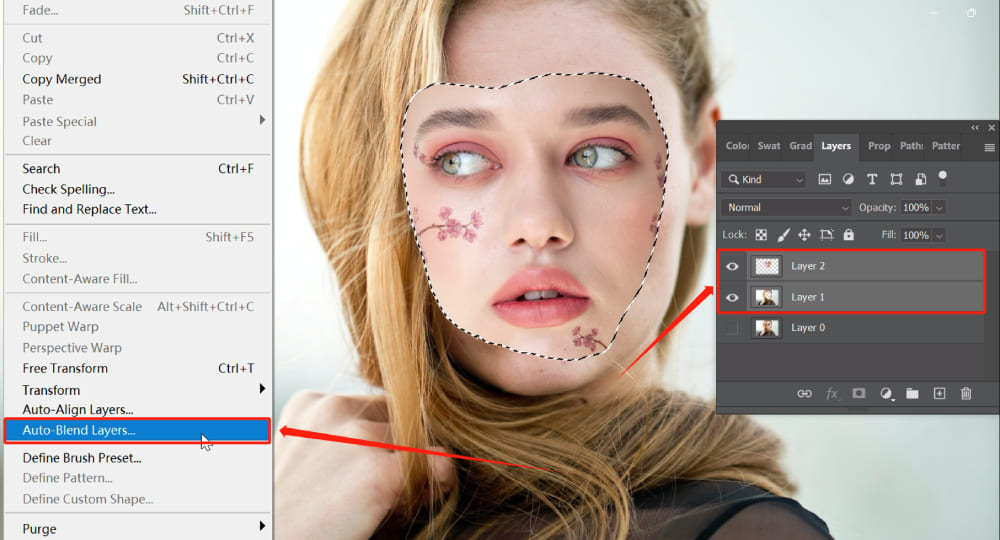
Step 5: Auto-Blend Layers
Select both layers → go to Edit > Auto-Blend Layers > Seamless Tones and Colors. This helps Photoshop blend lighting and texture automatically.
Step 6: Refine with Layer Masks
Add a Layer Mask and softly brush around edges to remove harsh lines and create a natural transition.
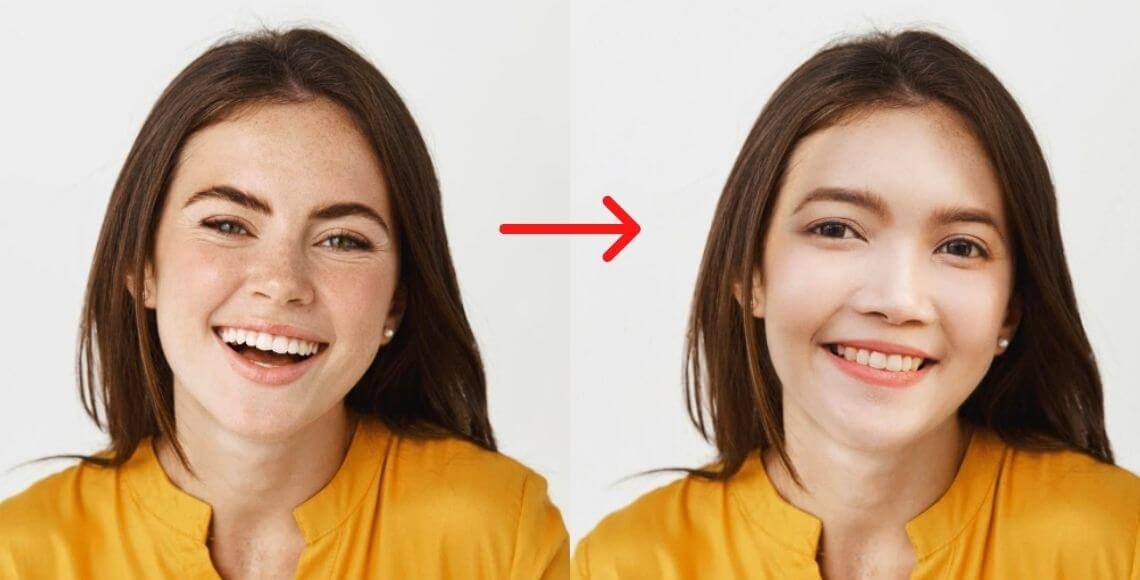
How to Achieve a Flawless Face Swap in Photoshop
Use Layer Masks and Blending Options
Layer masks allow precise control over visibility. By painting with a soft brush at low opacity, you can seamlessly merge the swapped face into the original image.
Blending modes and opacity adjustments help unify textures and shadows for a realistic finish.
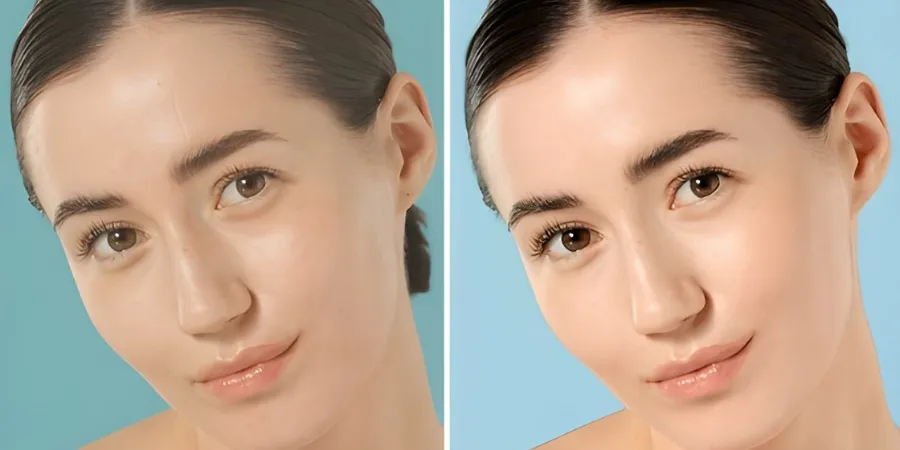
Match Skin Tones and Hair Color


Skin tone mismatches are the most common giveaway of a bad face swap. Fix them by:
Using Curves to match brightness and contrast
Adjusting Hue/Saturation for skin color accuracy
Softly cloning hair edges for smoother transitions
Final Cleanup with Clone & Healing Tools
Use the Clone Stamp and Healing Brush to:
Remove leftover seams
Blend texture inconsistencies
Clean up hairlines and jaw edges
These finishing touches elevate a good face swap into a professional-quality edit.
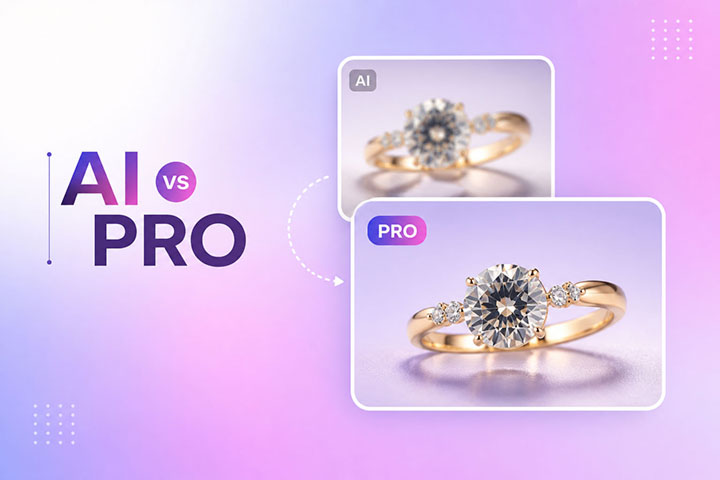
Can You Face Swap Online Without Photoshop?
Photoshop vs Online Face Swap Tools
AI face swap tools offer quick results with minimal effort. They automatically detect and swap faces, making them ideal for casual use.
However, these tools:
Offer limited customization
Struggle with complex lighting
Often reduce image quality
Photoshop, while more time-intensive, delivers superior realism and creative freedom.
AI Face Swap vs Manual Photoshop Editing
AI Face Swap Tools
Fast and beginner-friendly
Limited control
Best for casual or fun edits
Photoshop Face Swap
Full creative control
Higher realism
Ideal for professional and commercial use
For serious editing, Photoshop remains unmatched.
Creative Uses of Face Swapping
Face swapping is not just a technical skill—it’s a creative tool.
Popular Creative Applications
Celebrity face mashups
Movie scene re-imaginings
Social media memes and reels
Conceptual advertising visuals
With Photoshop, your imagination sets the only limit.
FAQ: Face Swapping in Photoshop
Can beginners learn face swapping in Photoshop?
Yes. By mastering basic tools like selection, layer masks, and color correction, beginners can achieve impressive results with practice.
How do I fix mismatched skin tones?
Use Curves and Hue/Saturation adjustment layers to balance brightness, contrast, and color temperature between faces.
Is Photoshop better than AI face swap tools?
For realism and professional work, yes. AI tools are faster, but Photoshop offers unmatched control and quality.
Can I swap faces in group photos?
Yes. Repeat the process for each face individually, carefully aligning and blending each layer.
Can I use face swapping for social media content?
Absolutely. Face swapping is widely used for memes, reels, creative posts, and viral visual content.
Final Thoughts: Is Photoshop Worth Learning for Face Swapping?
Face swapping in Photoshop remains the most reliable method for achieving realistic, professional-grade results. While AI face swap tools provide speed and convenience, they cannot replace the precision and creative control Photoshop offers.
By mastering selections, layer masks, blending techniques, and color correction, you can create face swaps that look natural, polished, and visually compelling—perfect for both creative projects and professional use.