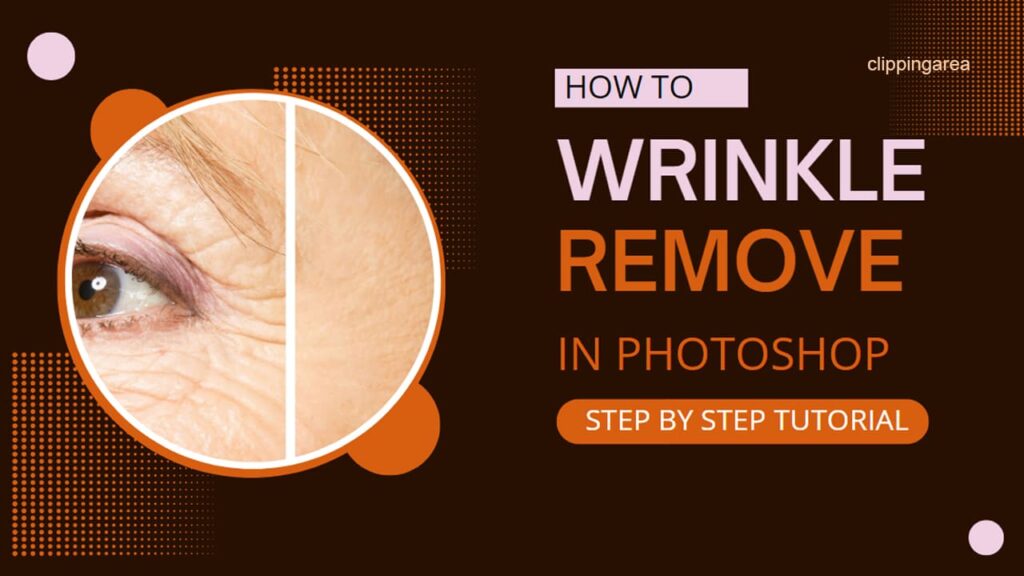
How To Remove Wrinkles In Photoshop
In the fast-paced world of digital imaging and graphic design, Adobe Photoshop stands as the paramount software for those looking to enhance their photos with professional finesse. Among the numerous retouching challenges, the skillful removal of wrinkles without compromising the natural texture and realism of skin is a sought-after proficiency. This comprehensive guide delves into the various tools and techniques within Photoshop designed to remove wrinkles In photoshop ensuring a flawless yet authentic finish. Engage with this tutorial to master the art of diminishing age lines in a manner that respects privacy and maintains a kind and respectful representation of the portrait subject.
What tools in Adobe Photoshop are best for removing wrinkles?
Understanding the healing brush tool for wrinkle removal
The healing brush tool in Adobe Photoshop is an essential instrument for retouching skin imperfections, including the subtle eradication of creases and wrinkles. By sampling the texture from a pristine area of the skin and blending it with the imperfection, the healing brush produces results that preserve the original skin texture. This tutorial will guide you to use the healing brush effectively by setting the appropriate brush size, choosing the sample area wisely, and gently painting over the wrinkles to soften them without entirely removing natural skin lines.
Using the clone stamp tool to retouch wrinkles
When precision is key, the clone stamp tool offers a degree of control in wrinkle reduction by allowing you to replicate exact pixels from one part of the image to another. This technique is beneficial for retouching in areas where wrinkles intersect with distinctive skin features or where shadow and light play a significant role. Through this chapter, learners will discover how to select the appropriate opacity and flow for the stamp tool, enabling detailed and subtle edits that contribute to a natural look.
When to use content aware fill to remove wrinkles
For larger areas or more noticeable creases, Photoshop’s content-aware fill function offers a quick and effective solution. This feature analyses the surroundings of the selected crease and attempts to fill it with generated texture that matches the surrounding skin. This section of the tutorial teaches how to use content aware judiciously, ensuring that the fill blends seamlessly into the rest of the skin without leaving noticeable artefacts.
How can I achieve a natural look while removing wrinkles in Photoshop?
Adjusting texture and tone to maintain skin realism
Texture and tone adjustments are pivotal in preserving the lifelike appearance of skin post-wrinkle removal. Techniques such as frequency separation allow for the independent editing of texture and color, ensuring that skin does not look overly smooth or plastic. This tutorial will offer insights into blending modes and layer adjustments that adeptly maintain the natural integrity of skin texture while reducing the prominence of wrinkles.
Softening edges after wrinkle removal for a seamless look
The edges of retouched areas often betray the intervention of Photoshop, marking the difference between amateur and professional results. Learning to soften and feather these edges ensures that the treated sections merge imperceptibly with the untouched skin. Through this tutorial, discover how to refine the retouch by adjusting brush hardness, utilizing layer masks, and fine-tuning the opacity to achieve a transition that eludes detection.
Layer and opacity tweaks for subtle retouching
Mastering layer and opacity settings is a game-changer in achieving subtlety in wrinkle removal. By working on a new layer and manipulating the opacity of the retouch, the edits can be dialed back to a level that feels genuine and authentic. This guide provides a walkthrough on creating and managing new layers, making opacity adjustments, and employing blend modes for retouching that respects the natural age and character of the subject.
Removing wrinkles in portraits: Tips from the Adobe community
Selecting the right brush size and hardness
A crucial aspect of successful wrinkle removal is selecting a brush size and hardness that matches the task. A brush too large or too hard can lead to noticeable edits, while one too soft or small might not produce the desired effect. This section compiles advice from the Adobe community, emphasizing the importance of experimenting with different settings to find what works best for each unique portrait and wrinkle scenario.
Sample techniques that professionals use
The tutorial explores proprietary techniques used by seasoned professionals, including insights learned from Youtube videos, Adobe forums, and Photoshop conferences. These include advanced tactics for sampling skin texture, employing the spot healing brush for minor adjustments, and strategic layering for non-destructive editing. Learning and applying these insider tips can elevate the quality of your retouch work from good to exceptional.
Using layers to non-destructively retouch photos
Layering plays a crucial role in the non-destructive retouching approach favored by professionals. By using separate layers for different retouch tasks, it becomes possible to edit, remove, or adjust the retouch intensity without altering the original image. This section guides on effectively using layers to maintain full control over the retouching process, ensuring that each step can be modified or undone as needed for the perfect finish.
Can I remove wrinkles in Photoshop without making the image look edited?
Strategies for preserving natural skin texture
Preserving skin texture while removing wrinkles is paramount in avoiding an edited look. This segment delves into delicate techniques like healing at low opacity and using texture overlays to reintroduce natural skin characteristics after smoothing wrinkles. These strategies ensure that the skin retains its realism, avoiding the overly airbrushed effect that signals digital alteration.
Blending retouched areas with the background layer for authenticity
Blending is the secret to maintaining authenticity in retouched photos. This involves carefully merging the retouched layers with the background layer to ensure that the modifications are indistinguishable from the original image. This part of the tutorial offers a step-by-step guide on merging layers and refining the blend to create a seamless integration of the retouched areas.
Adjusting light and shadow to maintain depth and realism
Adjusting light and shadow post-retouching is critical in preserving the portrait’s depth and realism. Correcting mismatches in lighting and ensuring that shadows follow the natural contours of the face can significantly enhance the believability of the retouched image. This chapter provides techniques for subtle adjustments to light and shadow, ensuring that the image retains its natural appearance.
A step-by-step guide to soften and reduce wrinkles using Photoshop CS6
Preparing the image: Setting up your background layer
The initial step in any Photoshop retouching project involves creating a background copy layer. This preserves the original image, allowing all edits to be made non-destructively. This section will guide through the process of setting up your Photoshop document, ensuring you are prepared to tackle the task of wrinkle reduction without affecting the underlying original image.
Detailing the remove wrinkles process with healing and clone stamp tools
Following the preparation, the focus shifts to a detailed walkthrough of using the healing brush and clone stamp tools to diminish wrinkles. By breaking down each step, from selecting the tools to applying them on the skin, this guide demystifies the process, empowering users to remove wrinkles effectively while keeping the essence of the portrait intact.
Refining the retouch: How to check your work for a natural finish
The final touches are as important as the initial edits. This last section teaches how to scrutinize your work, employing zoom functions to inspect the details and ensuring that the edits blend uniformly with the portrait. Strategies for final checks and adjustments are shared, ensuring that the end result is a naturally refined image free of unwanted wrinkles.
Through this comprehensive tutorial, Adobe Photoshop users of all levels can learn how to reduce and remove wrinkles, enhancing portraits while preserving the integrity and authenticity of the original image. By applying these methods and techniques, you can achieve a flawless finish that respects the natural beauty and character of your subjects.
FAQs
Q: What is the first step to remove wrinkles in Photoshop for a flawless finish according to the transcript?
A: The first step to remove the wrinkles and achieve a flawless finish is to open your image in Photoshop CS5, duplicate the current layer to preserve the original photograph, and name the layer something descriptive related to the task at hand, such as “Wrinkle Removal” or simply “Clean-up.”
Q: Can you provide a description of how to select the Healing Brush Tool for wrinkle removal?
A: To select the Healing Brush Tool for removing wrinkles, go to the tools menu located on the left side of the screen. Look for an icon resembling a band-aid. Click on it or press the shortcut key ‘J.’ Before you begin, ensure that the tool’s settings are adjusted to your preference, including a brush size that is slightly larger than the wrinkle you want to remove.
Q: In the chapter about refining the photo, how do we adjust the layer opacity for a more realistic look?
A: After you’ve used the Healing Brush Tool to remove the wrinkles, you might need to adjust the opacity of the layer to blend the edits more seamlessly with the original image. Navigate to the Layers Panel, find your edited layer, and then simply drag the Opacity slider until you reach a level that looks realistic and matches the surrounding skin texture.
Q: Is there an easy way to completely remove the deeper wrinkles using Photoshop CS5 described in the tutorial?
A: Yes, for deeper wrinkles, an easy way to completely remove them is to use a combination of the Healing Brush Tool and the Patch Tool. First, you would use the Healing Brush Tool for the finer lines. For deeper wrinkles, select the Patch Tool, draw around the wrinkle, and then drag that selection to a smooth area of the skin. If necessary, adjust the healing area’s blending by changing the layer’s mode to “Lighten” or “Darken” depending on the skin tone and the wrinkle’s shadow.
Q: According to the tutorial, how can a beginner learn how to use tools like Liquify for more advanced wrinkle removal?
A: For beginners wanting to learn how to use more advanced tools like Liquify for wrinkle removal, it’s recommended to start with step-by-step tutorials that specifically cover the Liquify tool. Photoshop CS5 has built-in tutorials and help guides. Additionally, utilizing Photoshop’s extensive range of online resources, including video tutorials and forums, can provide real-world examples and pro tips for mastering the Liquify tool for editing tasks like removing wrinkles.
Q: What is the professional approach to ensure removal of wrinkles looks realistic in Photoshop as mentioned in the description?
A: The professional approach to ensuring realistic results when removing wrinkles involves a combination of techniques. Firstly, it’s important to not completely remove all lines, as some wrinkles can add character or realism. Instead, focus on reducing the prominence of the wrinkles. Use the Healing Brush Tool on a new layer named appropriately, such as ‘Skin smoothening’, and carefully blend the edited areas. For deep wrinkles, consider using the clone stamp set to lighten or darken to match the skin tones. Lastly, adjusting the layer opacity subtly reintegrates the edited portions with the original, maintaining a natural look.
Q: How can photographers use the ‘select all layers’ feature when removing wrinkles to speed up their workflow?
A: Photographers can significantly speed up their workflow by utilizing the ‘select all layers’ feature during the wrinkle removal process. This feature enables the Healing Brush Tool or the Clone Stamp Tool to sample and correct from all visible layers instead of just the currently selected layer. This capability is incredibly useful for non-destructive editing, as it allows photographers to keep their original image intact on the base layer while making adjustments on a separate layer. To use this, activate the tool of your choice, then in the options bar, ensure that ‘Sample’ is set to ‘All Layers’, enabling you to draw from the entire composition for more efficient editing.


