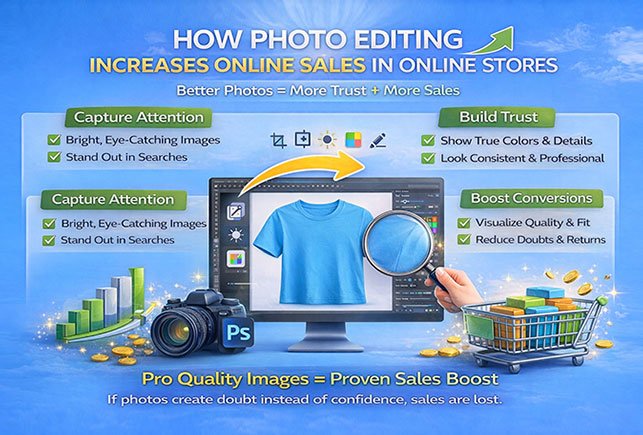
In eCommerce, product images are paramount—93% of consumers consider visual appearance as a critical factor in purchase decisions . High-quality images can increase conversion rates by up to 94%.
Additionally, 75% of online shoppers rely on product photography to make purchasing decisions . This underscores the necessity of editing product pictures to enhance clarity, appeal, and professionalism, ultimately driving sales and customer trust.
This article will guide you through essential techniques, tools, and best practices for editing product pictures that will captivate your audience and enhance your online store.
How to Edit Product Pictures for an eCommerce Site: Step by Step
When it comes to product photography for eCommerce, the goal is to ensure the images are clear, professional, and visually appealing. Let’s dive into some key editing techniques that will take your photos to the next level.
1. Background Removal
A cluttered or distracting background can take attention away from your product. One of the first steps in editing product pictures is removing or simplifying the background.
Why it matters: A clean, white, or minimalistic background helps your product stand out and looks more professional.
Tools: There are various tools like Adobe Photoshop, Canva, or free alternatives such as remove.bg that allow you to remove backgrounds quickly.
2. Color Correction
Accurate color representation is crucial for an eCommerce store. Colors in product images should match what customers would expect when receiving the item.
Adjustments: Tweak brightness, contrast, and saturation levels to bring out the best in your images. Ensure that the colors on screen closely resemble the actual product.
Tools: Photoshop and Lightroom offer excellent features for color correction, but free tools like GIMP can also get the job done.
3. Retouching Imperfections
Even the best product photos may have small imperfections, such as dust marks, wrinkles, or even blemishes on the product surface. Retouching ensures your photos appear clean and flawless.
How to do it: Use healing brushes or clone stamp tools in photo editing software to remove these imperfections.
Tools: Photoshop, Affinity Photo, and even online tools like Fotor are ideal for retouching.
4. Adding Shadows and Reflections
Adding shadows and reflections can help create a more realistic image, giving depth and dimension to the product.
Shadows: A natural drop shadow can make products appear as if they are sitting on a surface. This adds professionalism to the image and makes it feel more tangible.
Reflections: A soft reflection beneath the product can provide a sense of luxury and make the product look high-end.
5. Cropping and Straightening
Sometimes, the product may appear off-center or need a tighter crop for better framing.
Framing the product: Always ensure the product is the focal point of the image. Crop unnecessary space and straighten the image to ensure it is aligned properly.
Consistency: If you’re editing multiple product images, make sure the framing and crop are consistent across all images to maintain a uniform look.
Advanced Product Photo Editing Techniques
While the above techniques are essential, there are advanced methods that can make your product images even more engaging.
1. 360° Product Photography
Providing a 360° view of your products allows customers to interact with the image, increasing their confidence in what they are buying.
Why use it: This helps customers view your product from multiple angles and provides a more immersive shopping experience.
Tools: There are tools like Sirv or 3D Vista that allow you to create interactive 360° images of your products.
2. Lifestyle and Contextual Editing
In addition to basic product shots, editing images to show your product in real-life settings can boost engagement. Customers want to see how a product will fit into their lives.
Lifestyle Shots: Place the product in a real-life setting or environment. For instance, showcasing clothing on a model or a piece of furniture in a room setting.
Contextual Editing: Adding props or backgrounds that reflect your target audience’s lifestyle can increase emotional connection and inspire purchases.
How to Optimize Images for Web: A step-by-step guide
While editing enhances the look of your product photos, optimization ensures they load quickly on your website without compromising quality.
1. File Formats and Sizes
Choosing the right file format and size is key to maintaining fast page load times without sacrificing image quality.
- Best Formats: JPEG is ideal for most product photos due to its balance between quality and file size. PNG is great for images that require transparency, while WebP is a newer format that offers smaller file sizes with high-quality resolution.
- Compression: Use tools like TinyPNG or ImageOptim to compress images without losing too much detail.
2. Responsive Design Considerations
Your product images need to look good on all devices, from desktops to mobile phones.
How to ensure responsiveness: Use responsive design techniques, such as setting images to adapt based on screen size.
Additionally, serve different image sizes depending on the user’s device to ensure a faster loading time.
Conclusion
Editing product images for your eCommerce site goes beyond aesthetics—it’s about building trust and enhancing the customer experience. By mastering techniques like background removal, color correction, and retouching, you elevate your store’s appeal.
Advanced methods such as 360° views and lifestyle imagery boost engagement, while optimizing for web performance ensures fast load times. With AI tools, editing large volumes becomes efficient, leading to increased conversions and a more successful online store.


