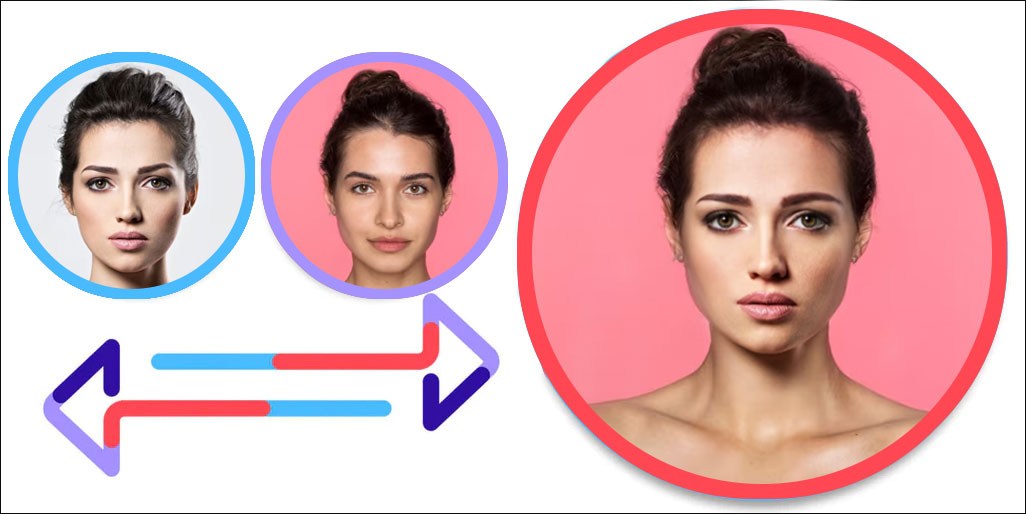
In this guide, I’m going to break it all down for you – no techy jargon, just plain and simple steps. I’ll take you from the basics to the cool, advanced tricks, so you can unleash your creativity without any hassle. so Learn How To Create A Clipping Mask In Photoshop step by step easily.
Let’s Started,
What Is Clipping Mask In Photoshop?
A clipping mask is like a fancy way to blend two layers together. You’ve got your main picture (that’s your base layer), and you throw another one on top (clipping layer). What happens? The top layer basically wears the shape of the one below, fitting in like a puzzle piece.
Think of it as a cool trick to make things look seamless – it’s like magic for pictures! Anything sticking out beyond the edges of the bottom layer disappears, giving you a slick, polished look. This makes it awesome for tweaking details, getting creative with designs, or even adding textures.
Read More: Real Estate Photo Editing Services
What Is The Difference Between Layer Mask And Clipping Mask?
Let’s dive into it – layer masks and clipping masks are like dynamic duos in Photoshop, each with its unique role.
Layer Mask:
Imagine a layer mask as a stealthy ninja that conceals parts of a layer. You can use black to hide things or white to reveal them. It’s fantastic for seamlessly blending and concealing elements, but keep in mind it doesn’t alter the actual layer.
Clipping Mask:
On the other hand, a clipping mask is all about teamwork. It seamlessly blends layers based on shapes. The top layer acts like a chameleon, adapting to the form of the layer below. Anything beyond that shape disappears, creating a smooth integration.
Read More: How To Add Drop Shadow To Text in Photoshop
What Is The Clipping Mask Effect?
Imagine the clipping mask effect is like a digital superhero move in Photoshop. It’s when one picture kind of wraps itself around another. So, you’ve got your main image (the boss layer) and then a second one on top (the sidekick layer). The top one takes on the shape of the bottom one, blending in smoothly.
Why does it matter? Well, anything hanging outside the edges of the bottom picture disappears, making things look super neat. It’s like giving your images a snazzy makeover! Perfect for tweaking details, creating cool designs, or adding that extra oomph.
How To Create A Clipping Mask In Photoshop Step-by-Step
Creating a clipping mask in Adobe Photoshop is a breeze! Follow these step-by-step instructions:
Open Your Images: Start by opening the images you want to work with in Photoshop.
Place Your Base Image: Choose the image you want as the base and place it on the canvas.
Add a New Layer: Create a new layer on top of your base layer. This will be the one you’re clipping.
Position the Top Layer: Move and position the top layer over the area you want to clip in the base layer.
Create the Clipping Mask: Right-click on the top layer and select “Create Clipping Mask” from the menu.
Marvel at the Magic: Watch as the top layer takes on the shape of the base layer. Cool, huh?
Adjust as Needed: Fine-tune the position or size of your clipped layer. You can do this by selecting and transforming the top layer.
Explore and Experiment: Get creative! Try using different images or adjusting layer blending modes for unique effects.
Save Your Masterpiece: Once you’re satisfied, save your work and share your newly crafted masterpiece!
That’s it! Creating a clipping mask in Photoshop is a quick and powerful way to enhance your designs. Give it a go and unlock a whole new level of creative possibilities!
What Is The Purpose Of Using A Clipping Mask In Photoshop?
The main purpose of using a clipping mask in Photoshop is to control the visibility of the topmost layer based on the content of the bottom layer. It is commonly used to create interesting text and image effects within a specific shape or design.
Can I create a clipping mask with multiple layers in Photoshop?
Yes, you can create a clipping mask using multiple layers in Photoshop. Simply group the layers that you want to use for the clipping mask, and then create a new layer above the group. Use the Create Clipping Mask option from the Layer menu to apply the mask to the grouped layers.
How Do We Release A Clipping Mask In Photoshop?
To release a clipping mask in Photoshop, select the layer that is clipped to the shape of the content below it. Then, go to the Layer menu and choose Release Clipping Mask. This will remove the clipping of the layer, restoring its visibility and original shape.
What Is The Difference Between A Clipping Mask And A Layer Mask In Photoshop?
The main difference between a clipping mask and a layer mask in Photoshop is that a layer mask applies to a single layer, while a clipping mask can be applied to multiple layers. Additionally, a layer mask uses black and white to control the visibility of the layer, while a clipping mask uses the shape of the content of another layer.
How Do I Use A Clipping Mask With A Text Layer In Photoshop?
To use a clipping mask with a text layer in Photoshop, create a new layer and place the text layer above it. Then, select the text layer, go to the Layer menu, and choose Create Clipping Mask. The text will then be clipped to the shape of the content of the layer below it.


